Arc
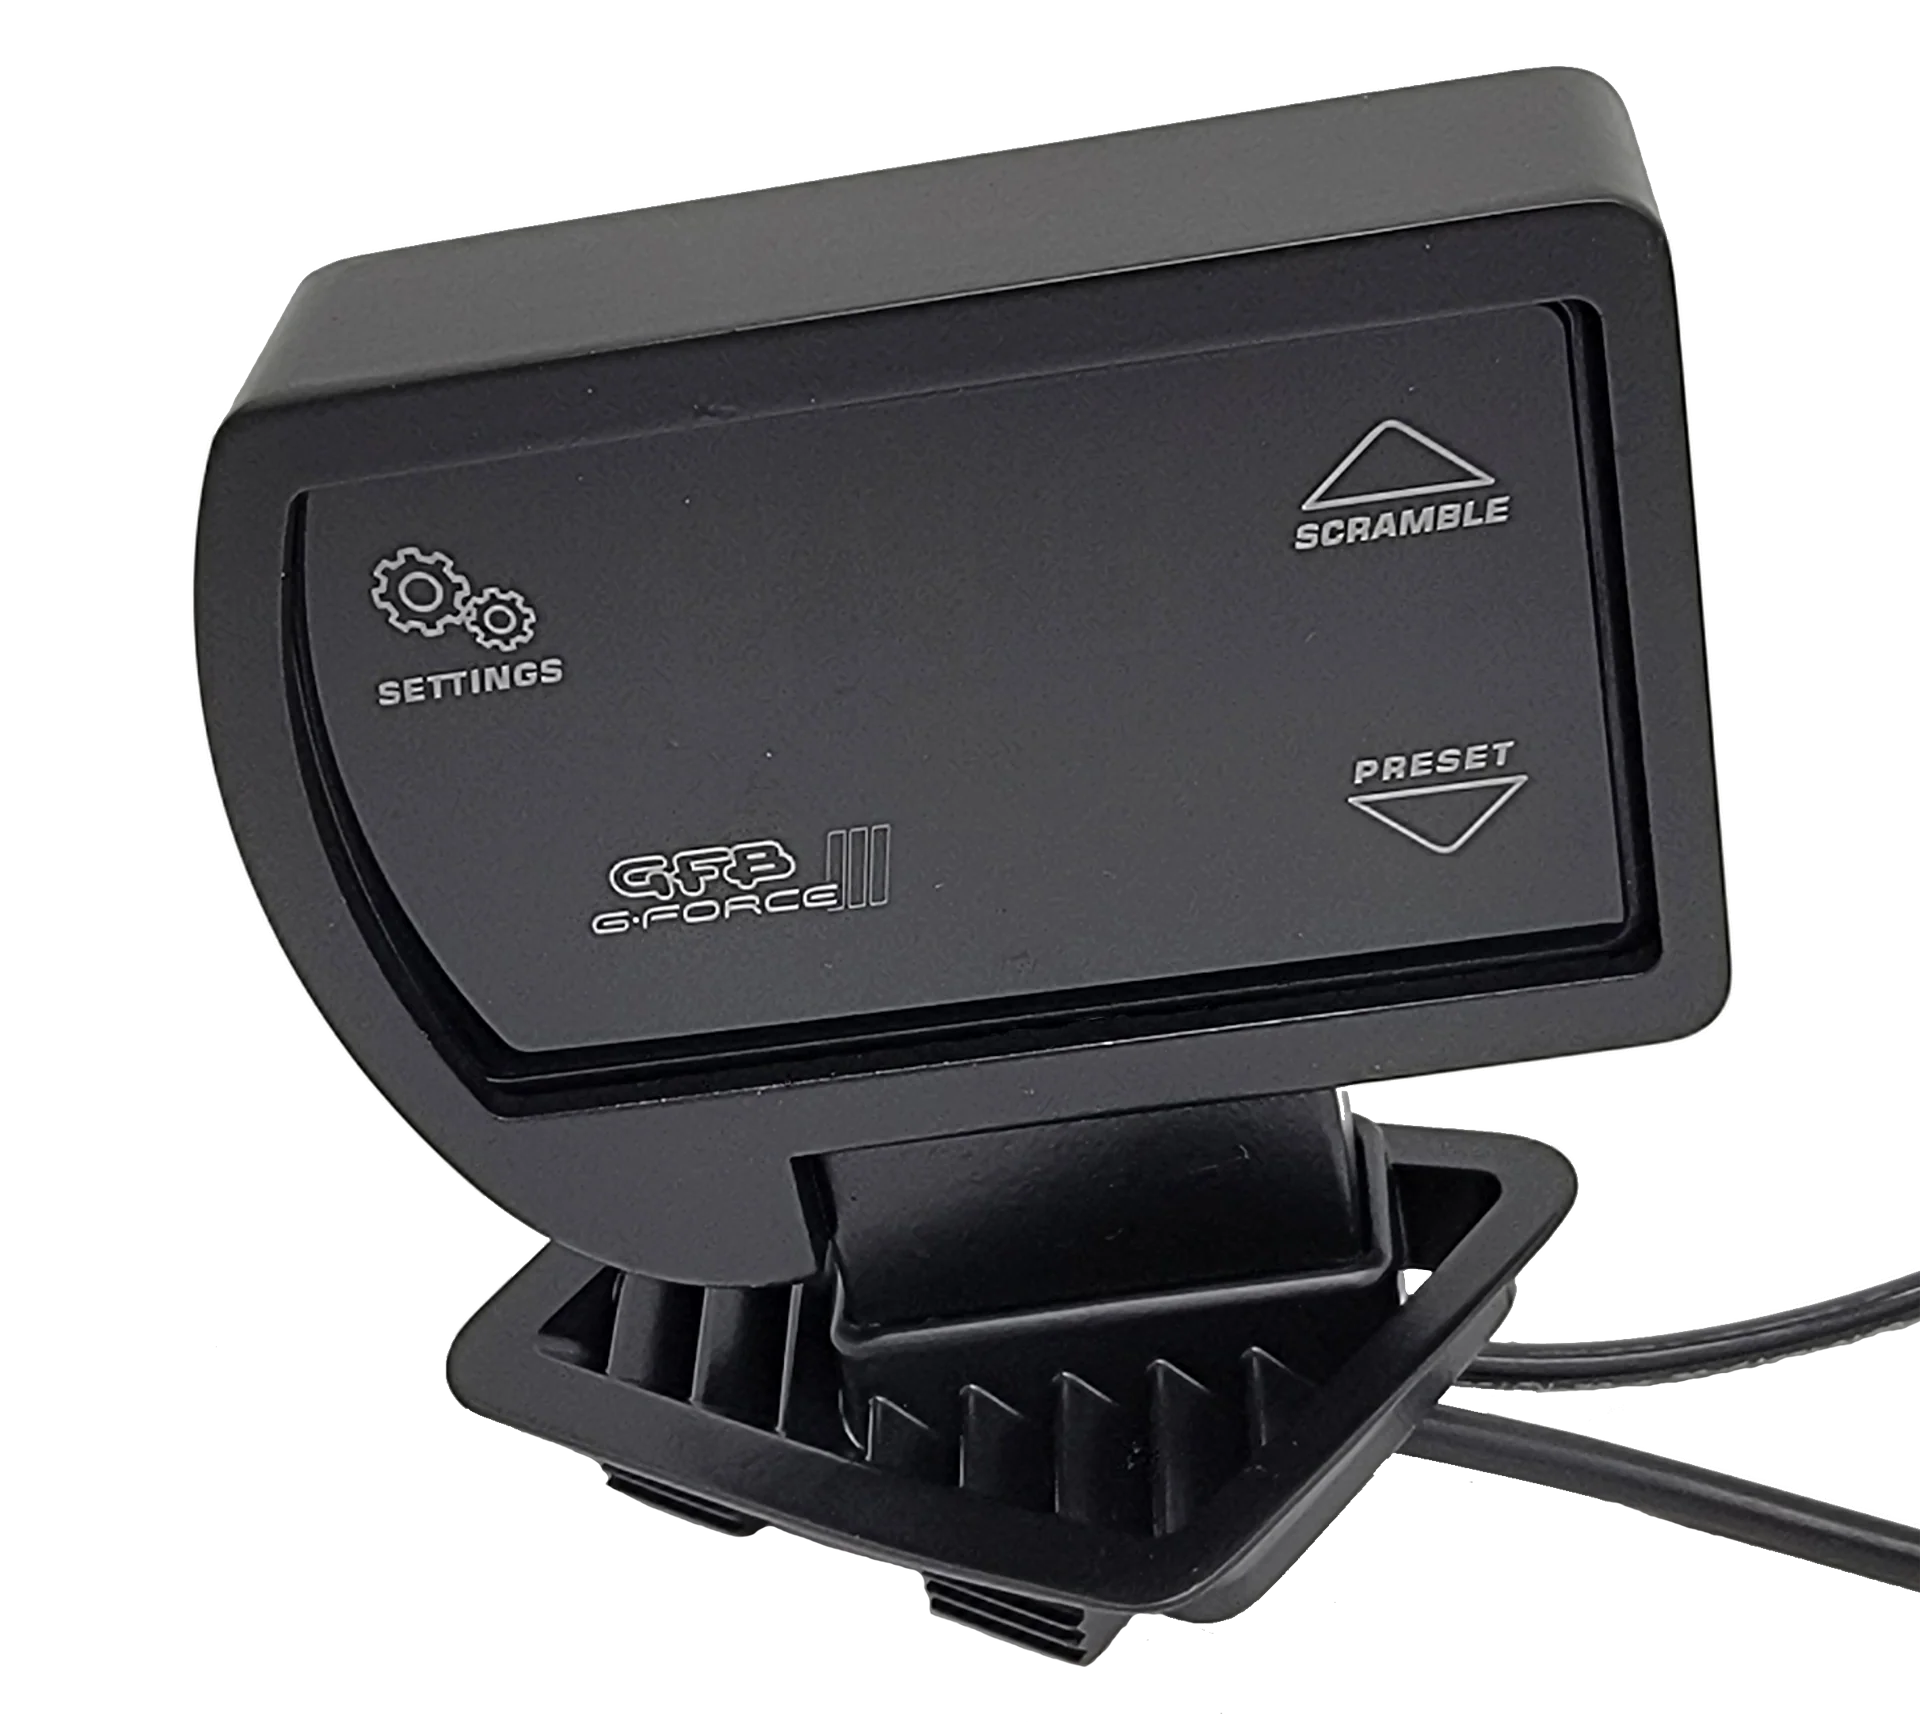
Arc Terminator - Vent-Mounted GFB-3 Case || E9x
Arc Terminator - Vent-Mounted GFB-3 Case || E9x
Couldn't load pickup availability
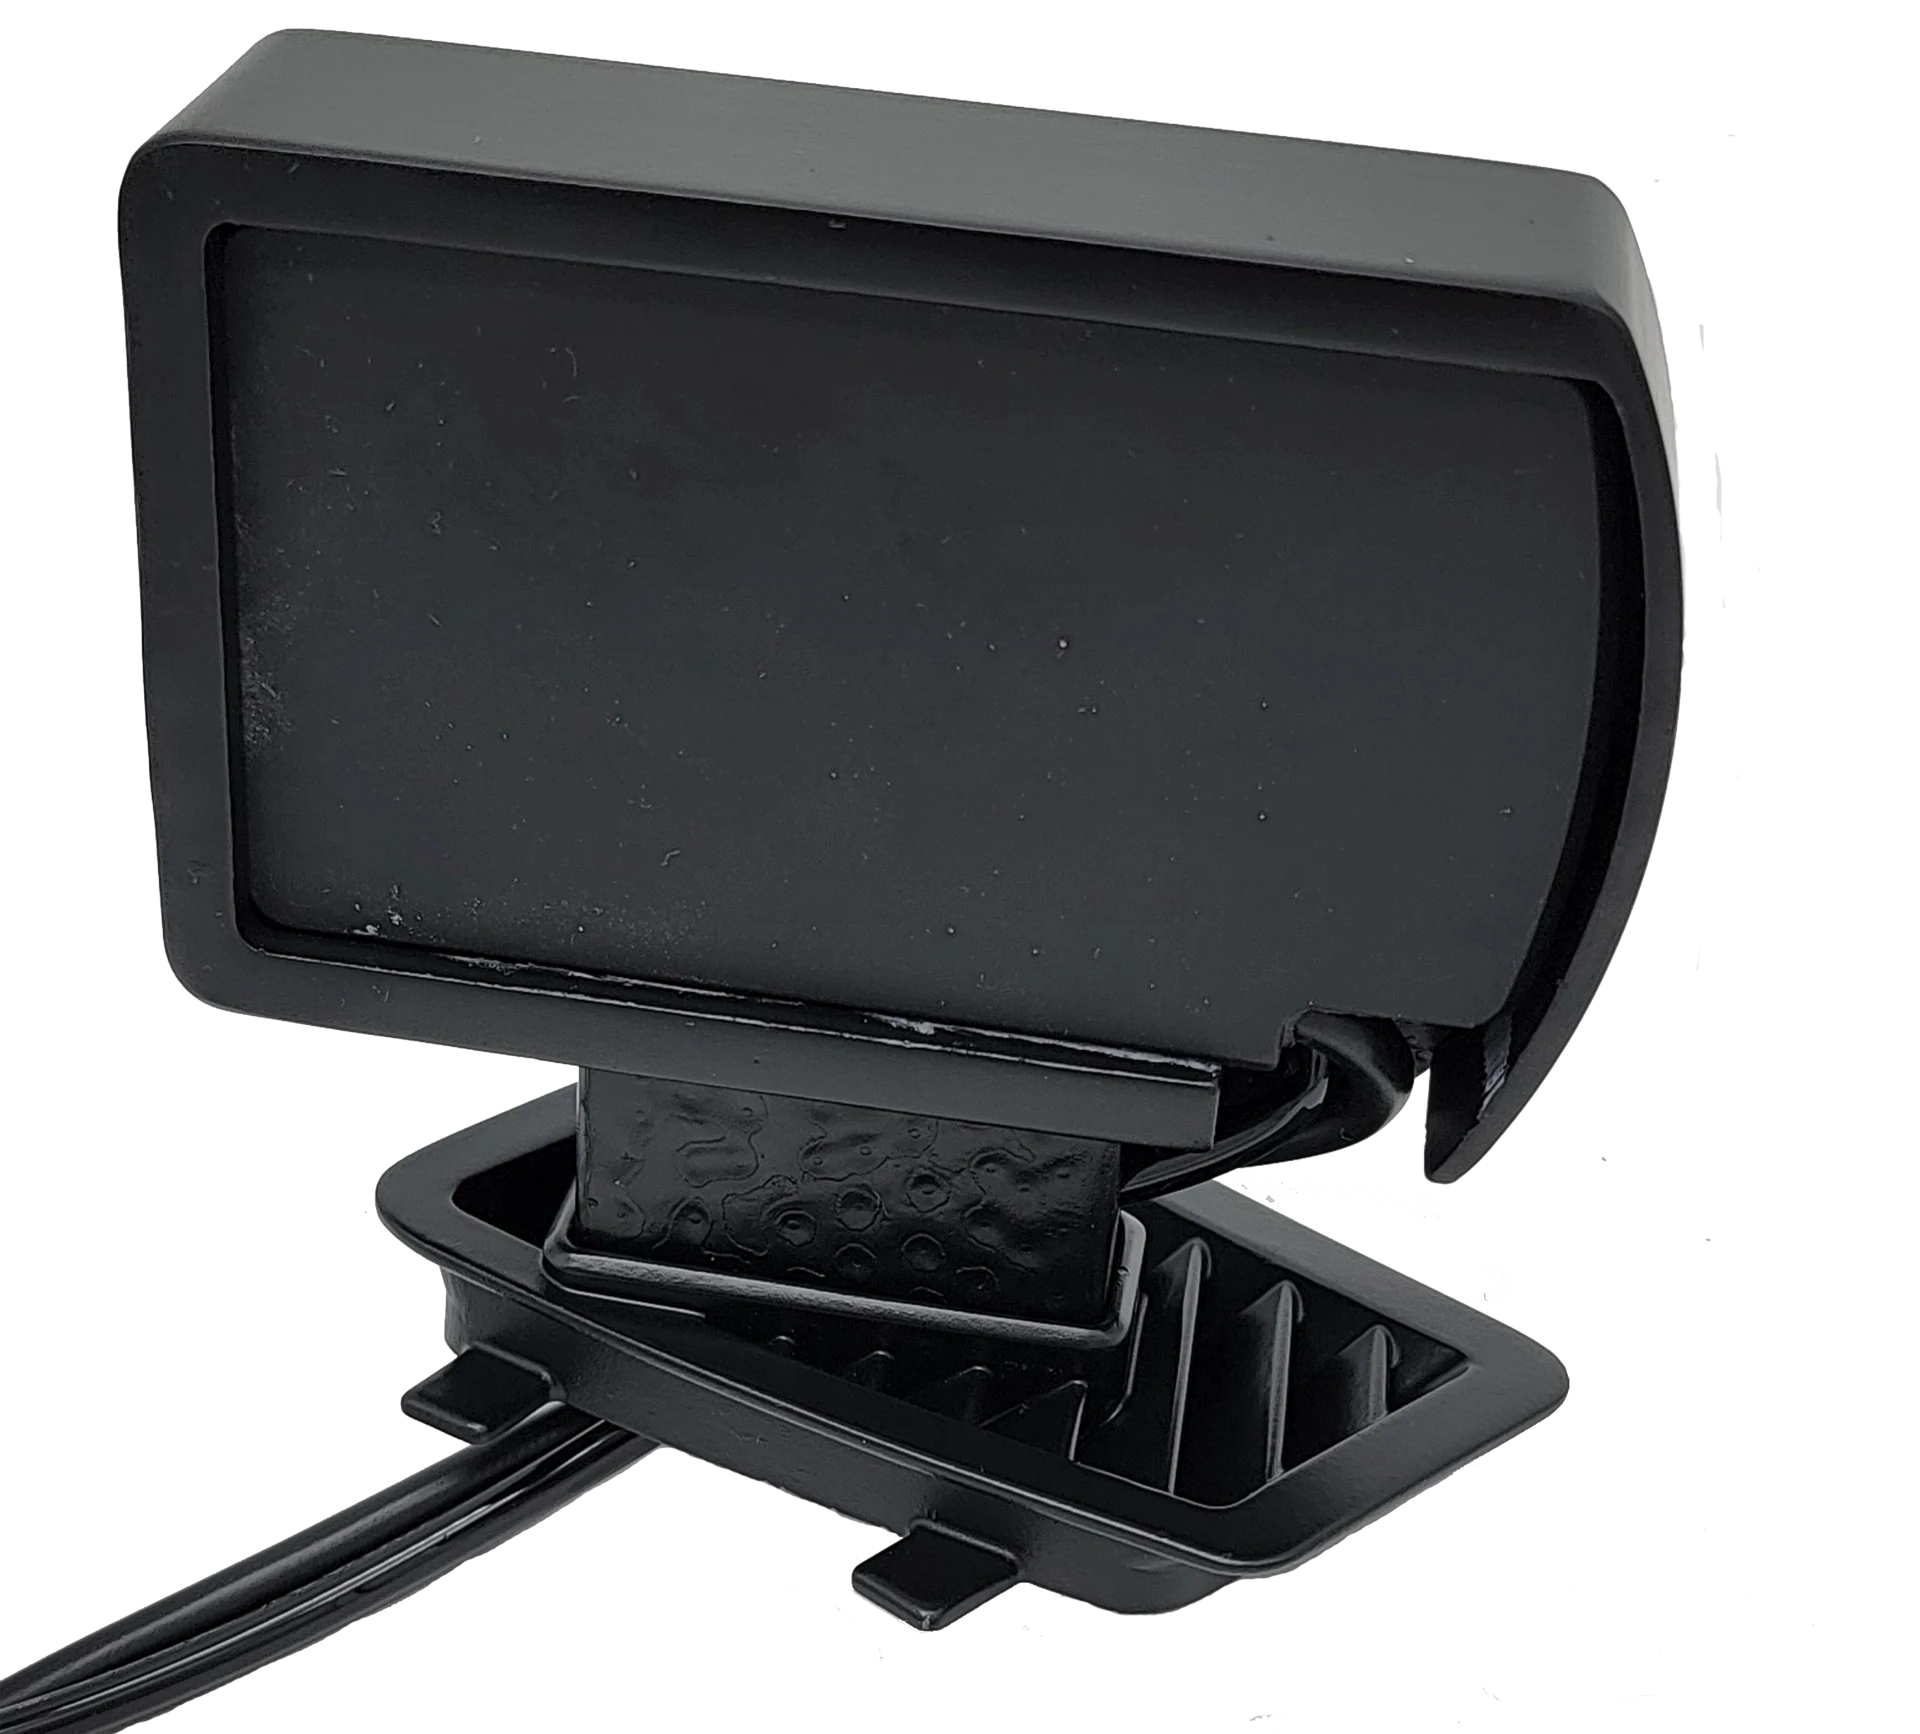
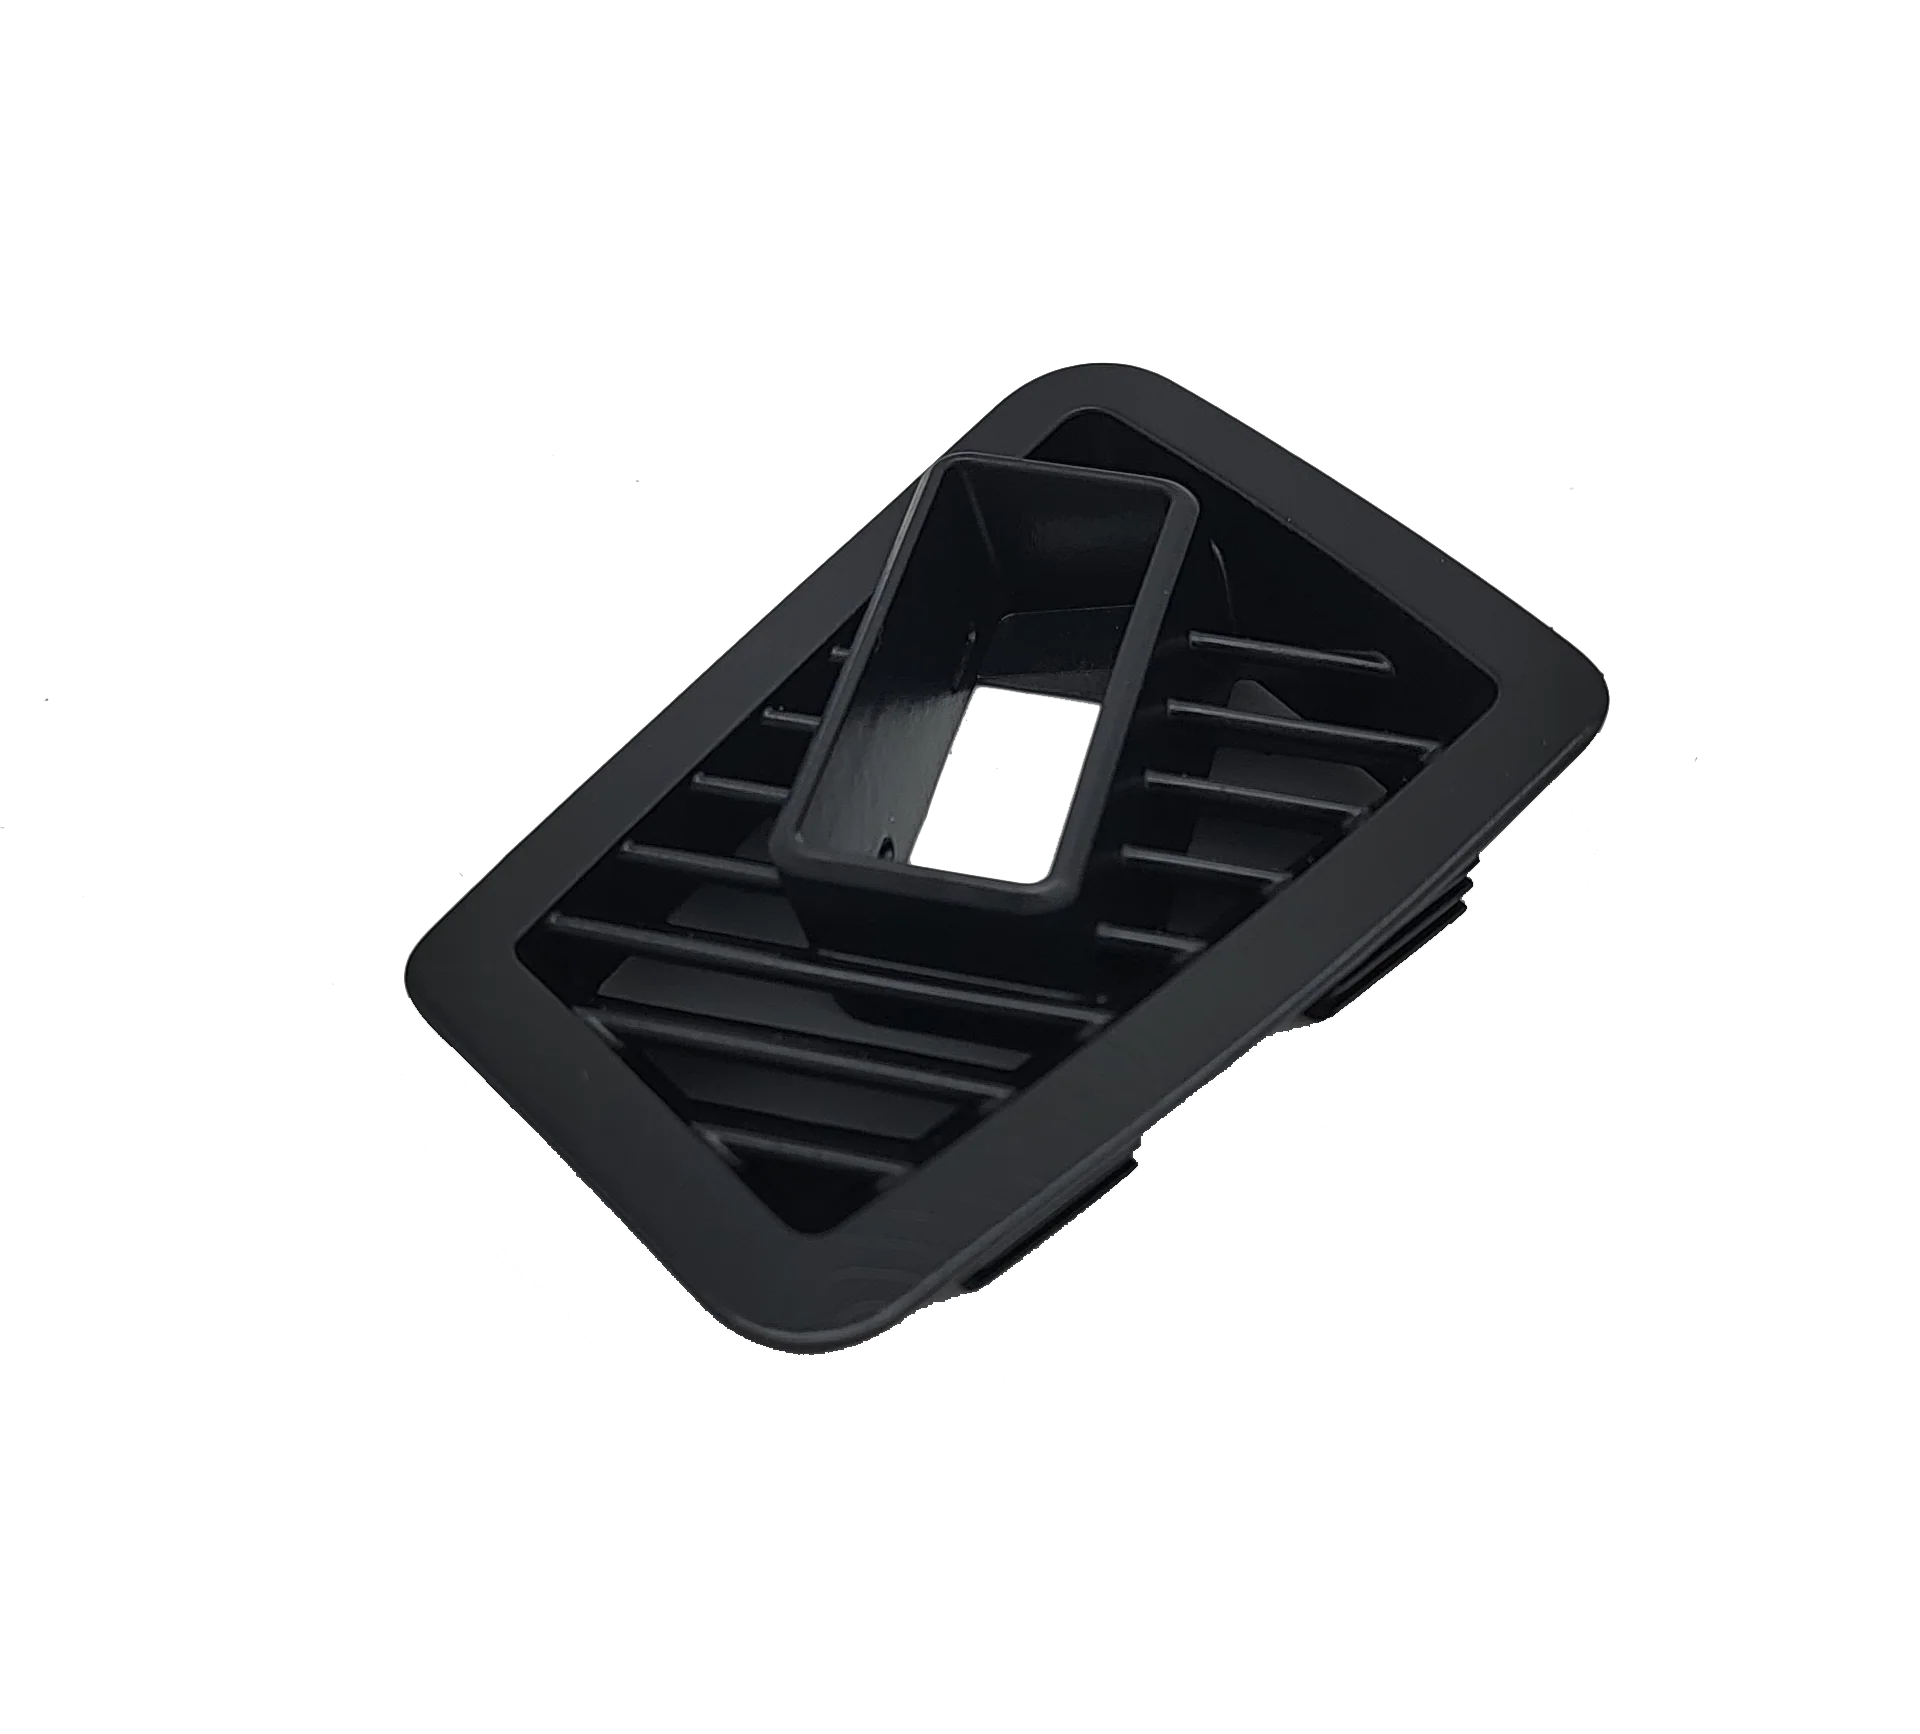
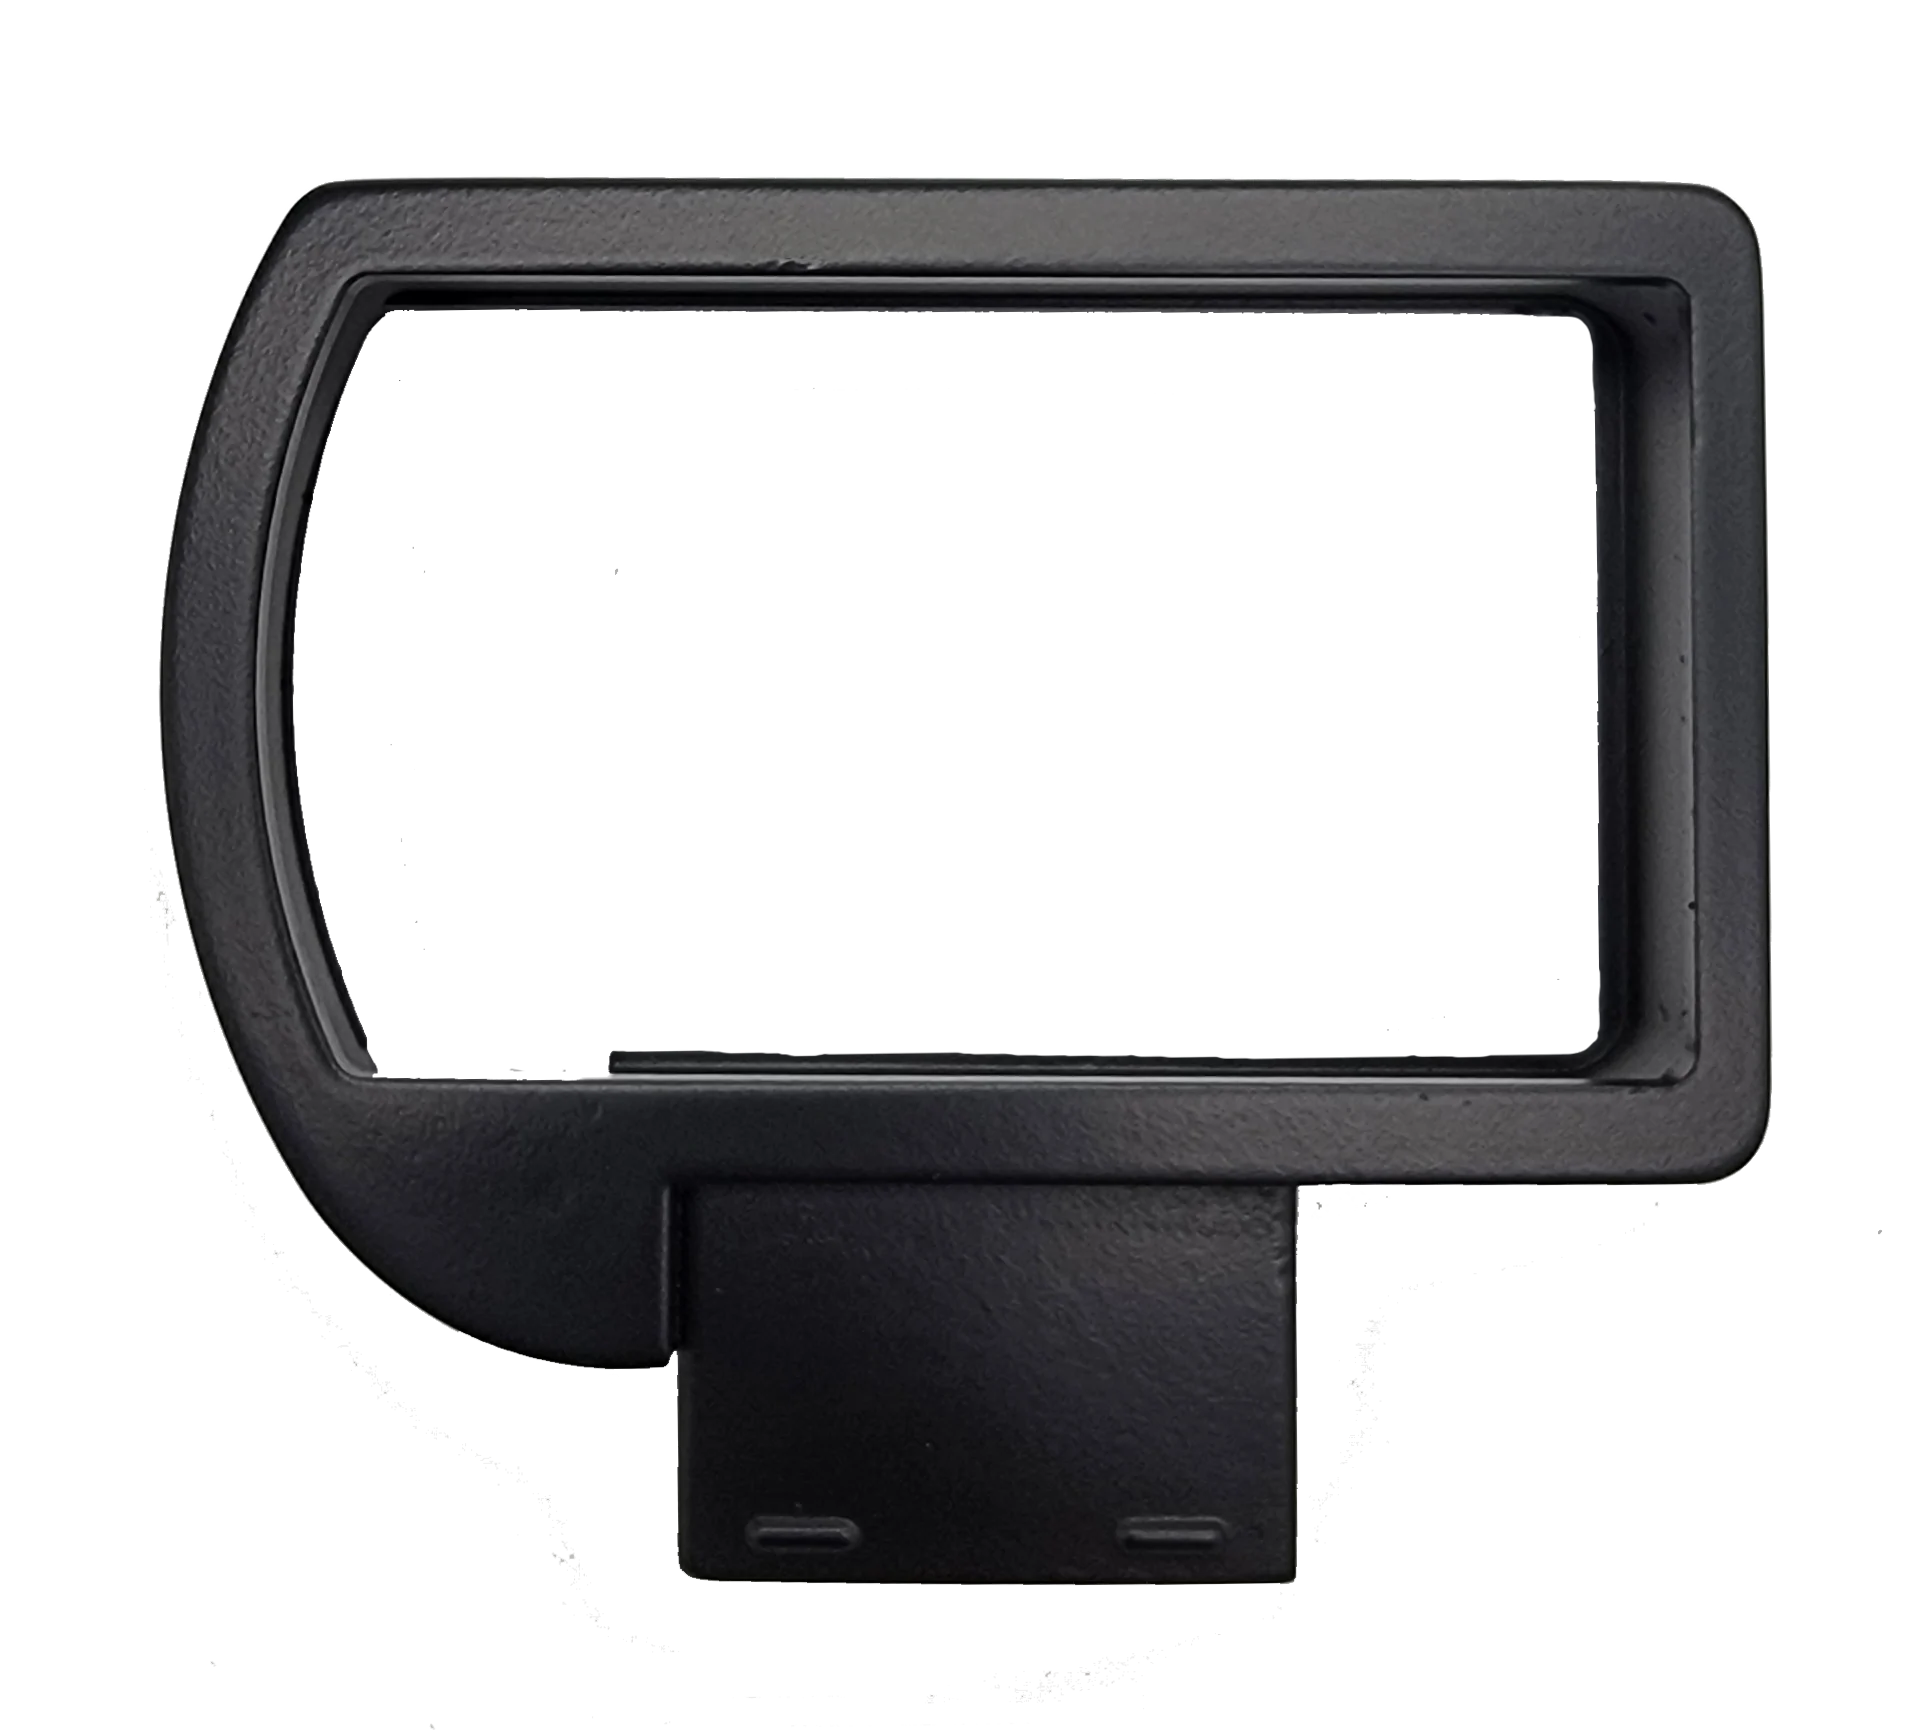
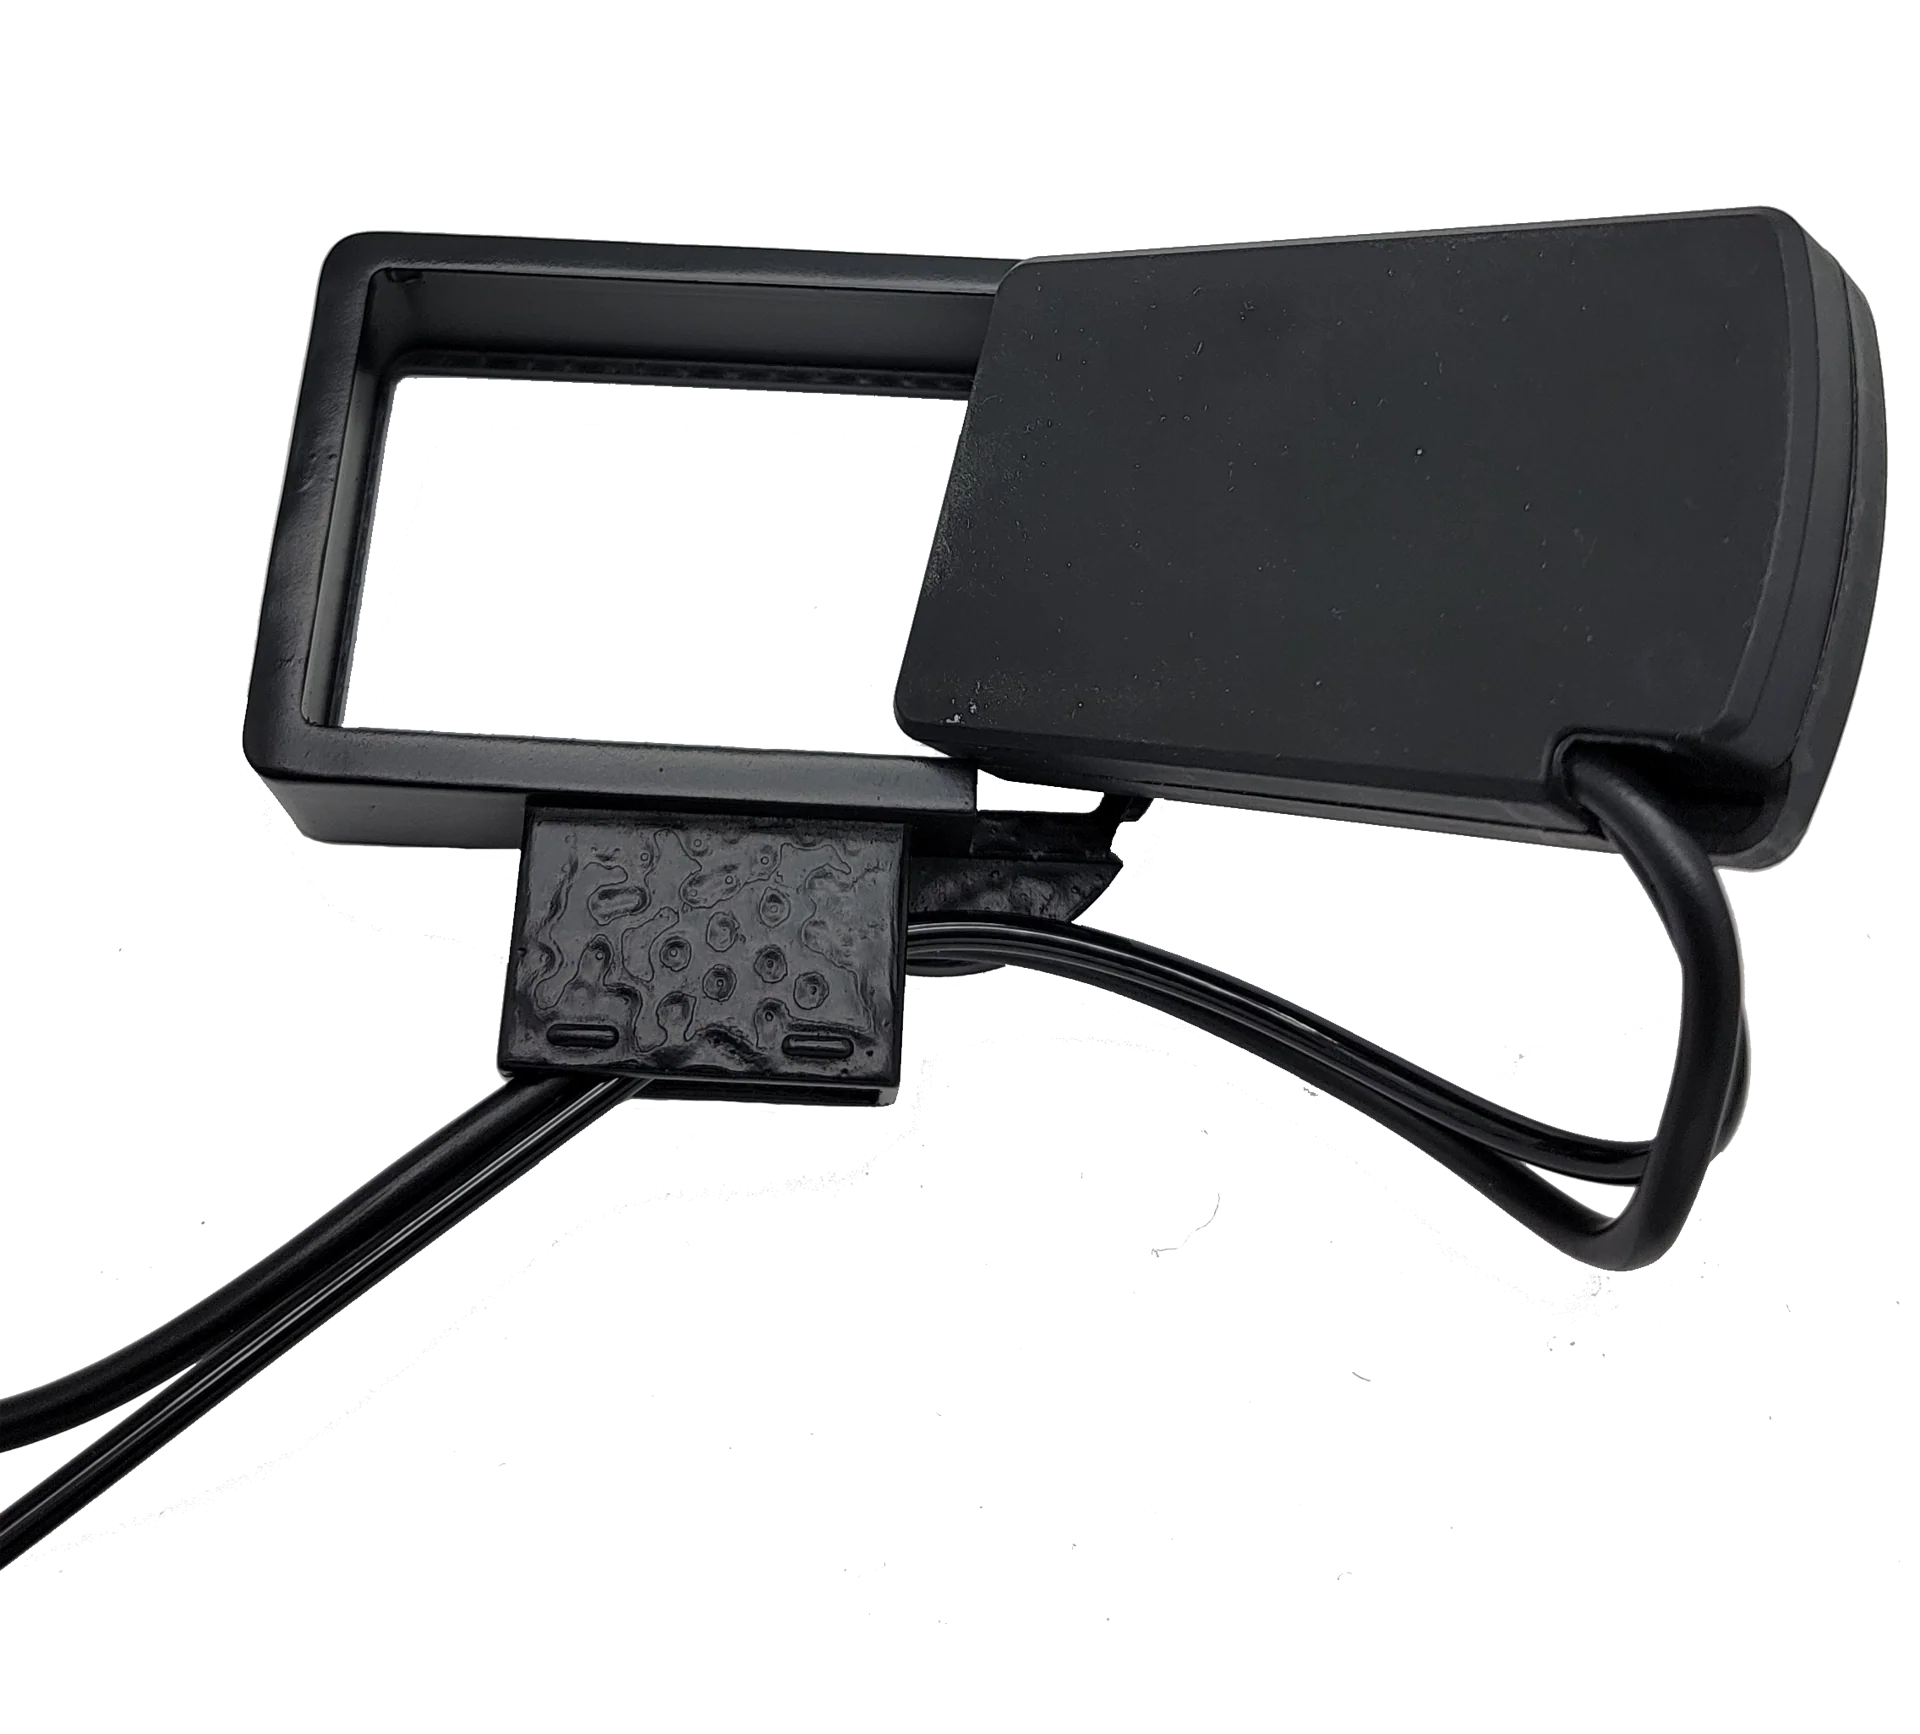
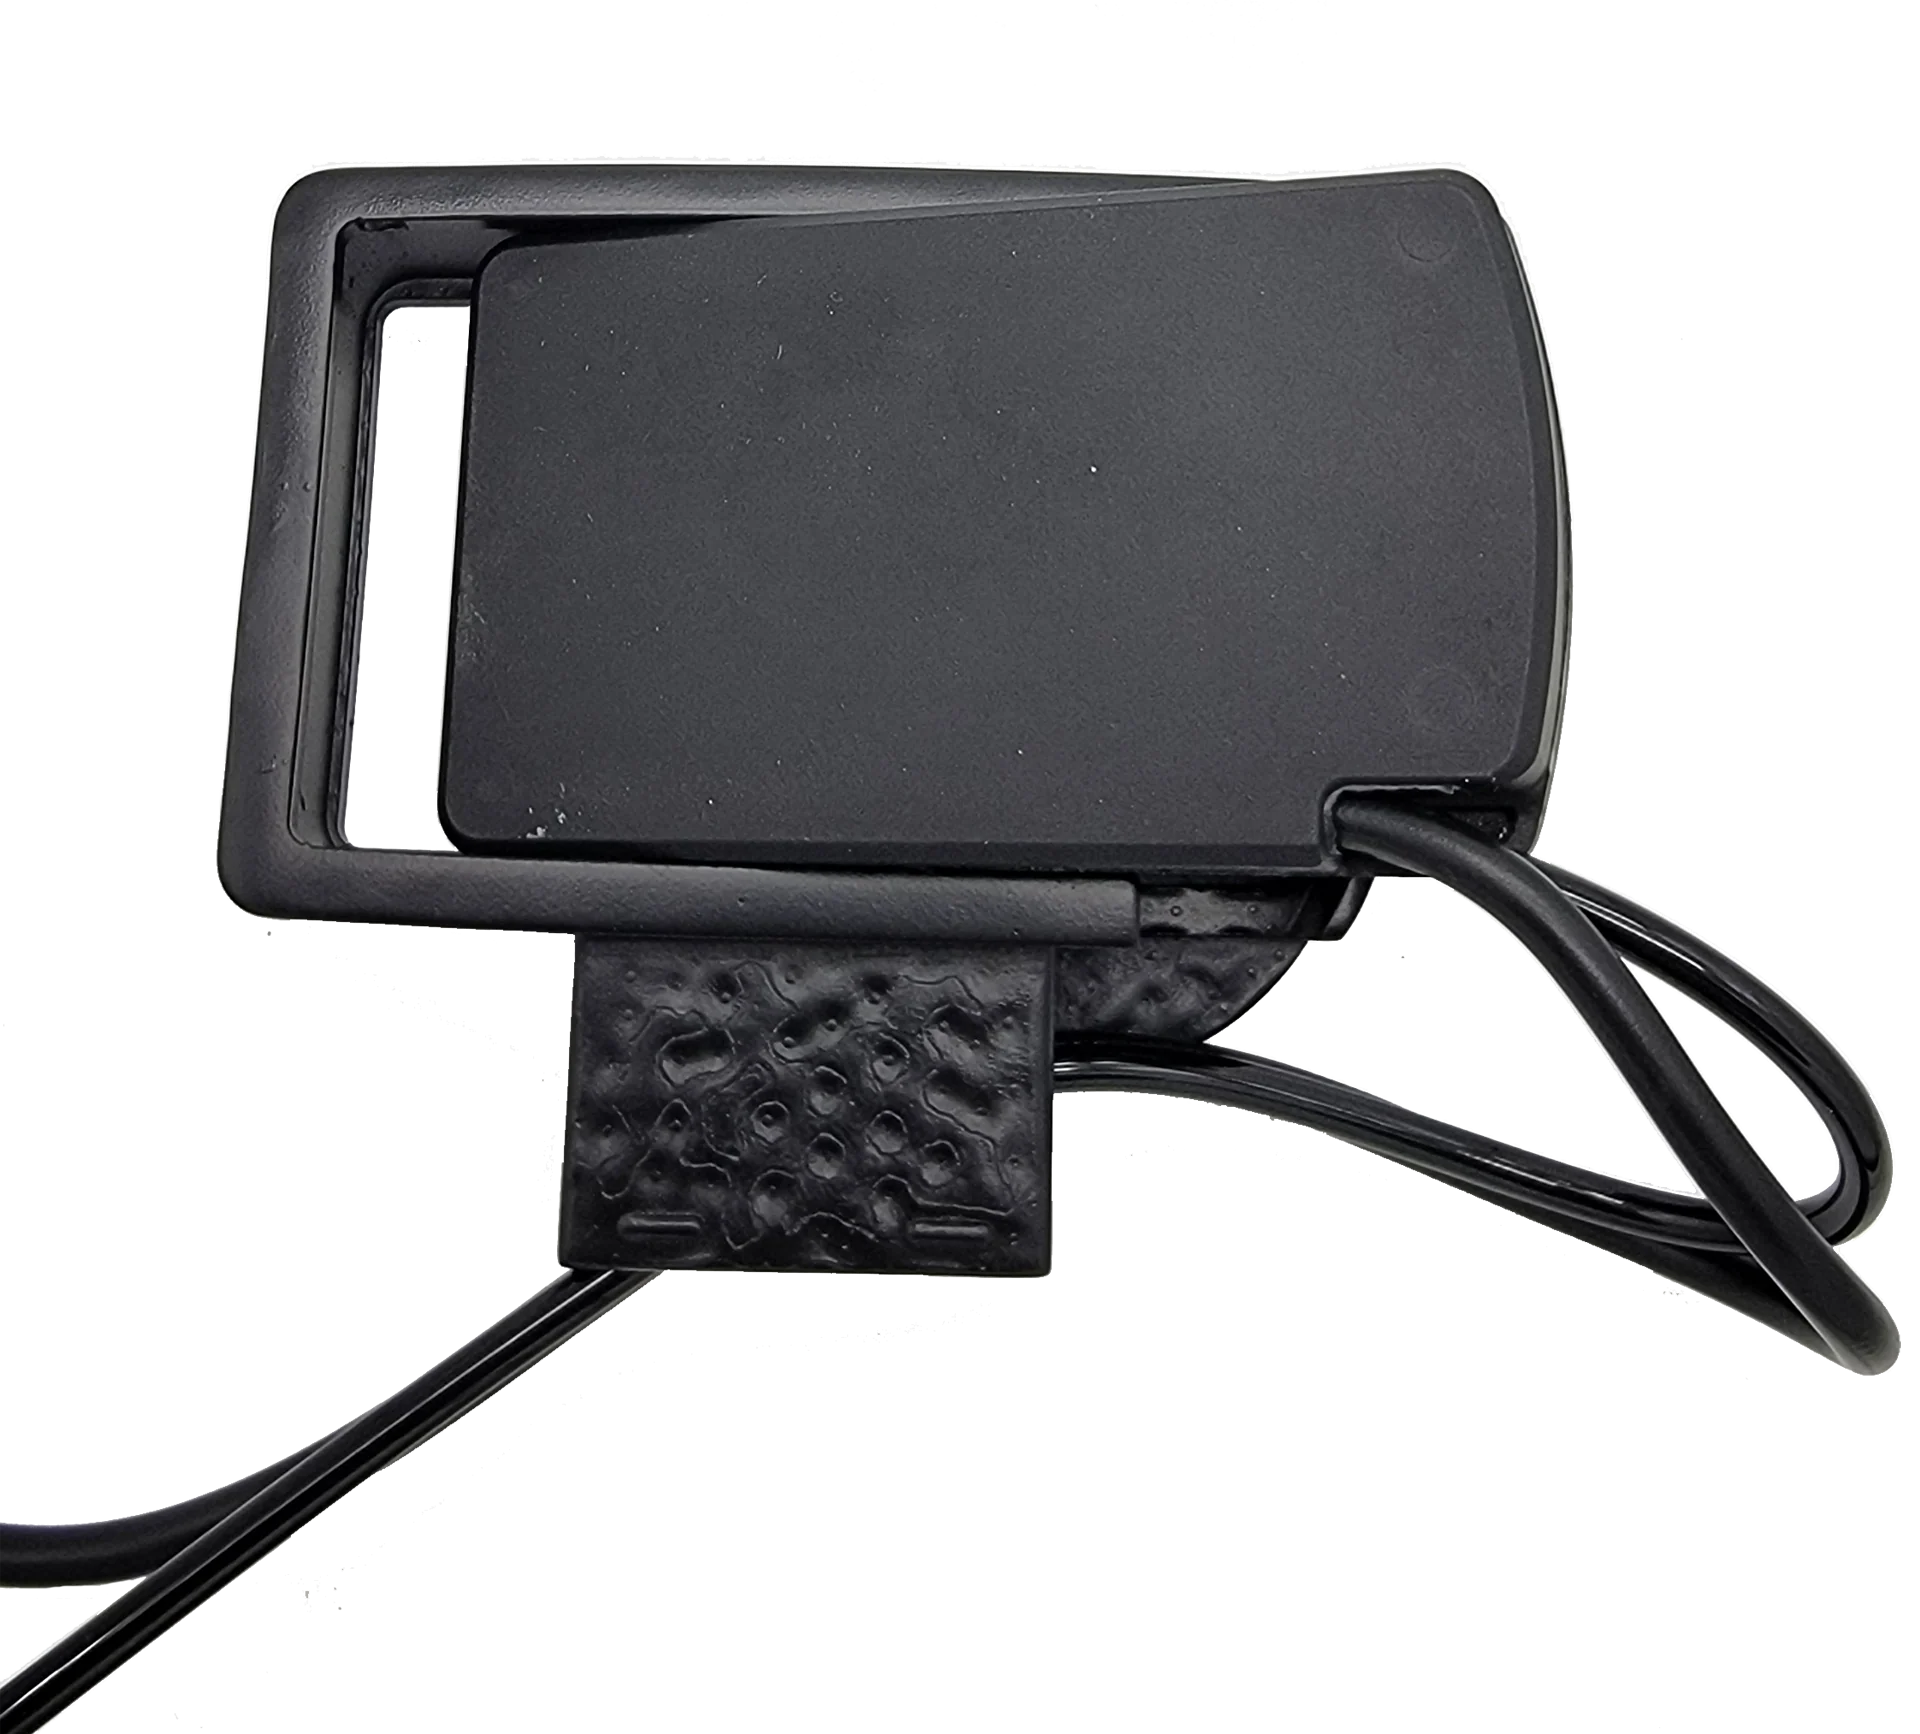
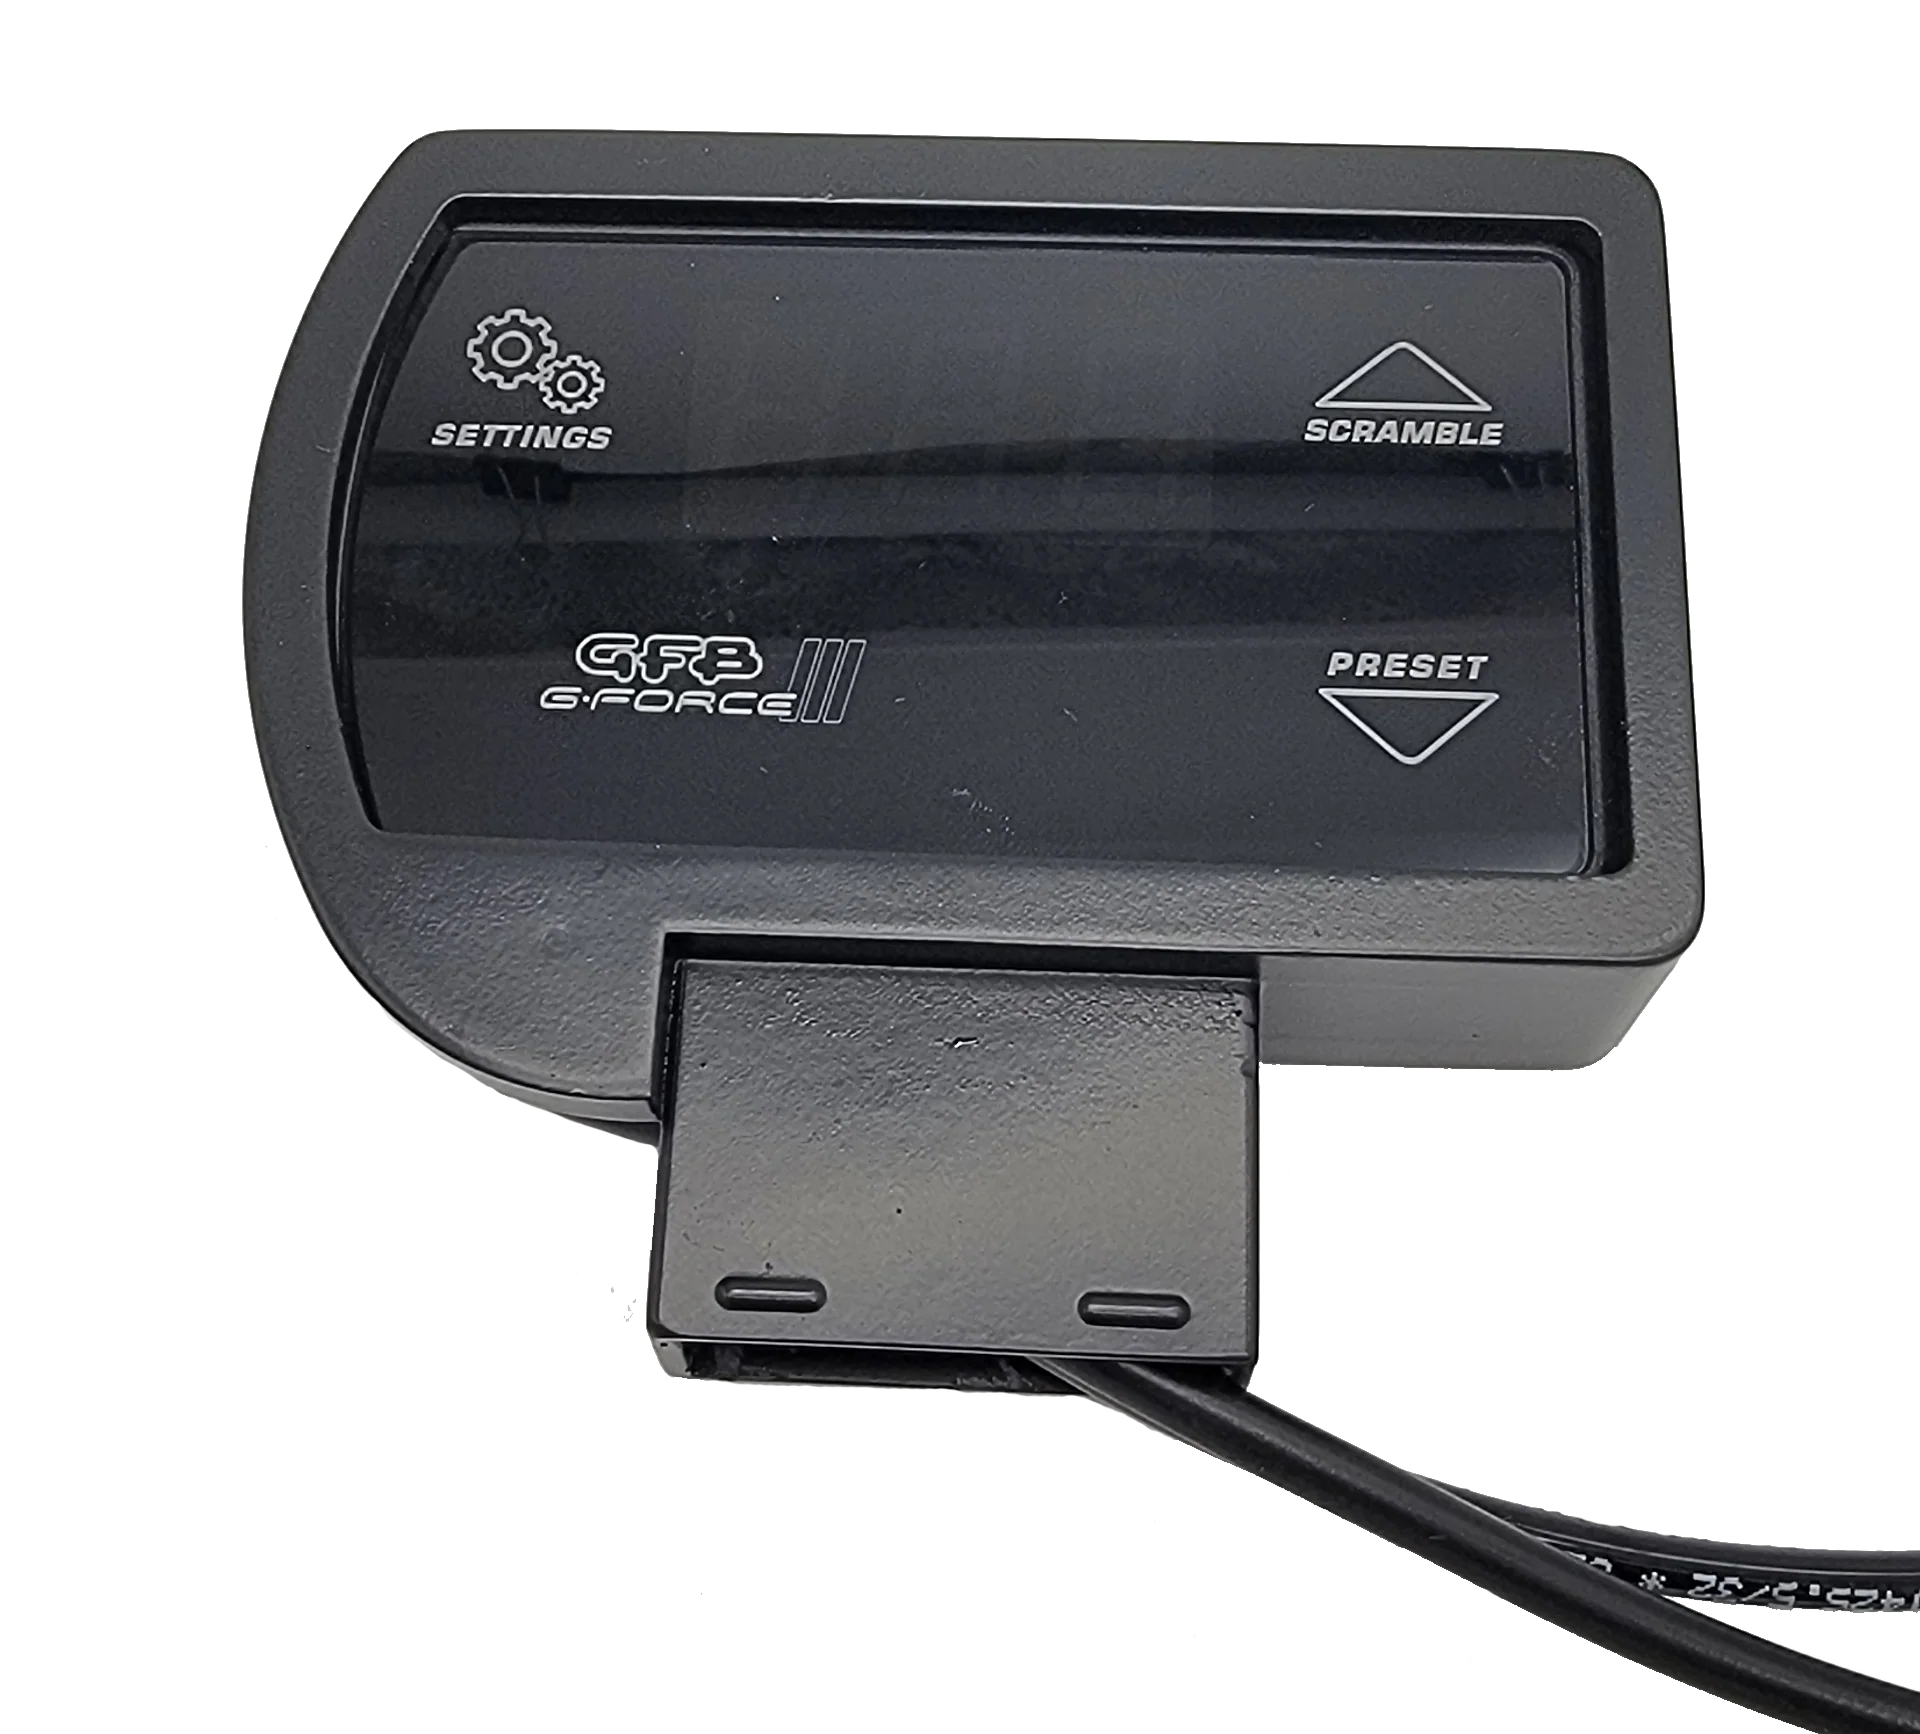
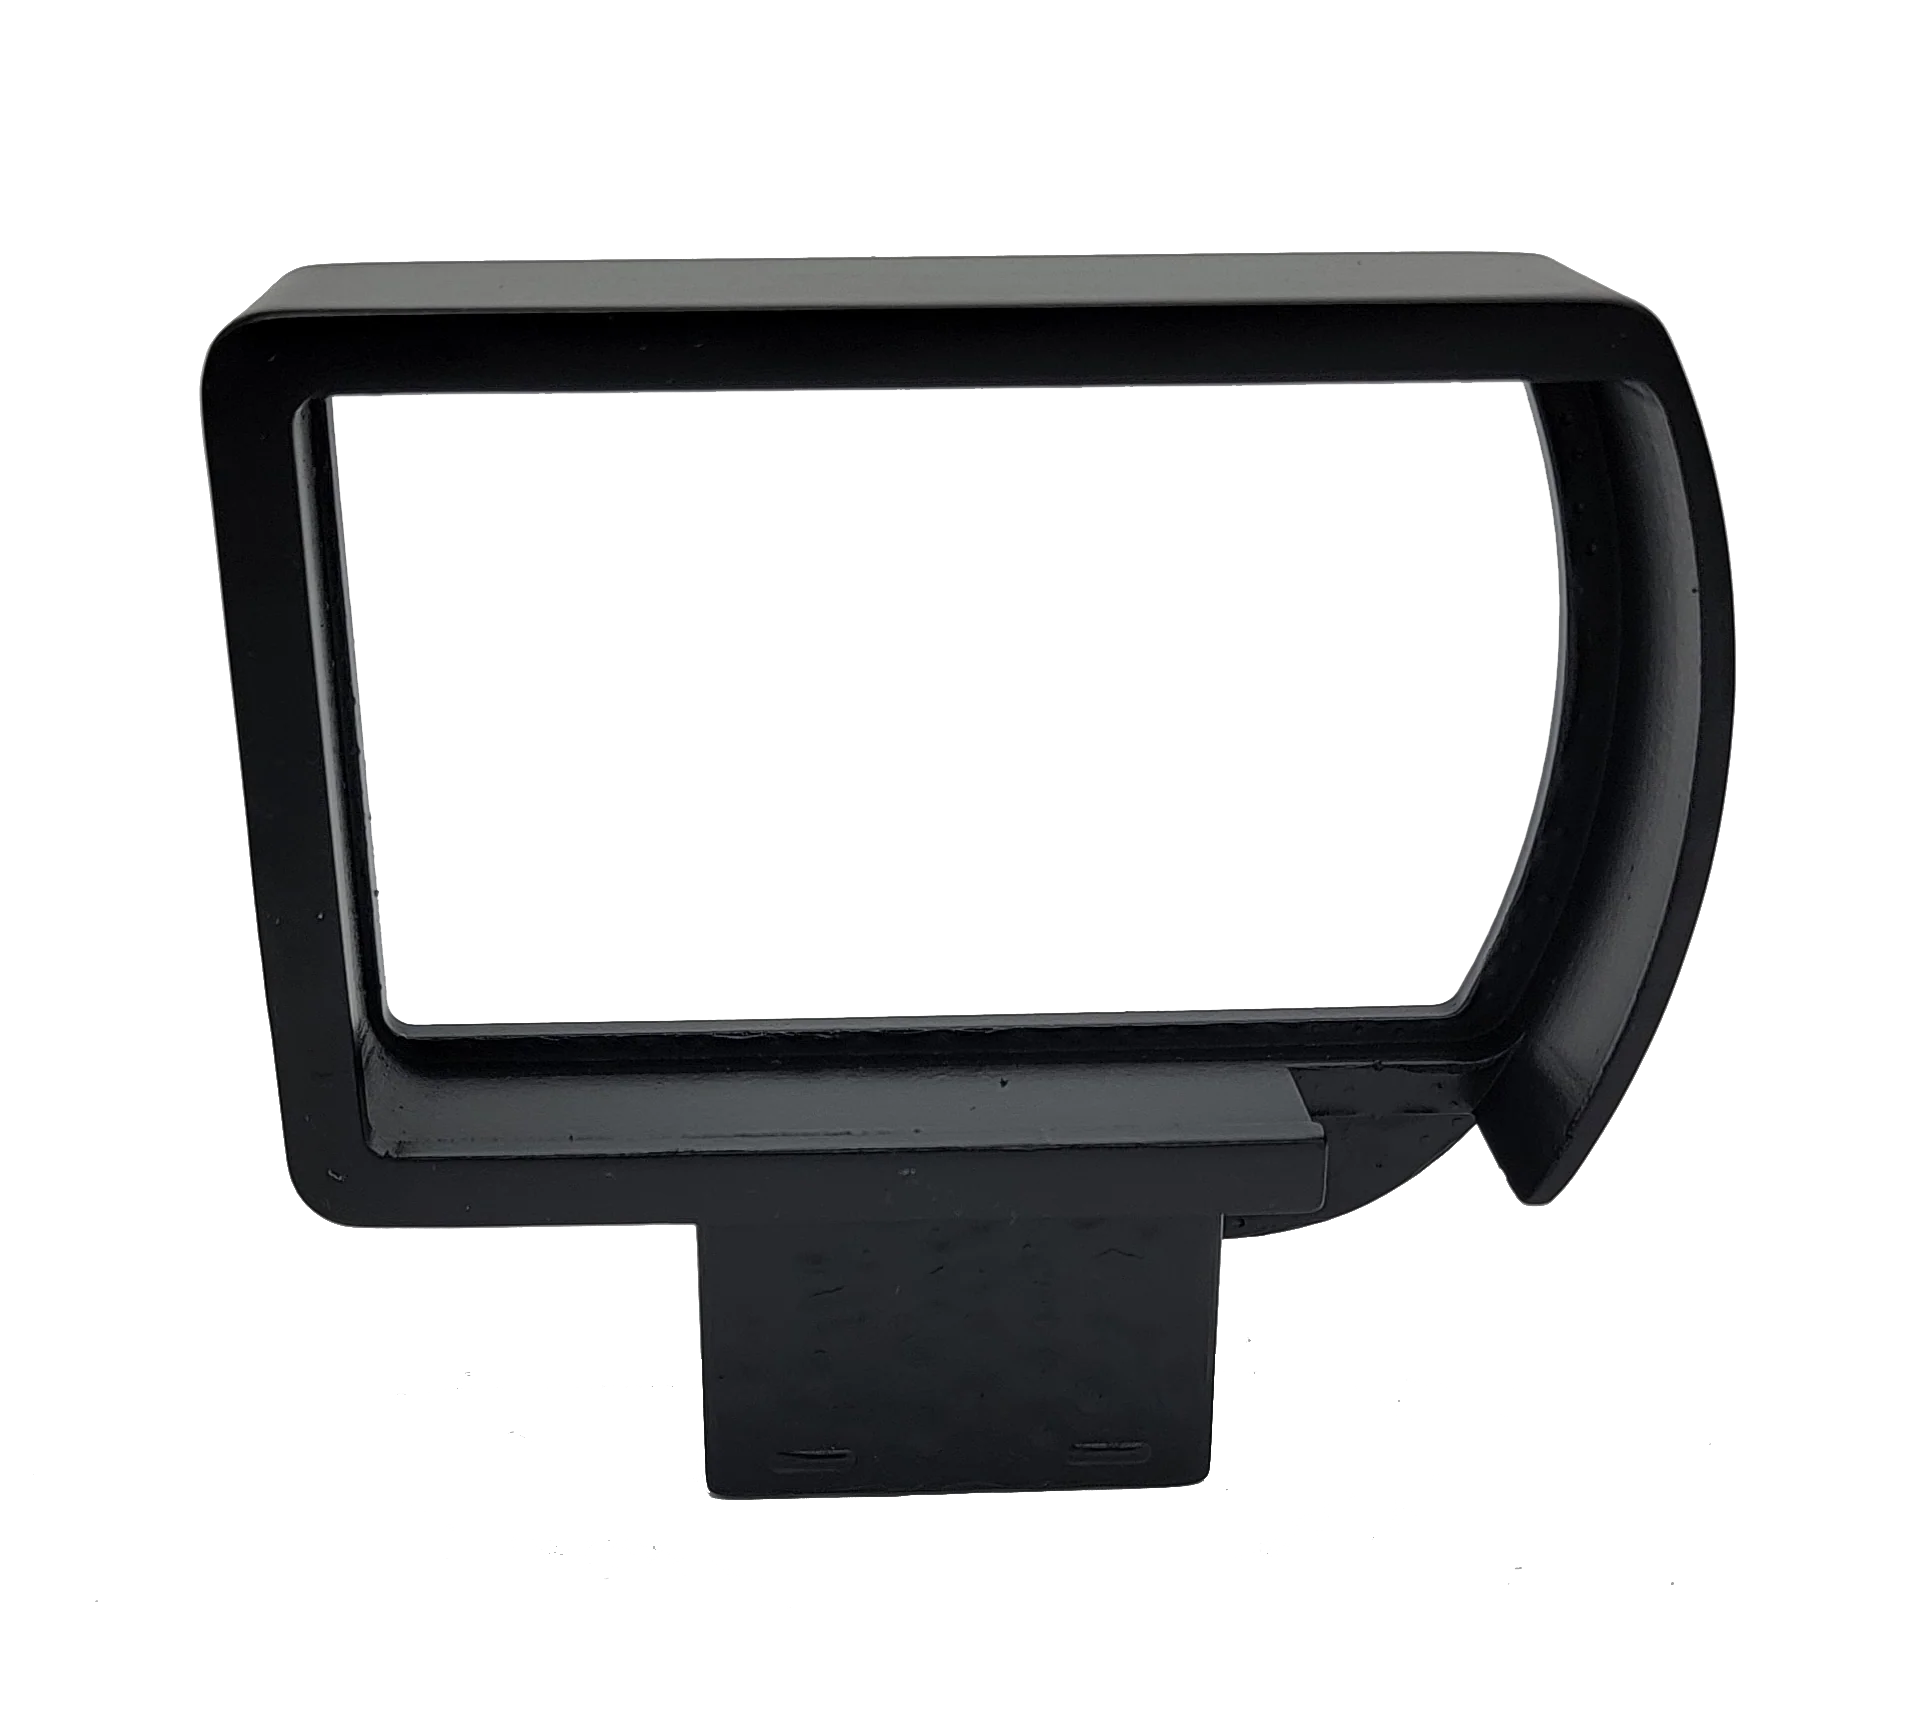
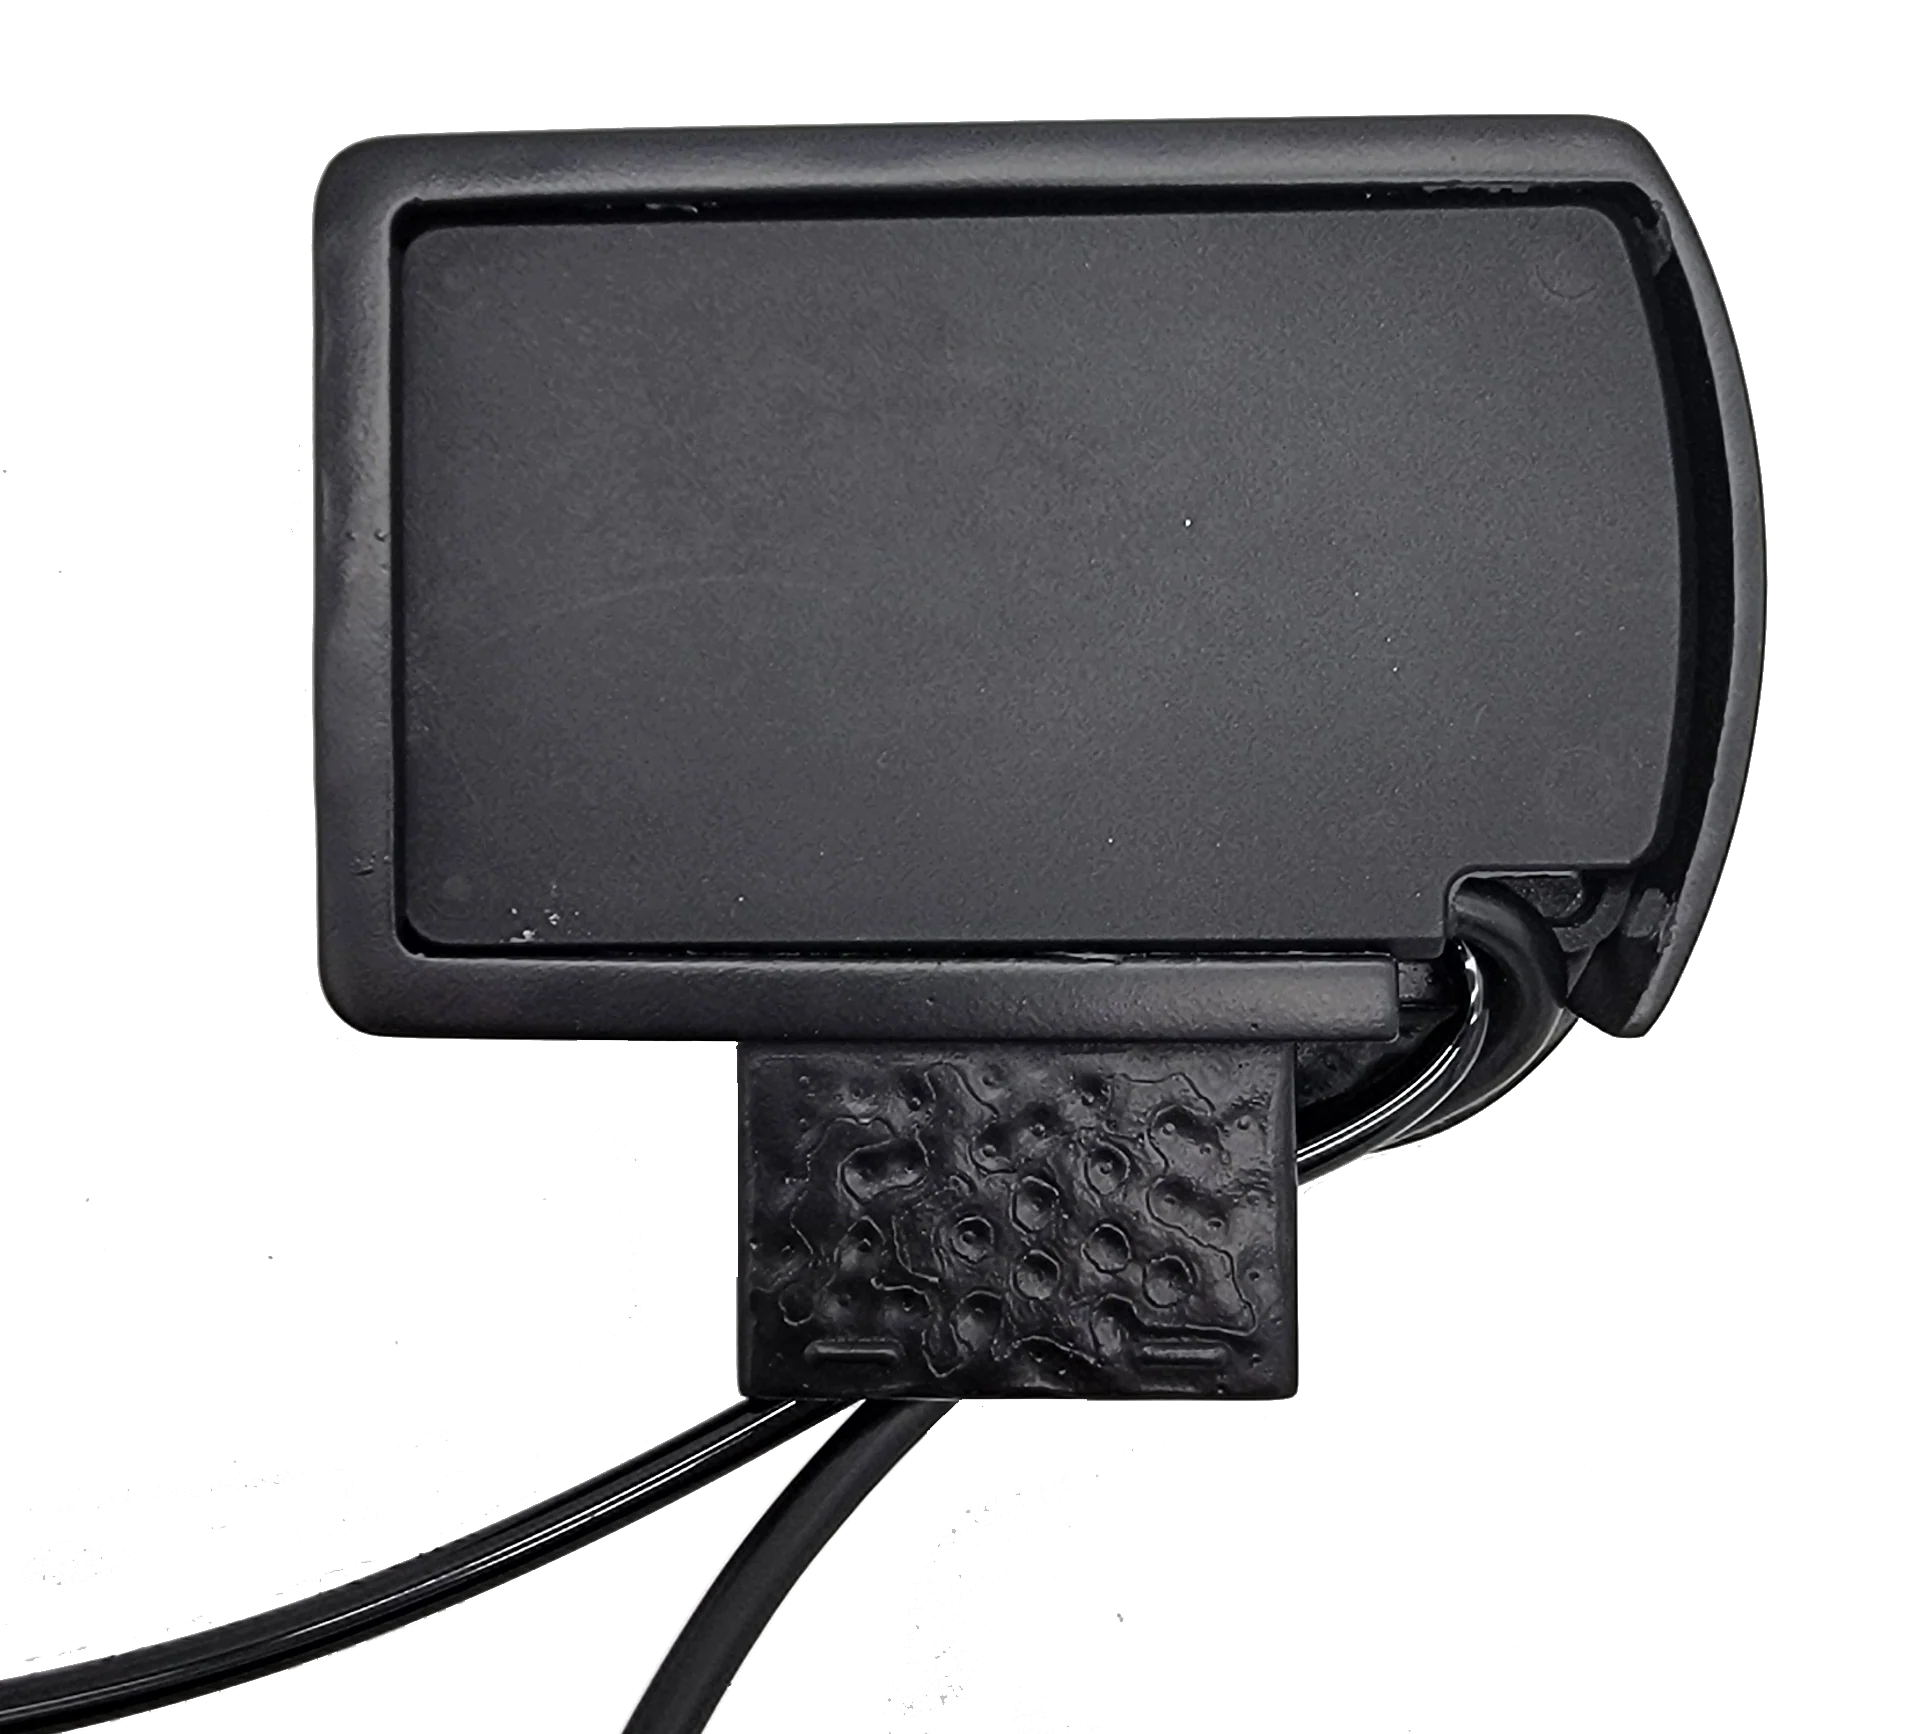
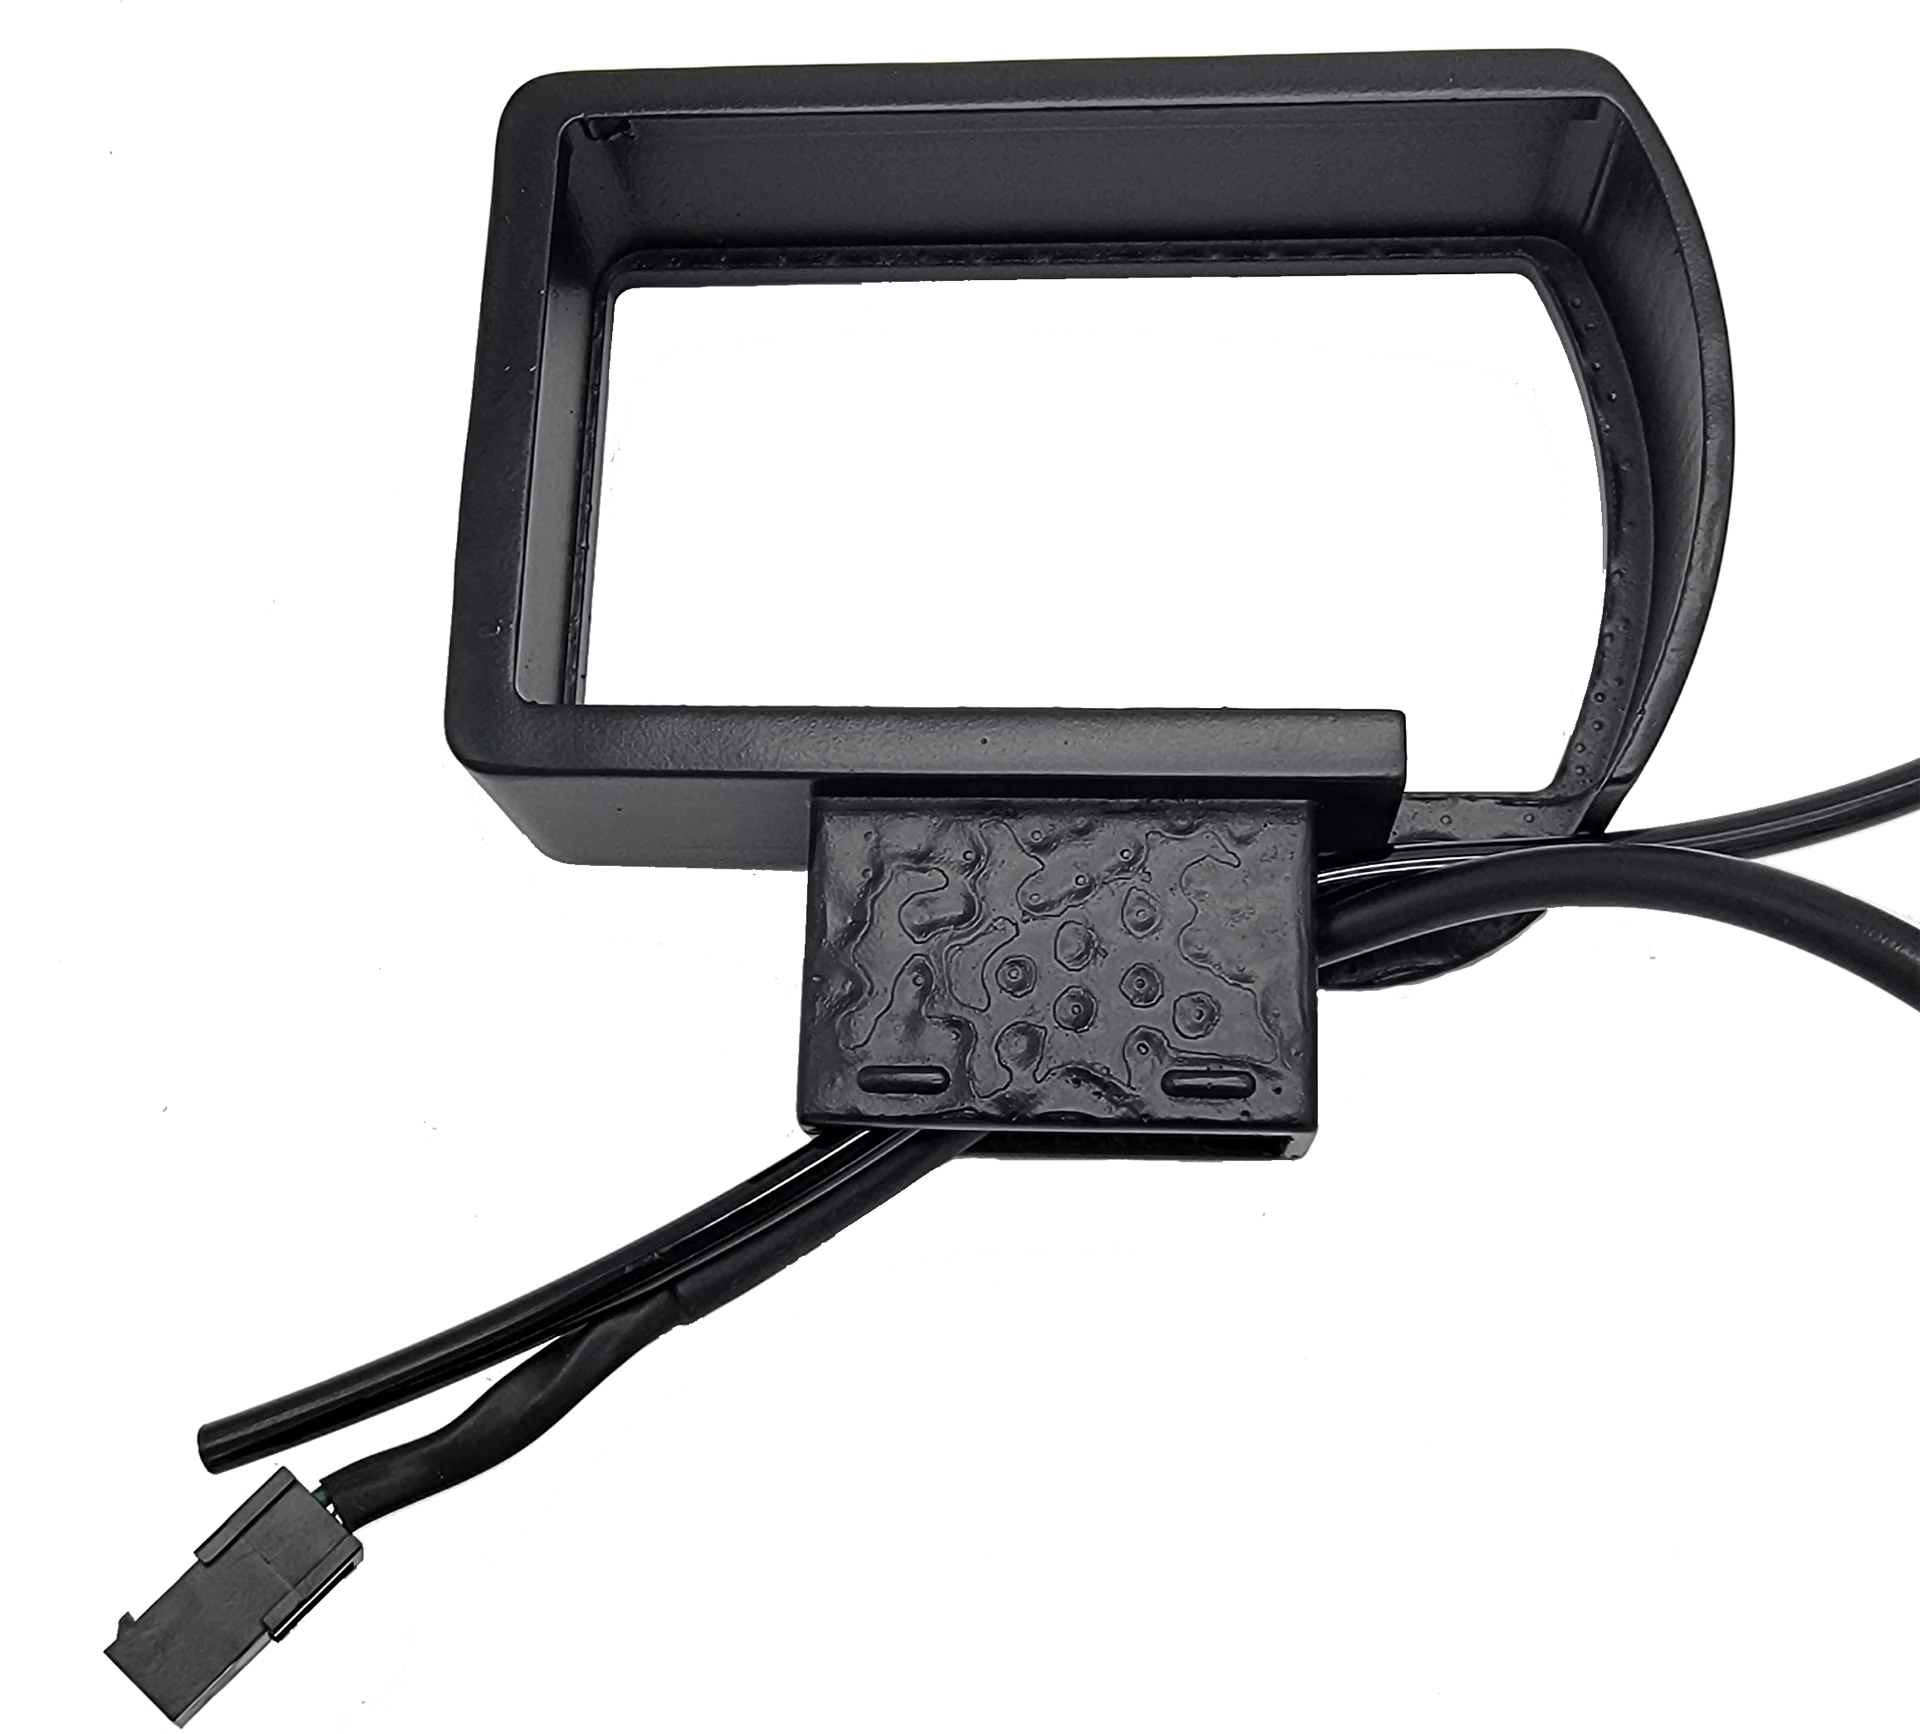
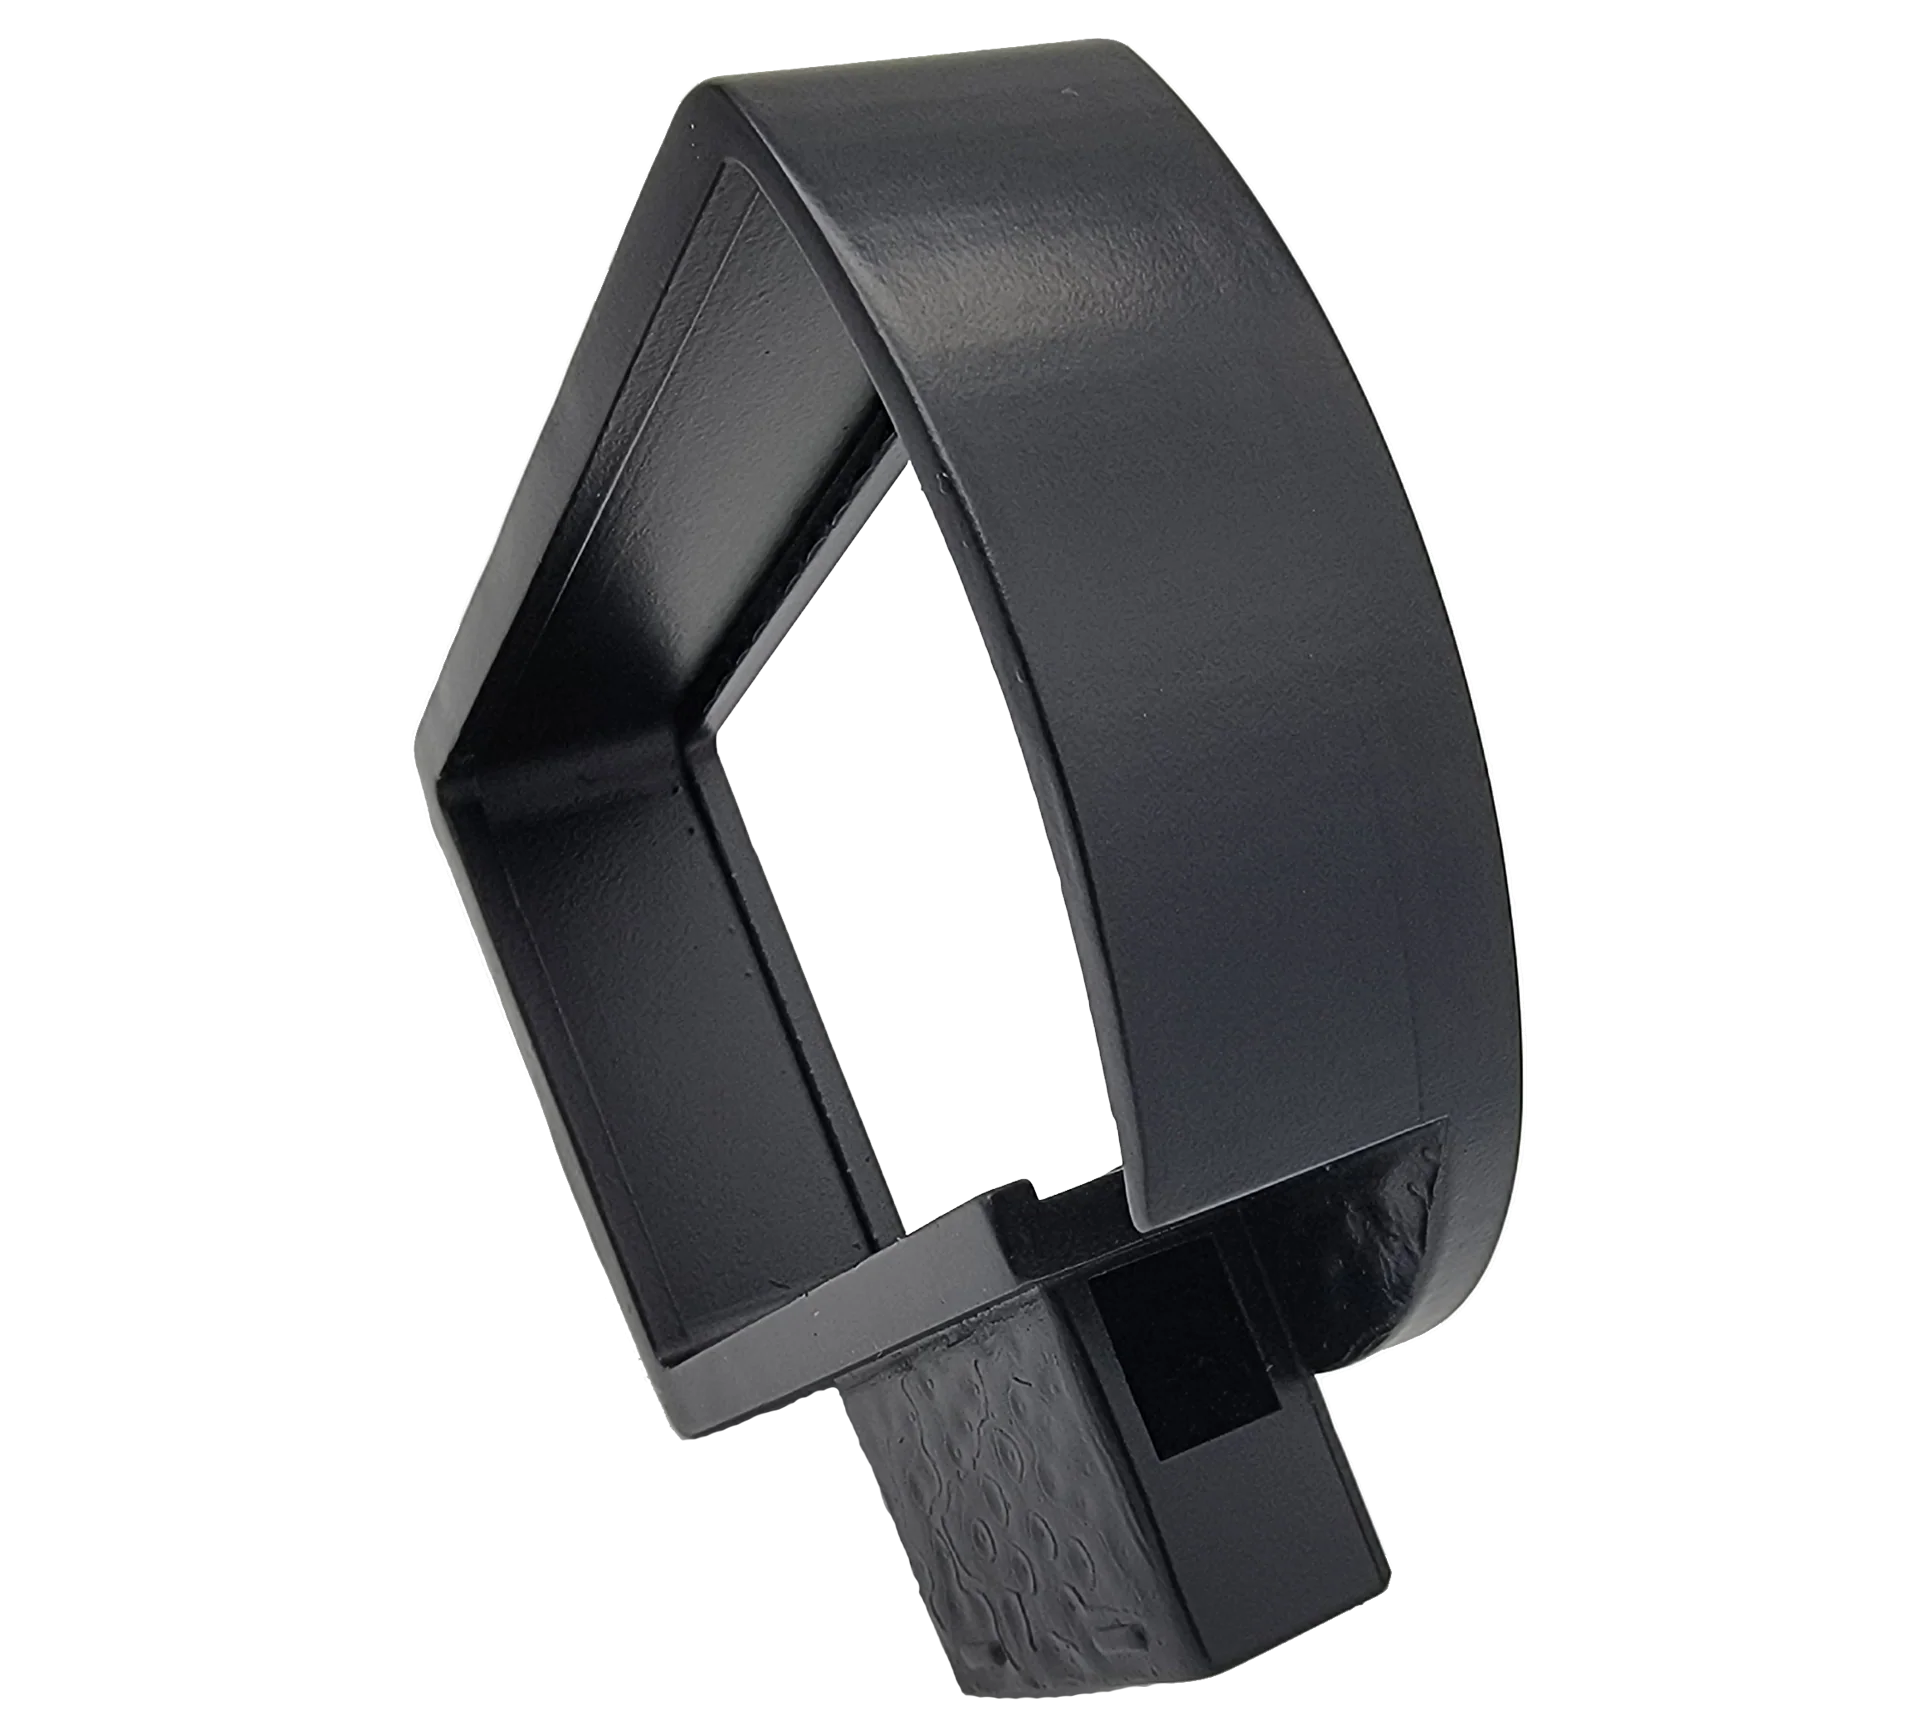
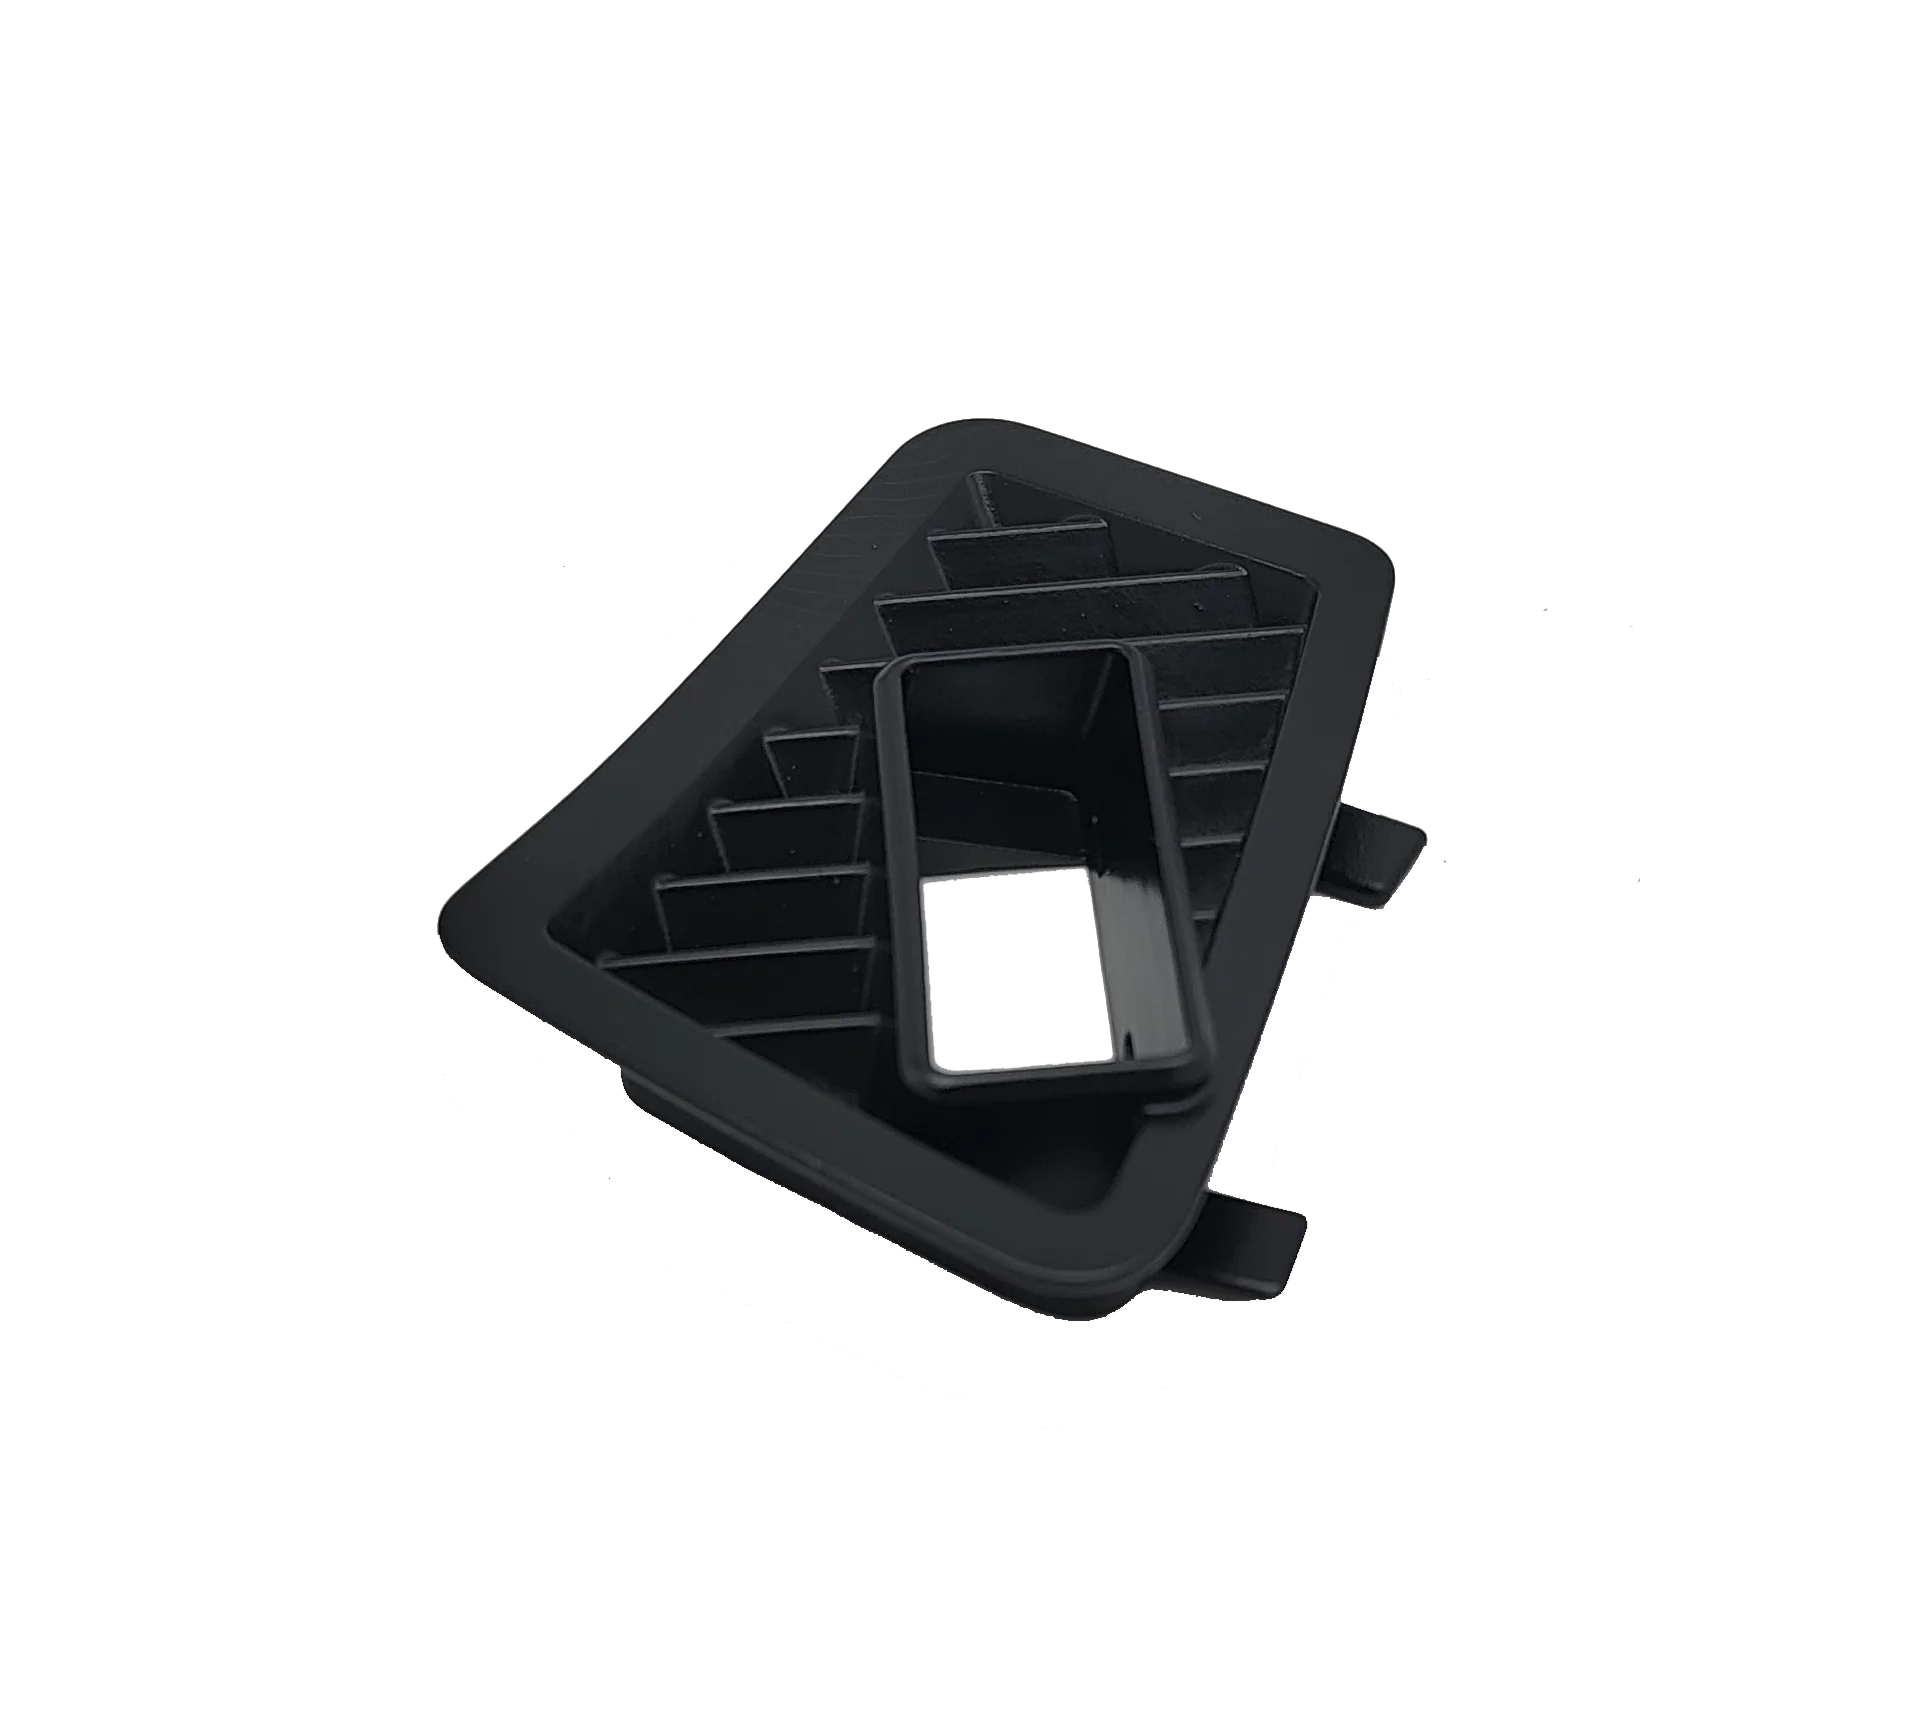
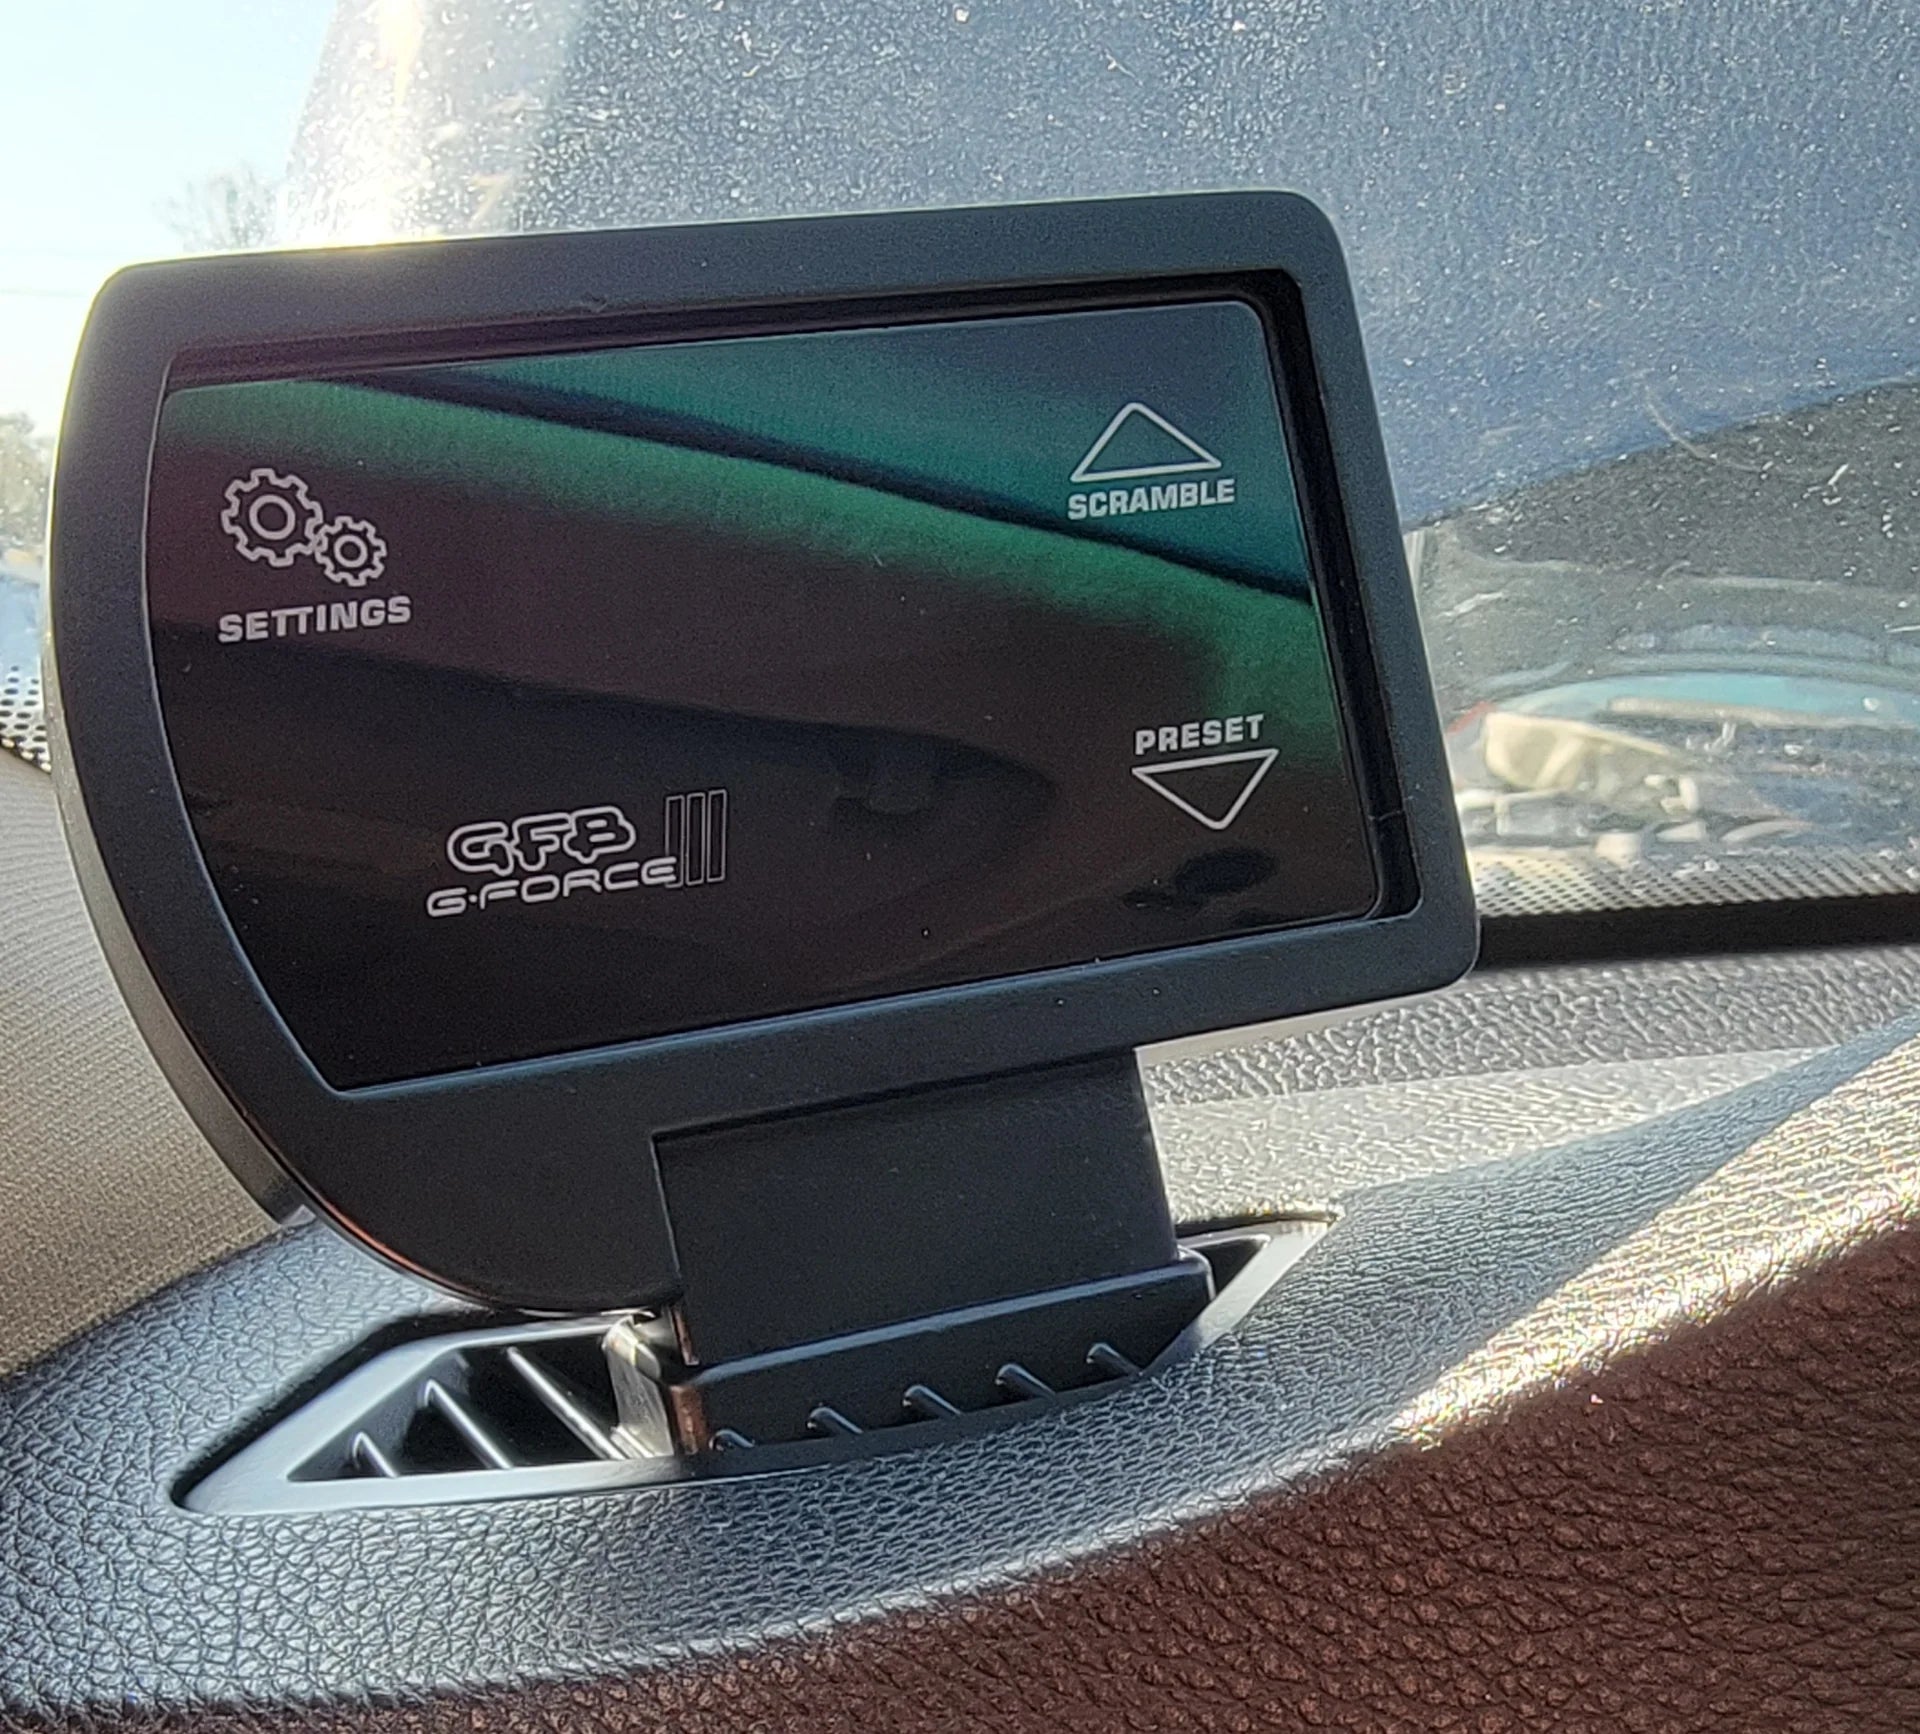
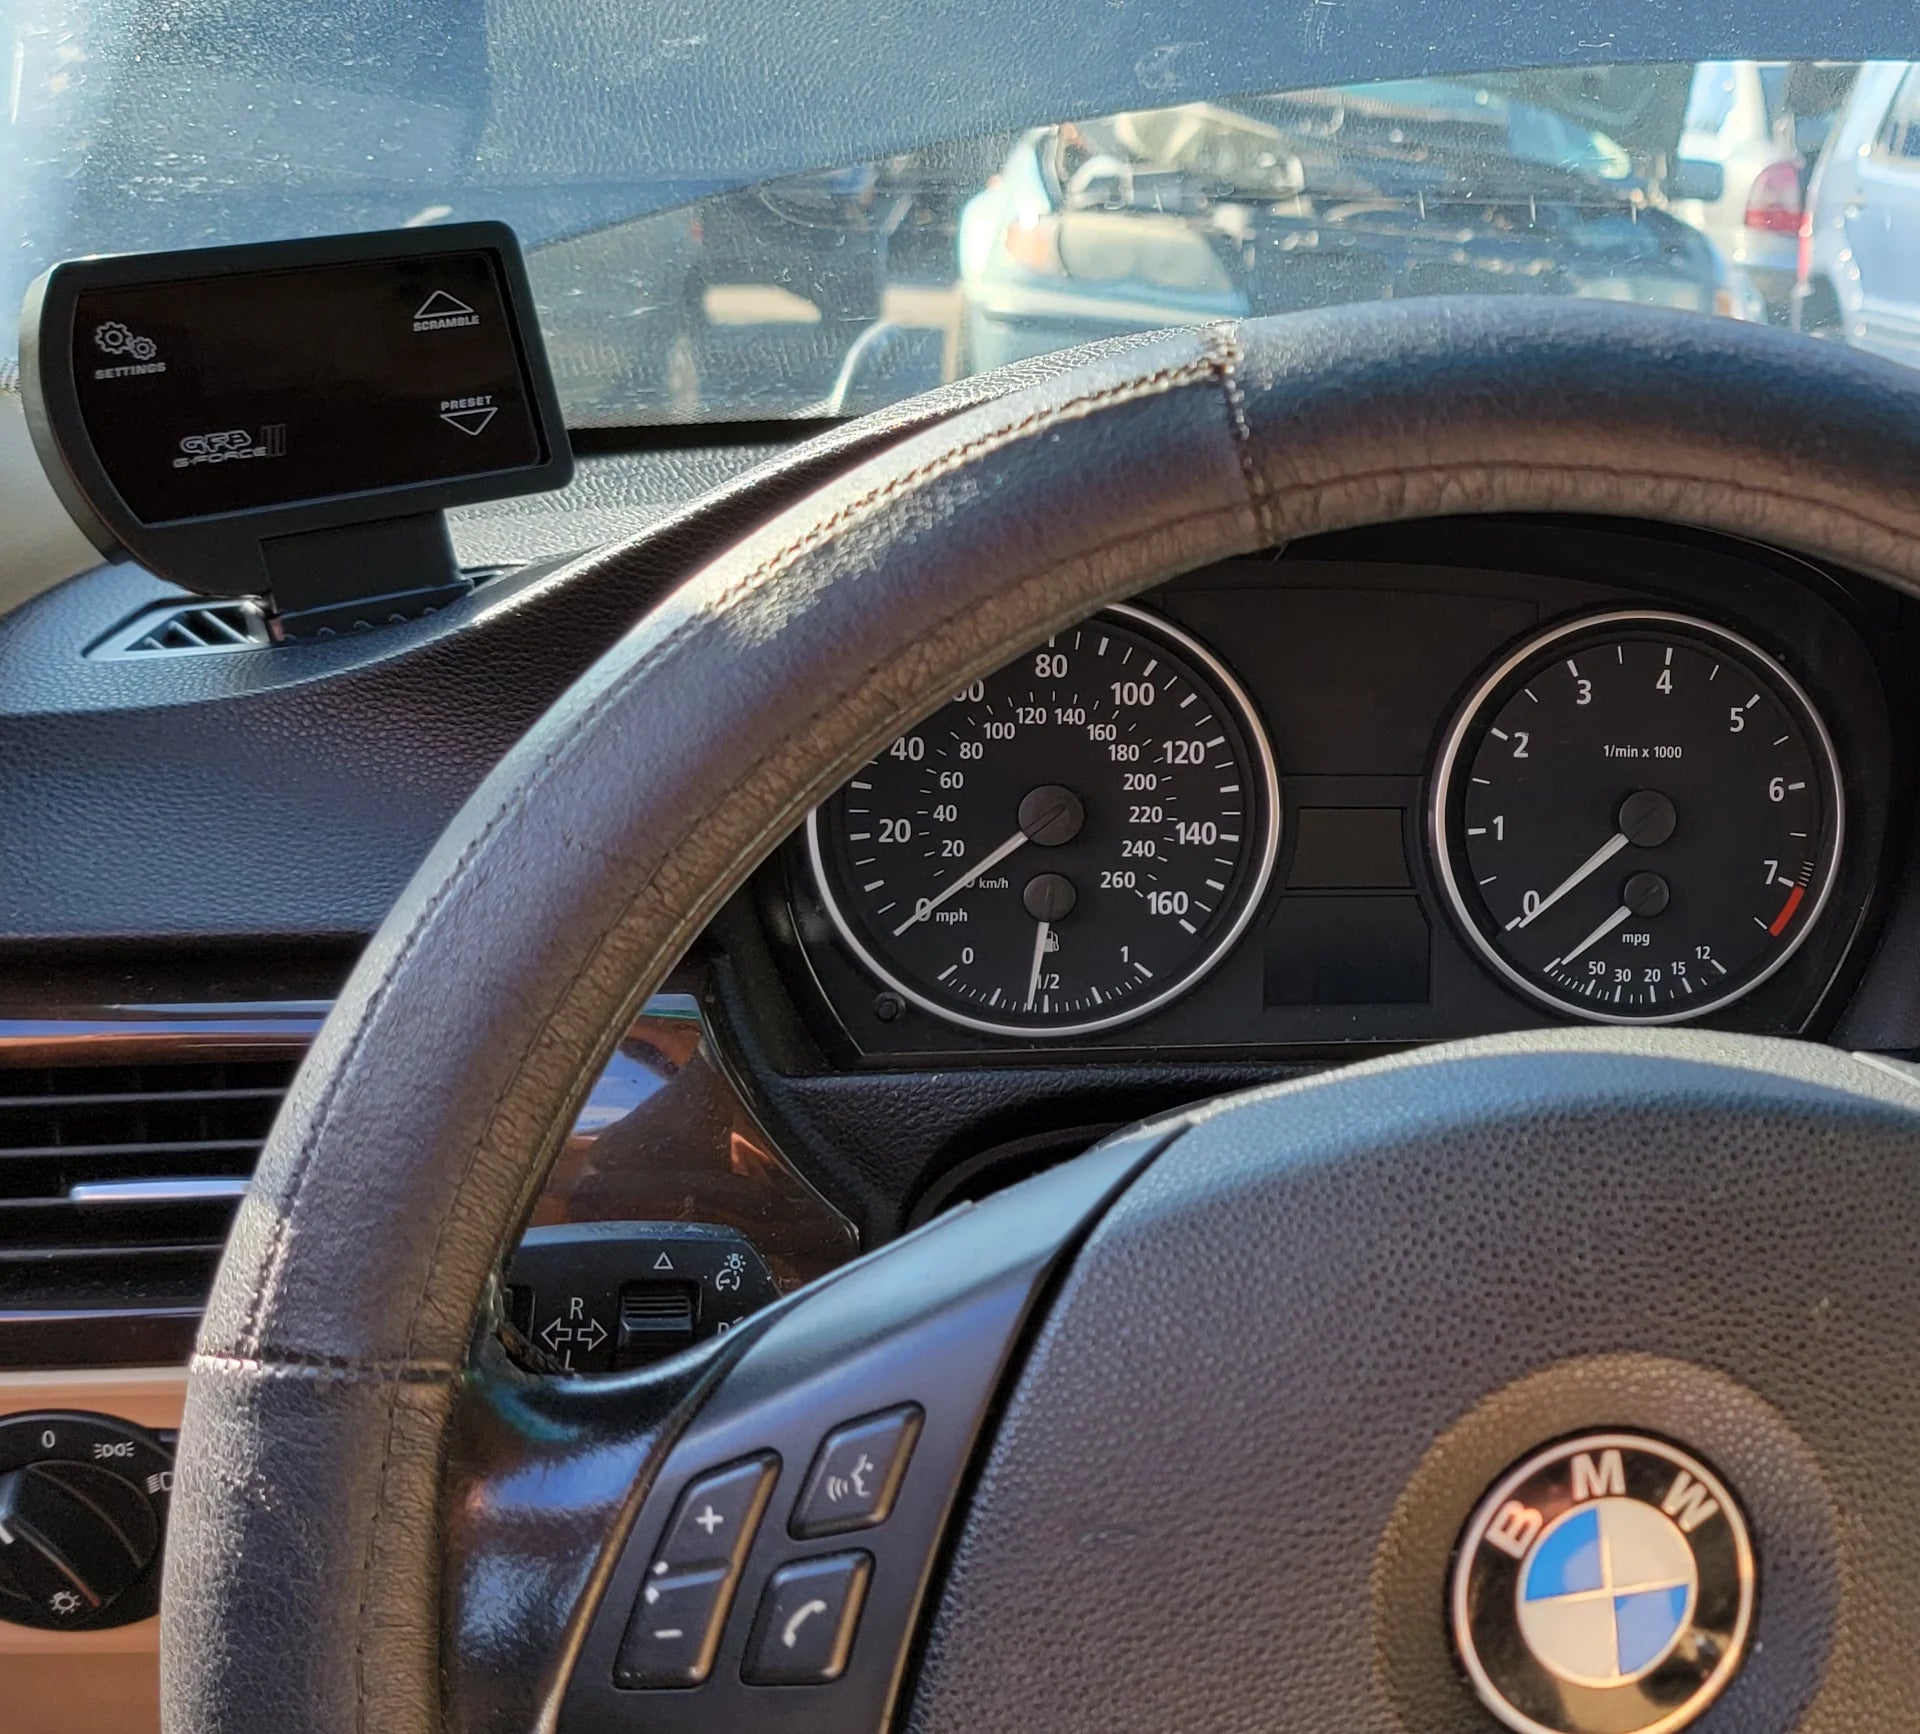
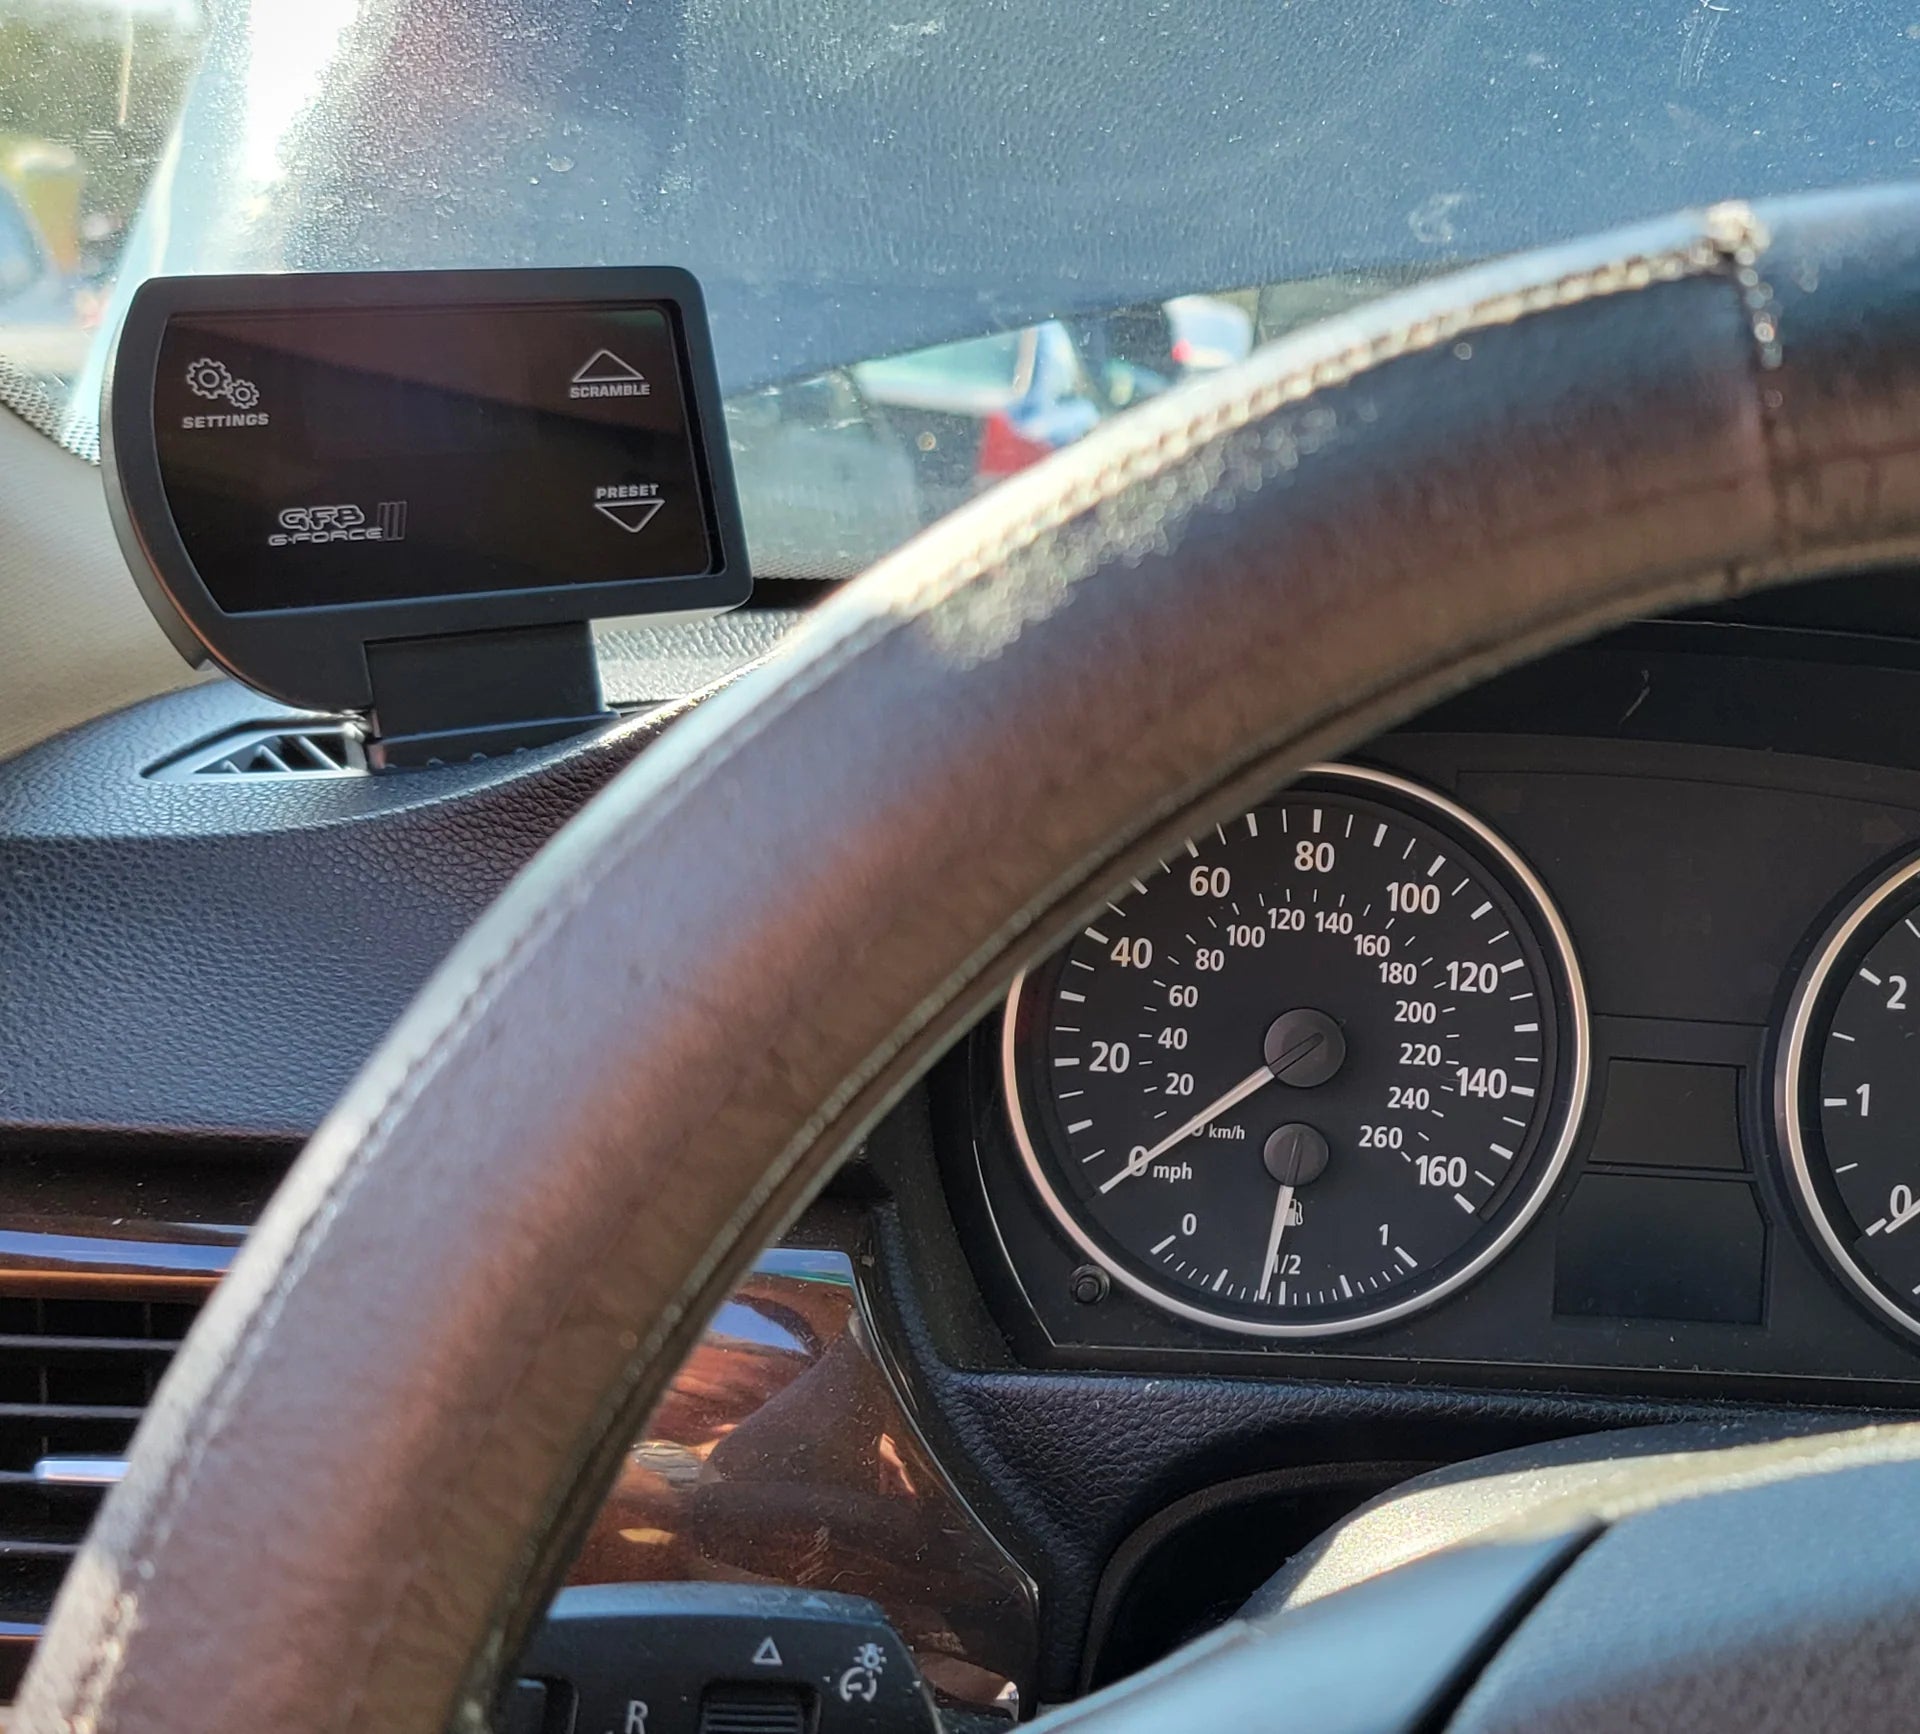
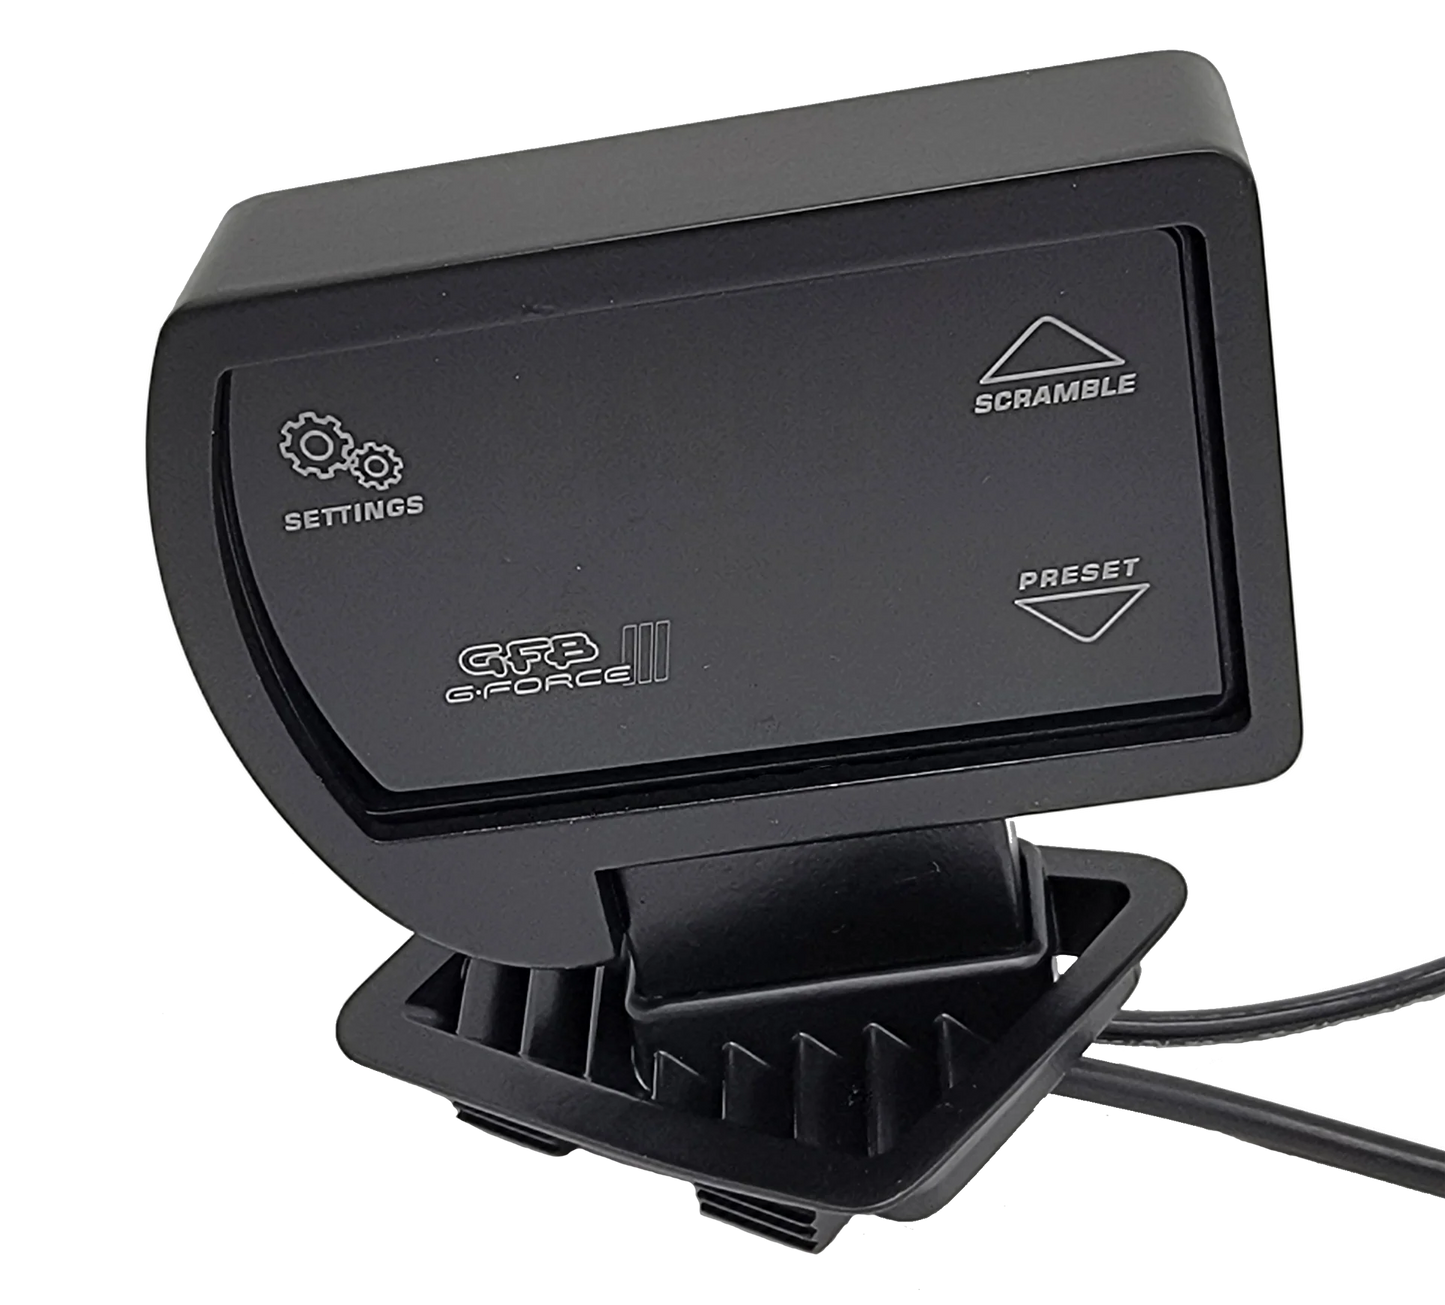
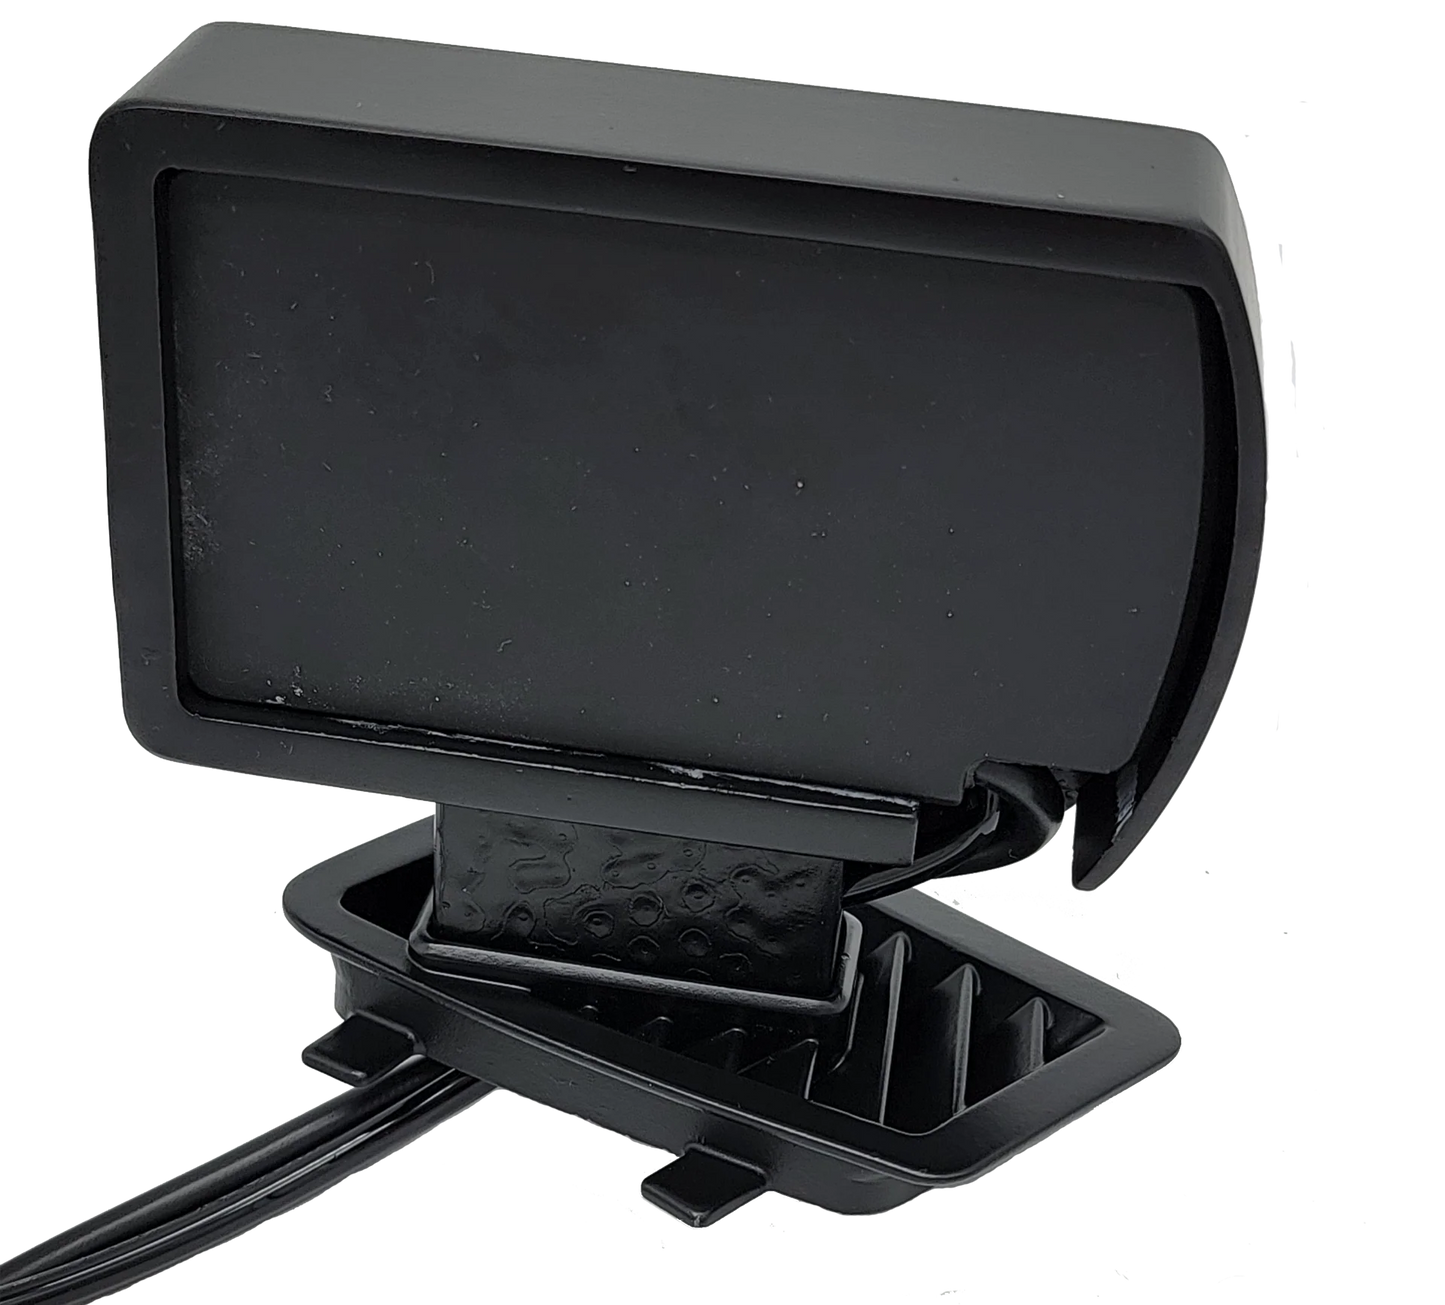
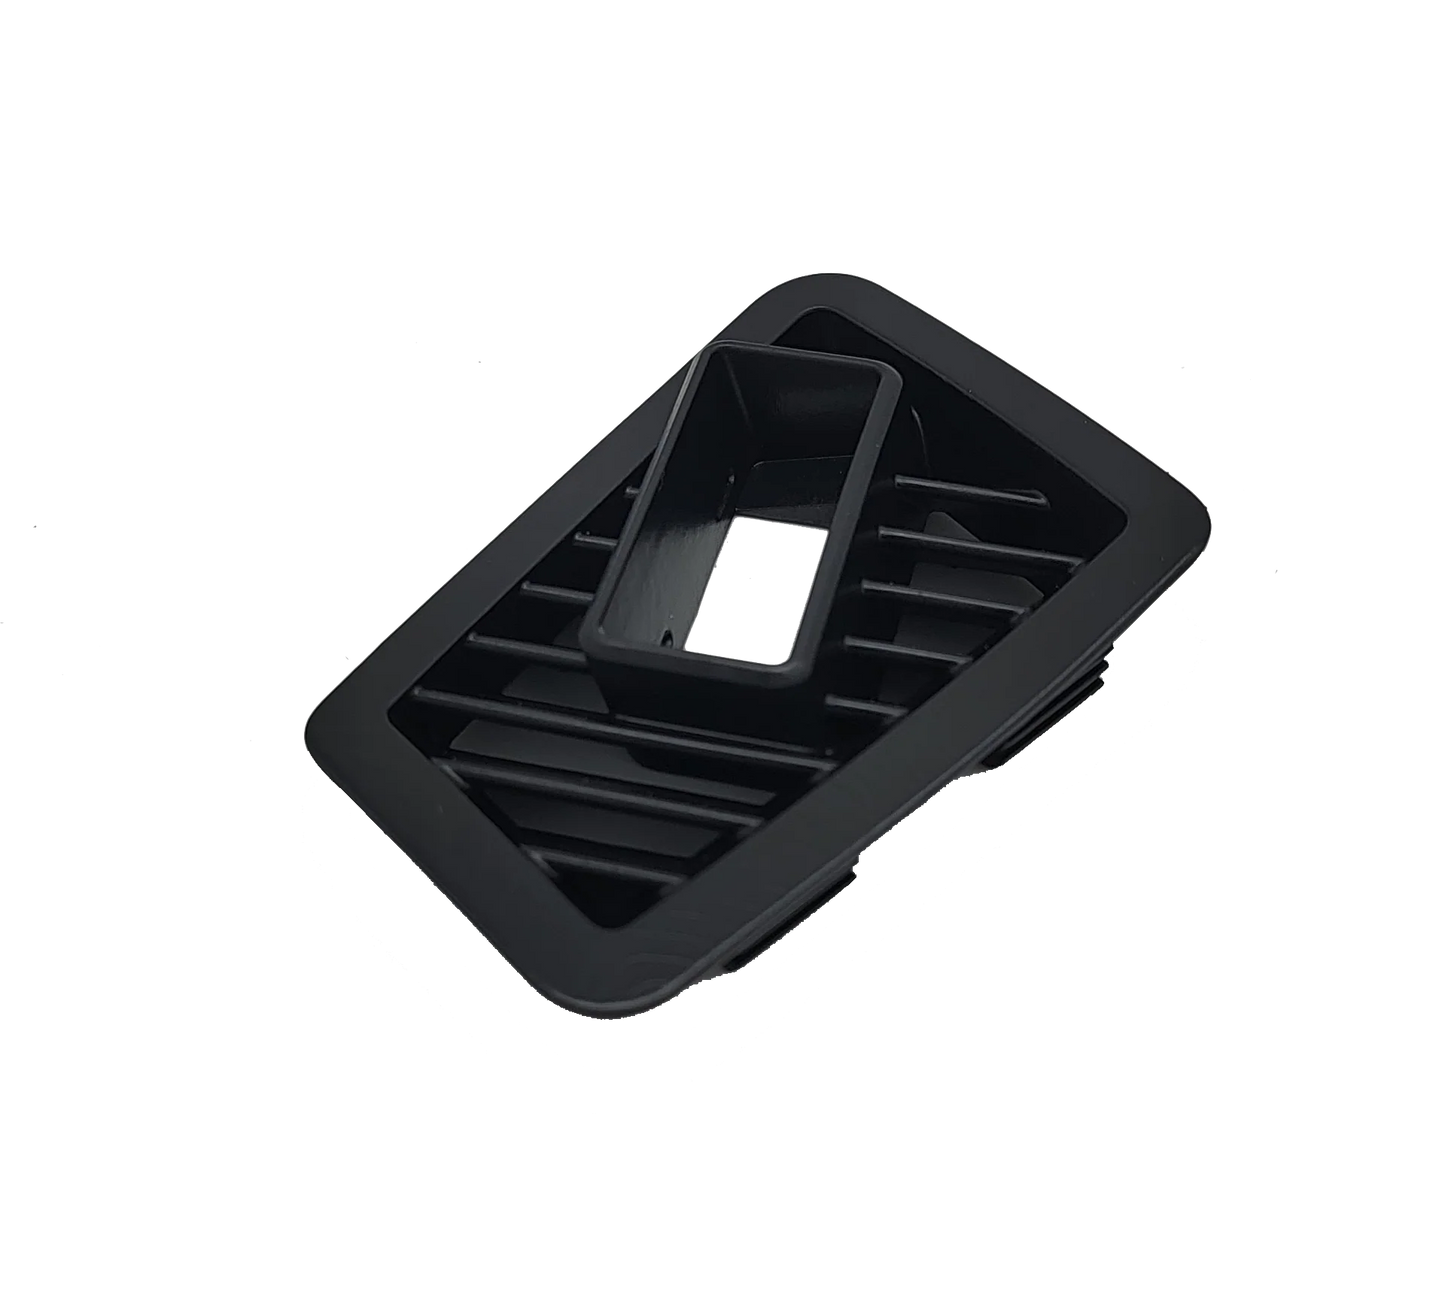
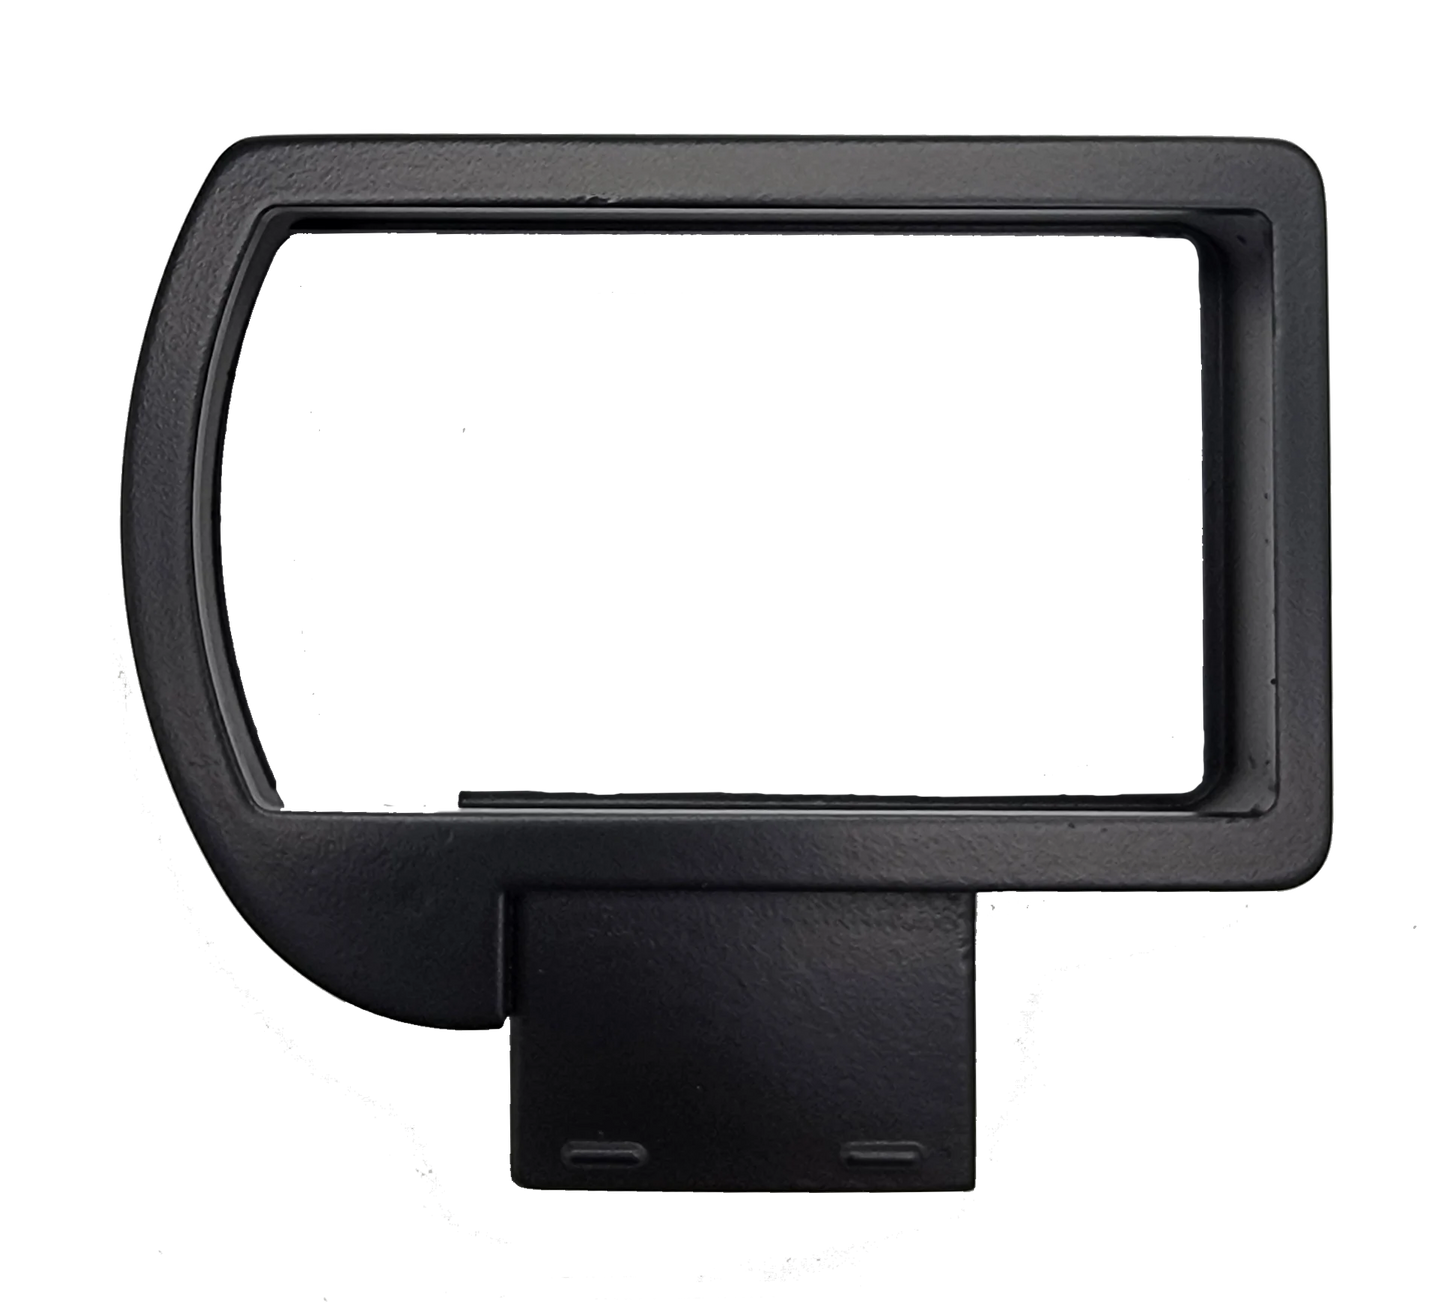
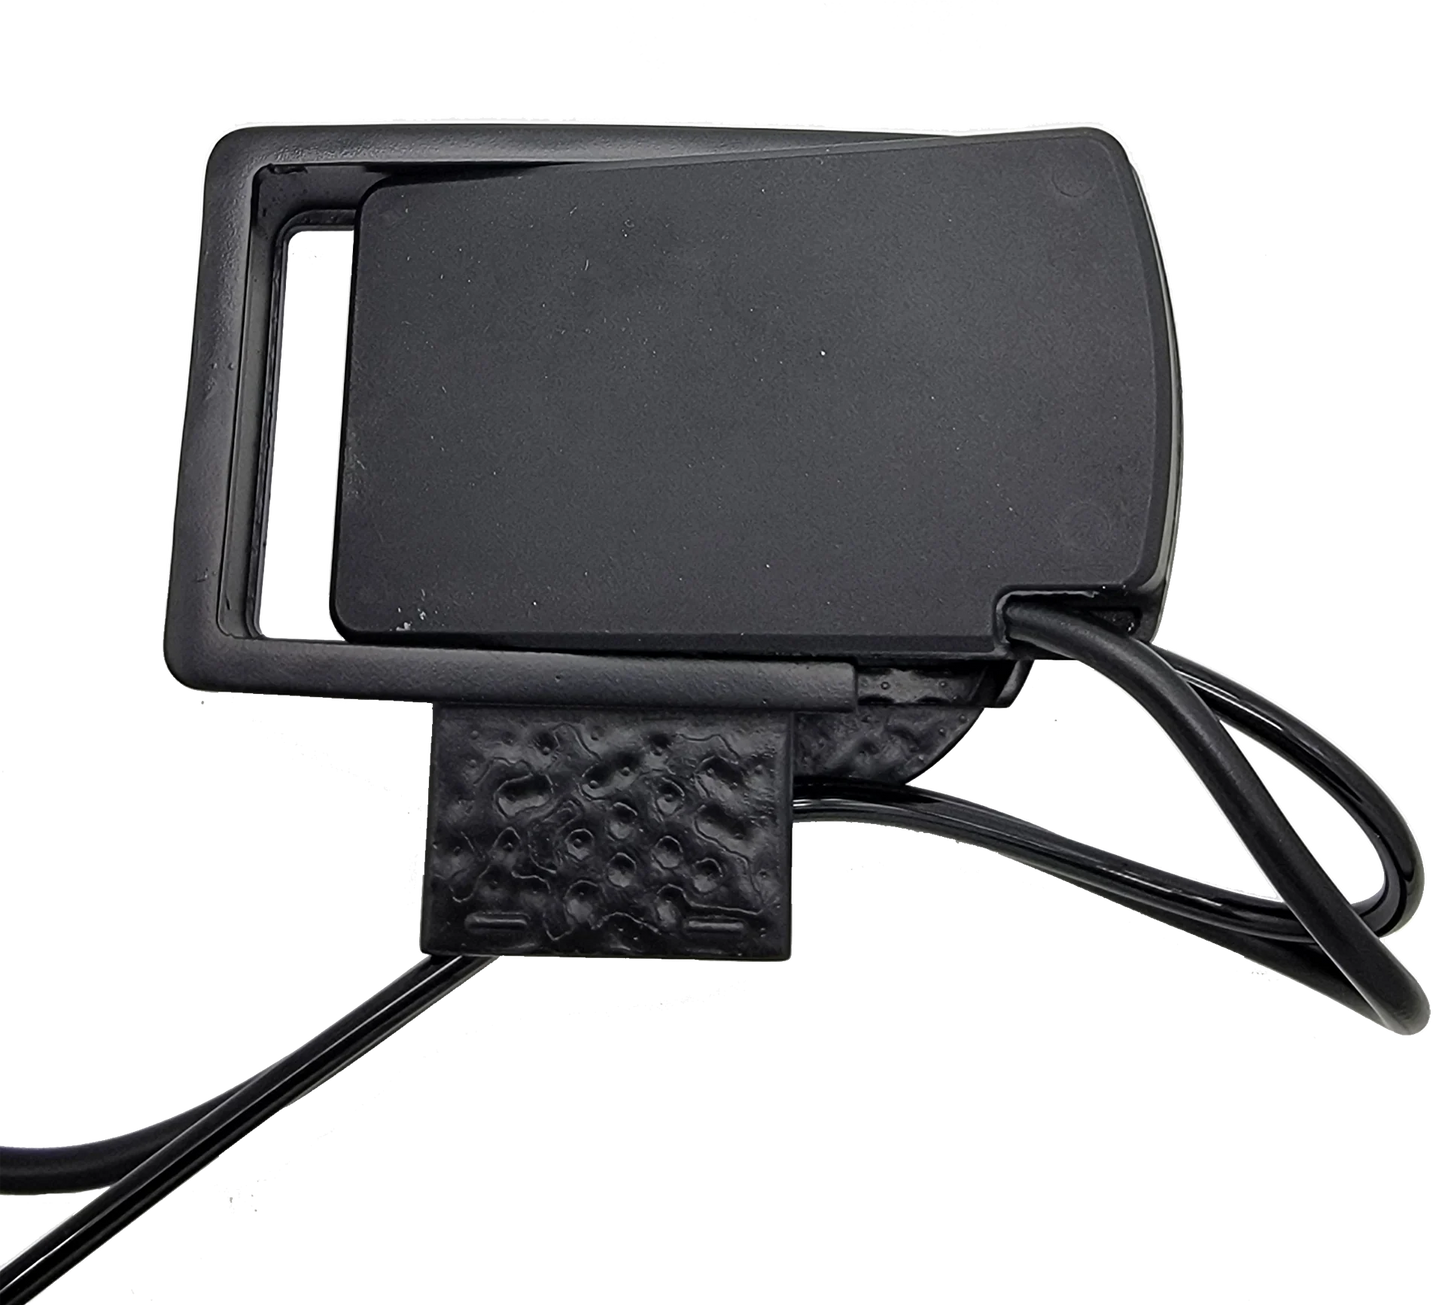
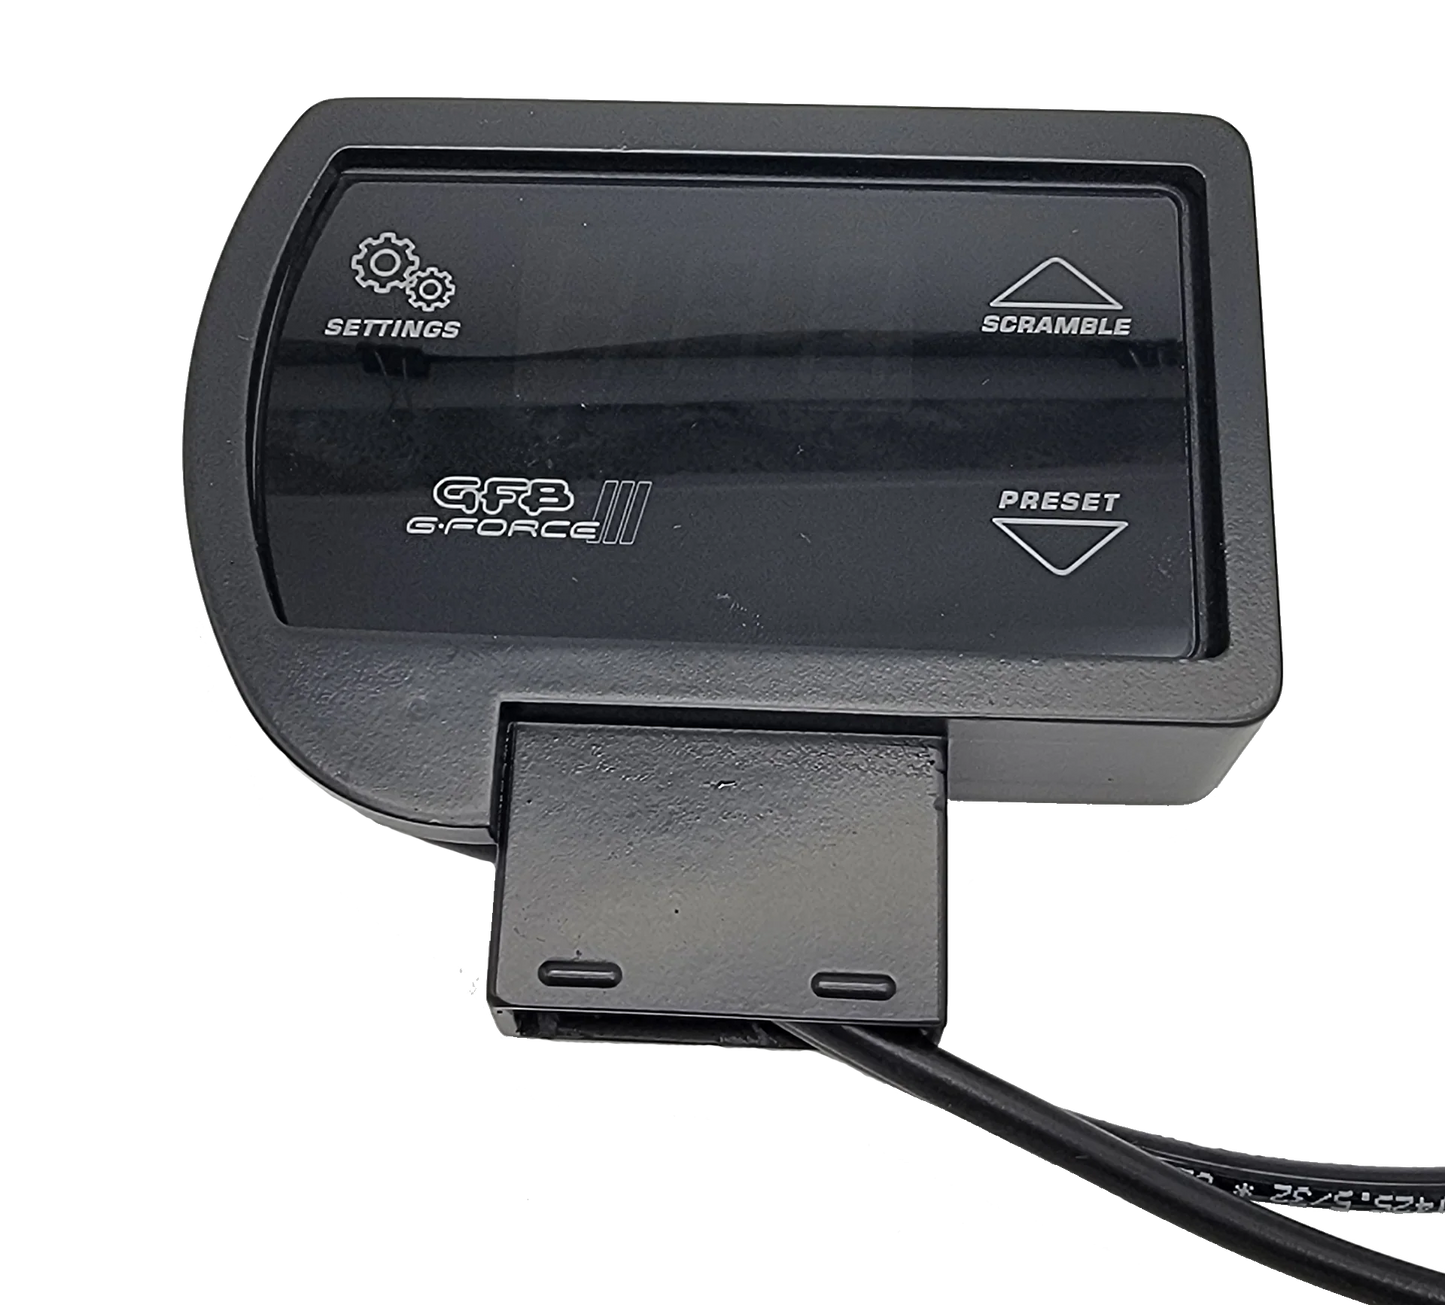
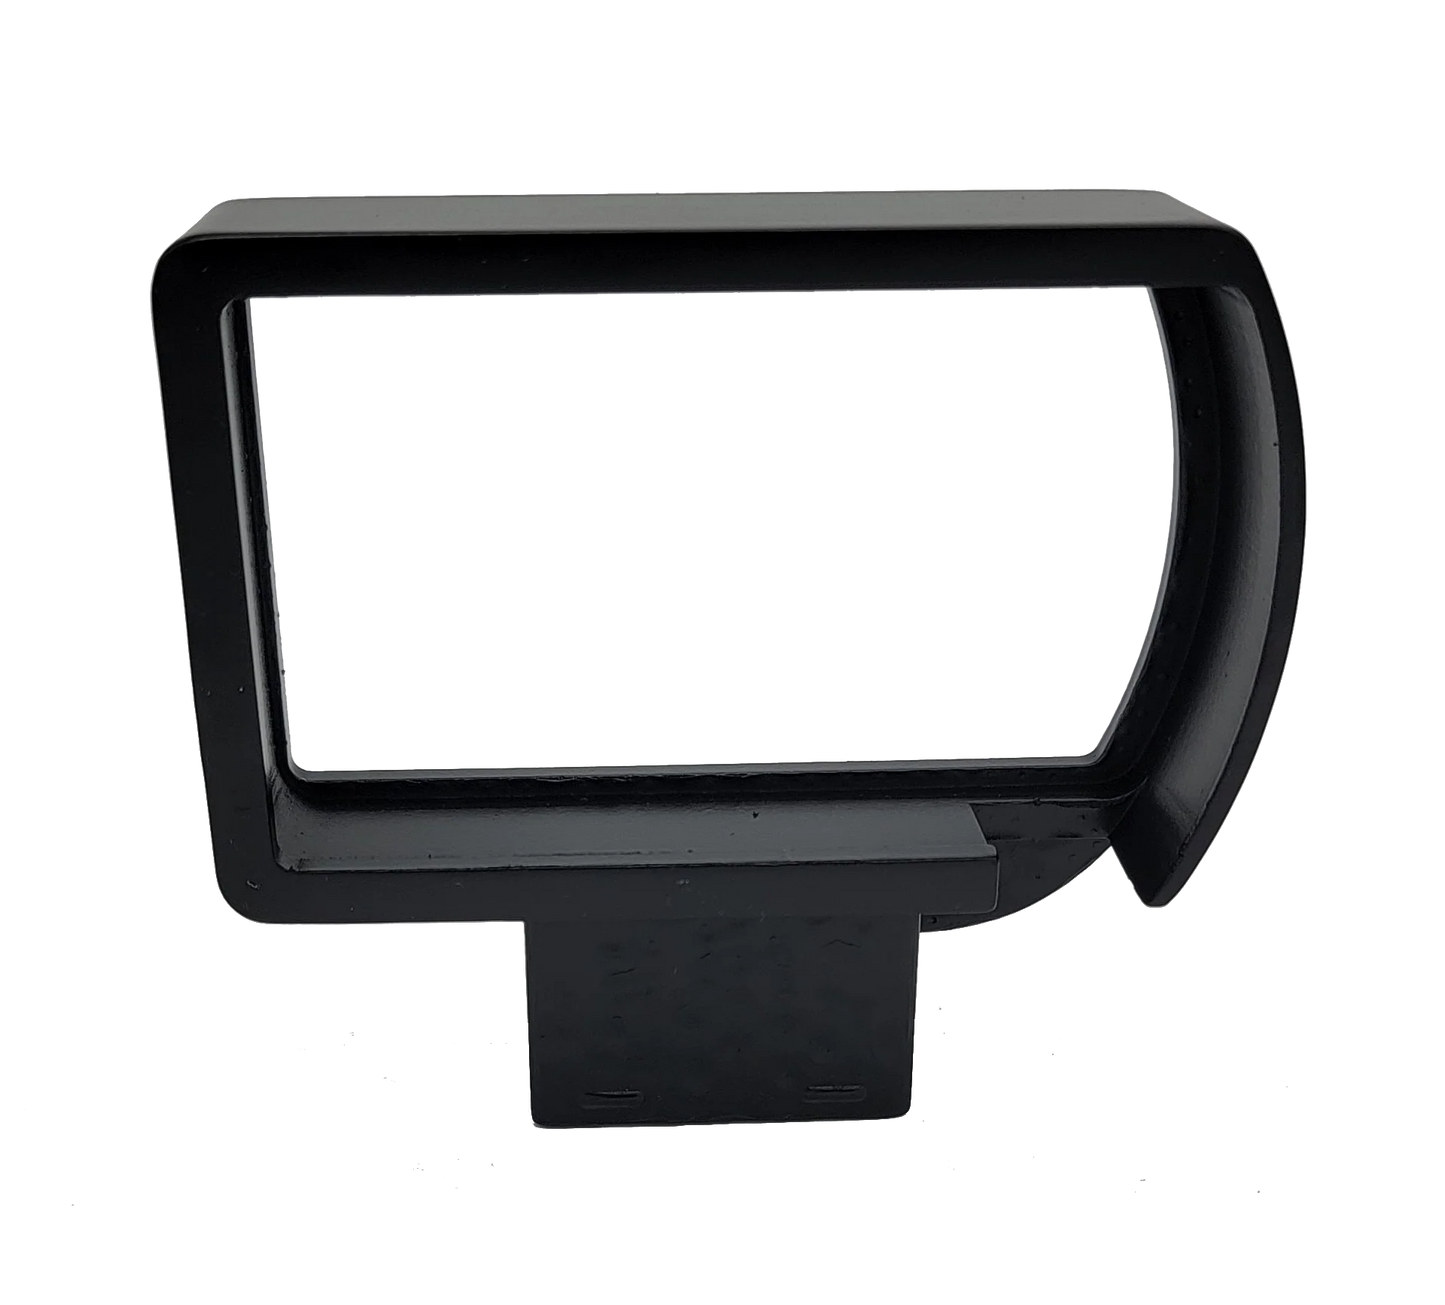
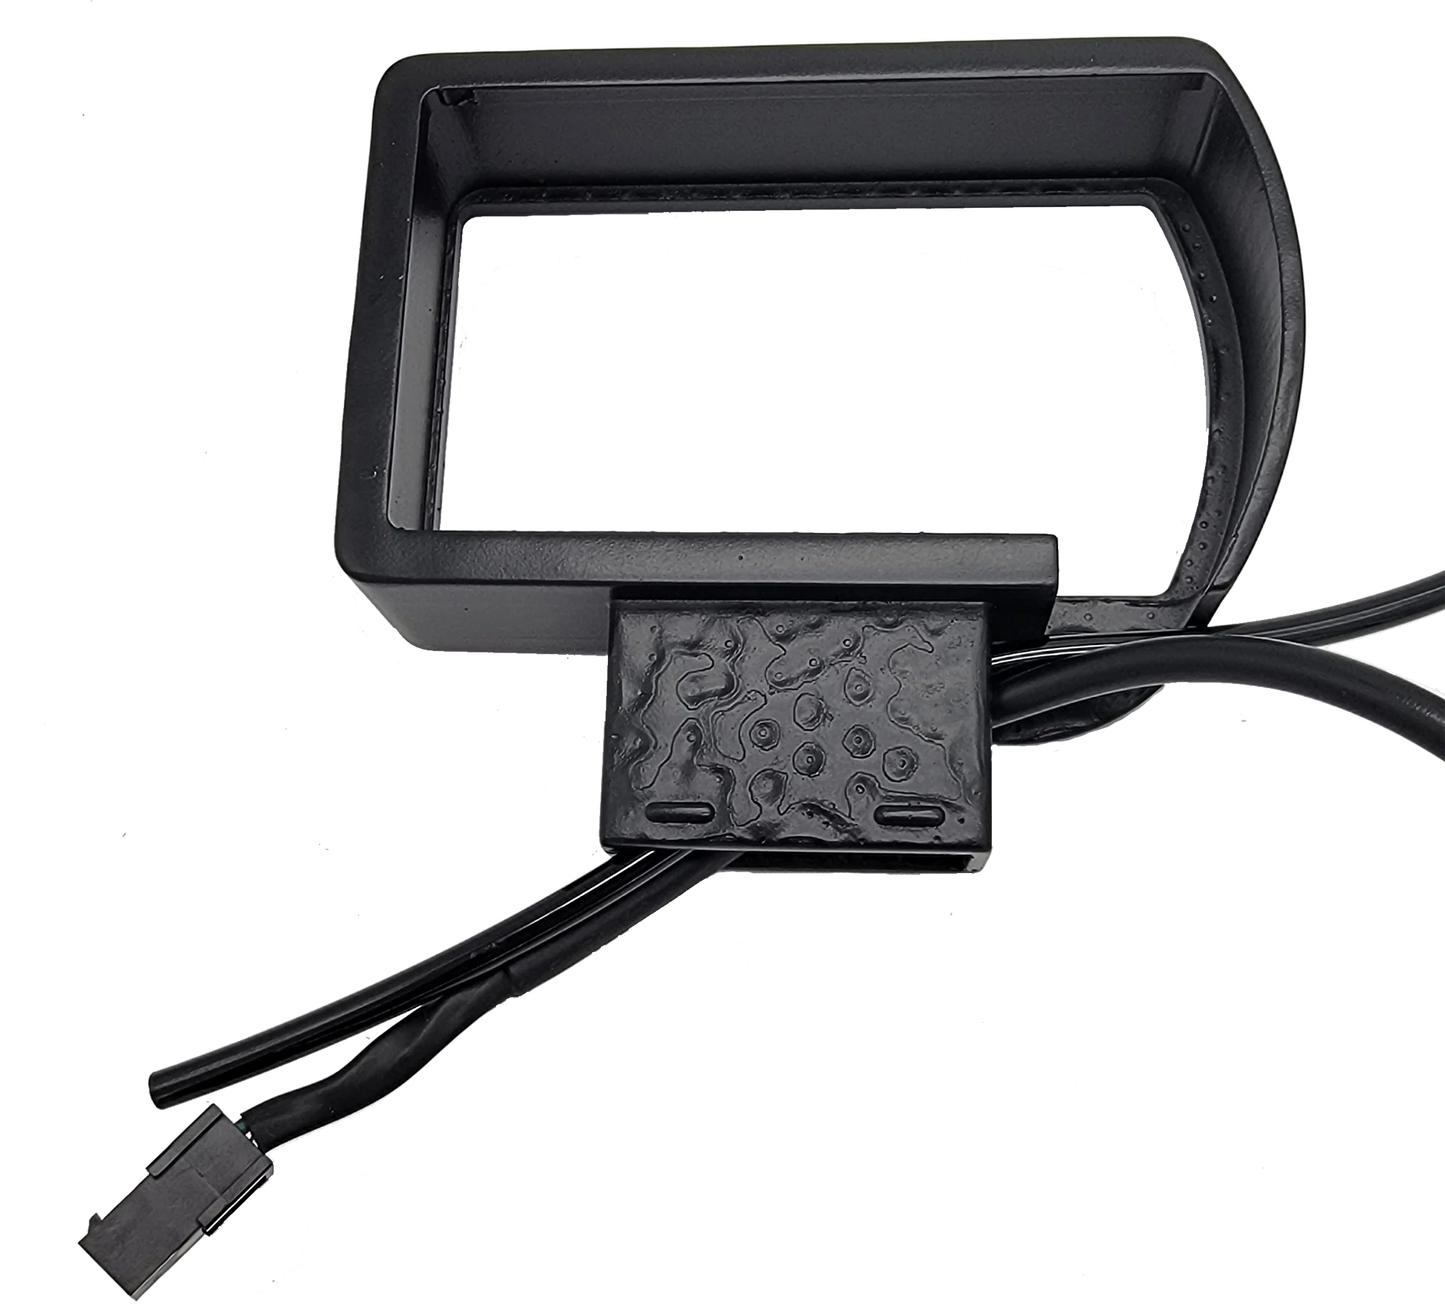
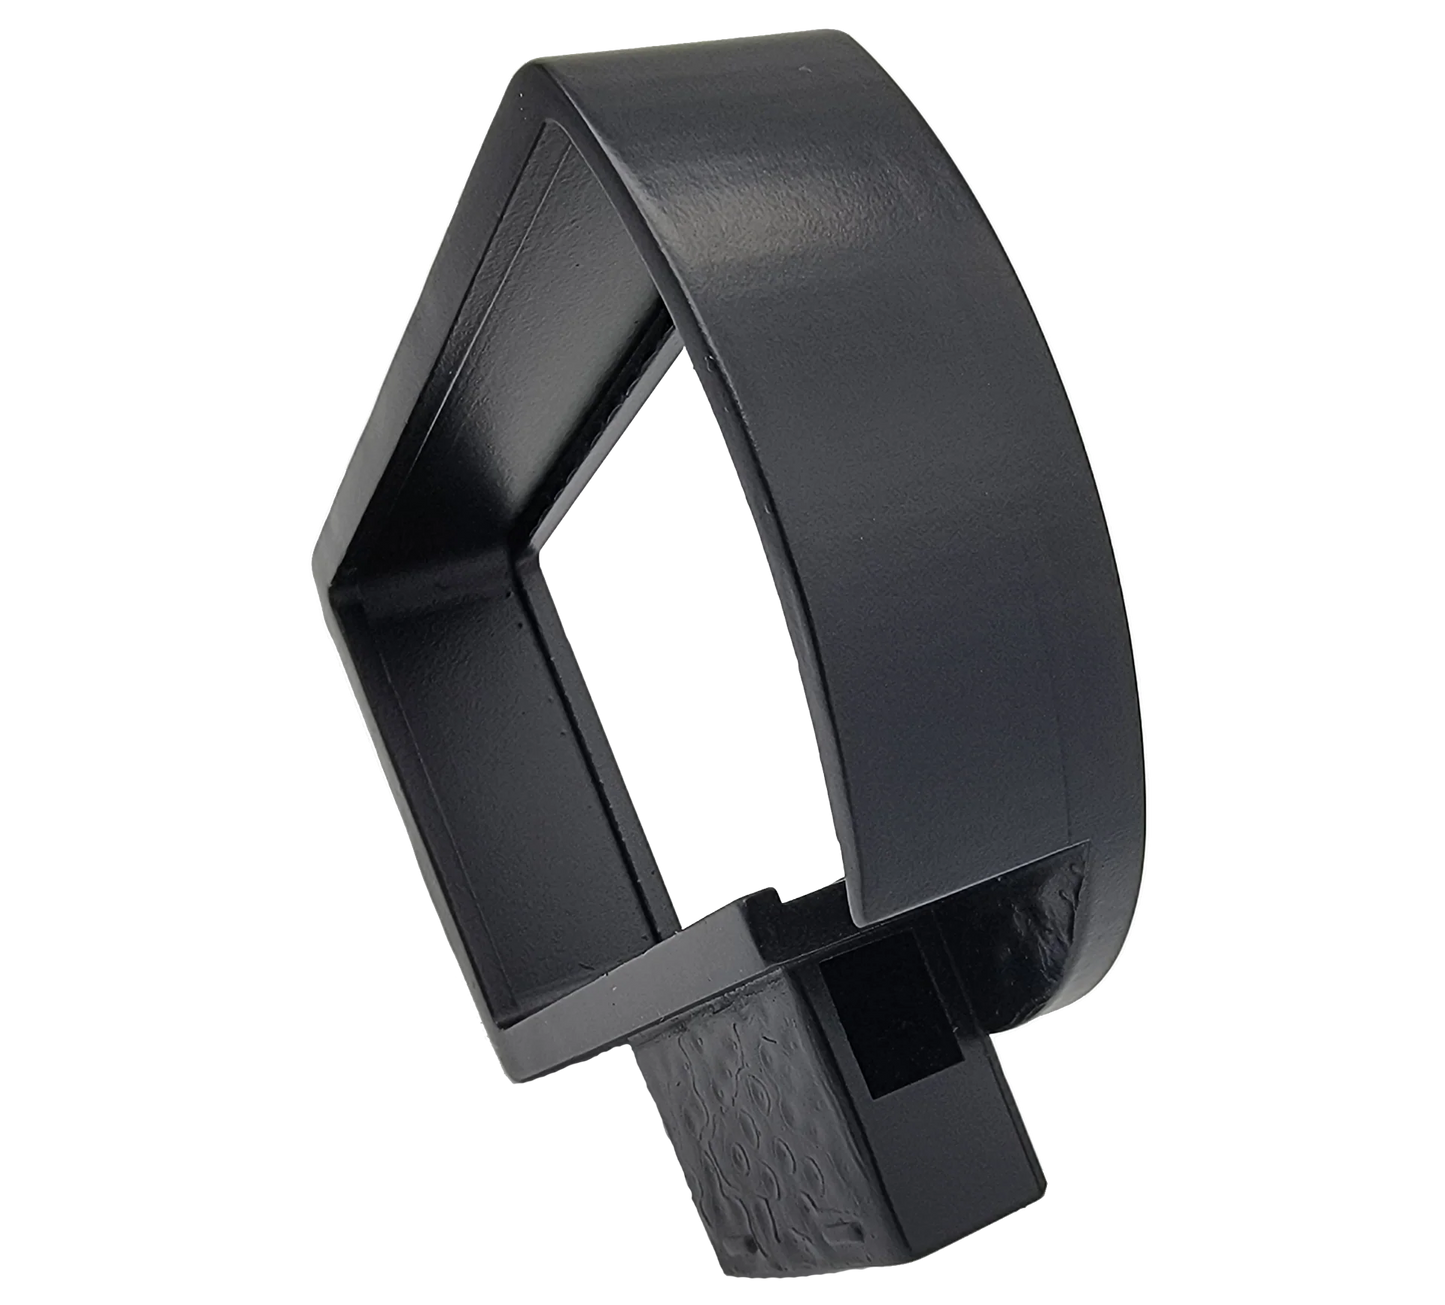
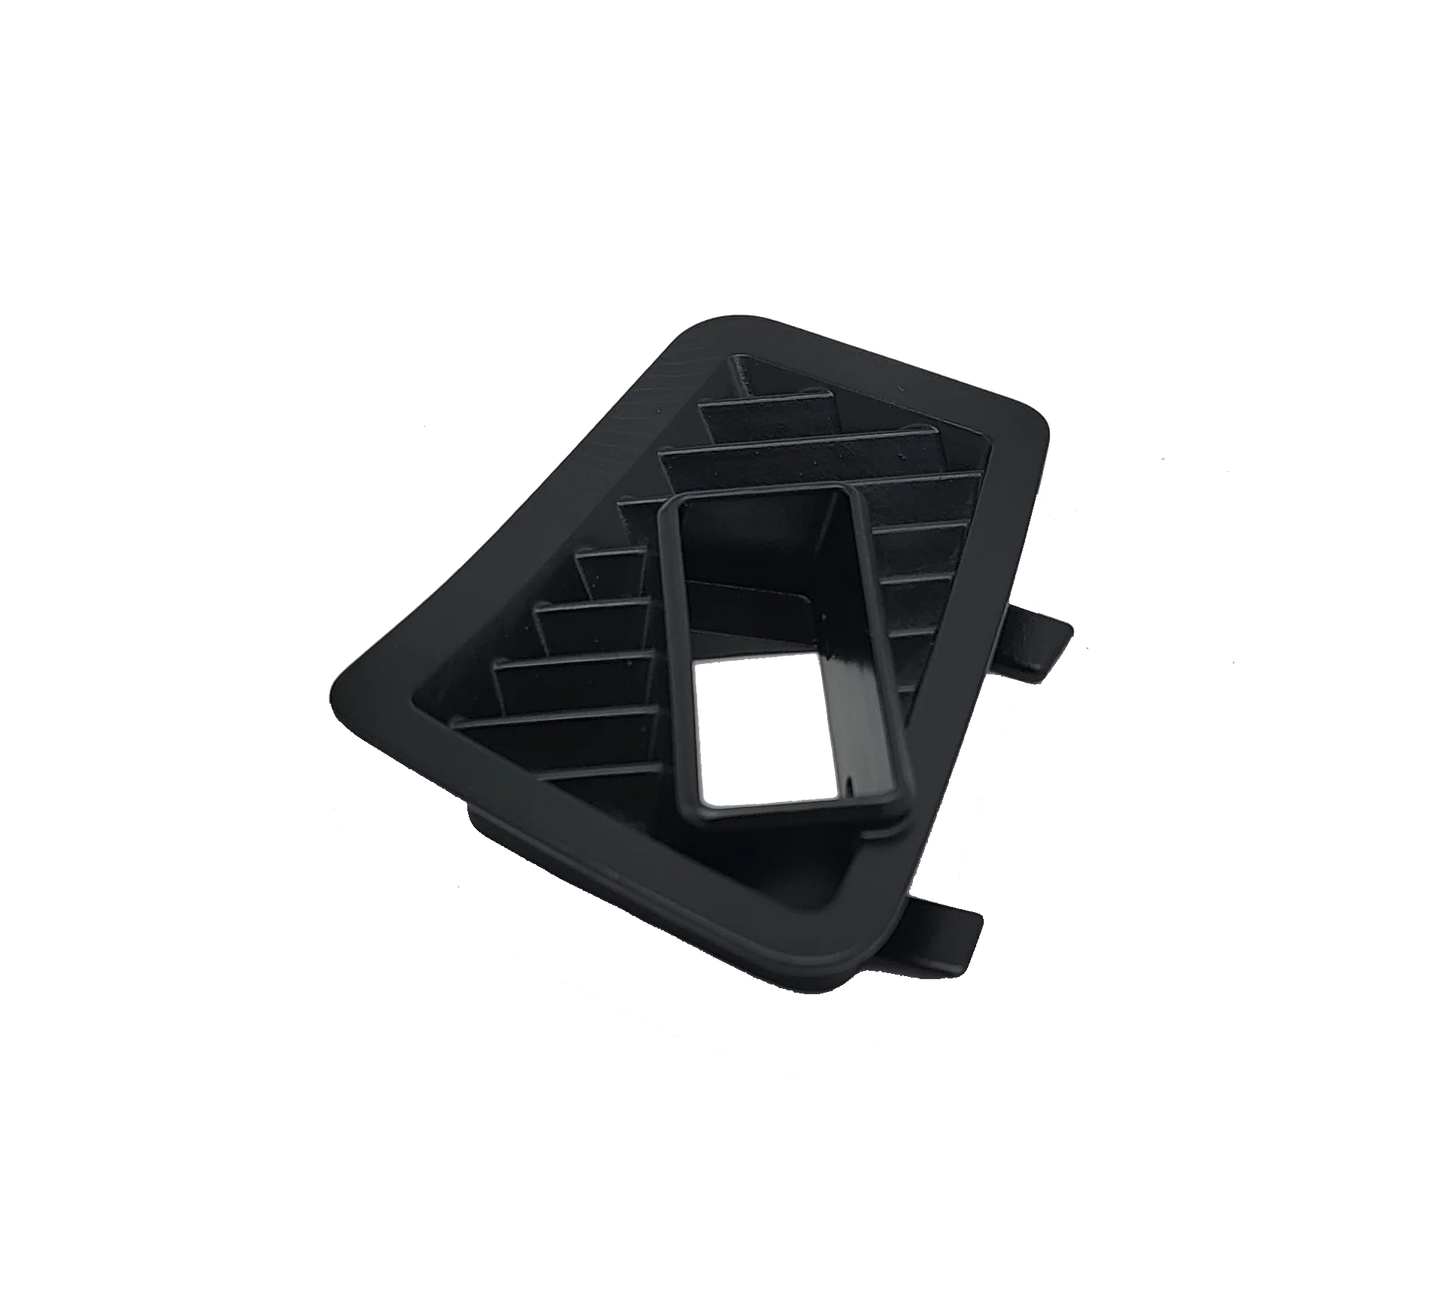
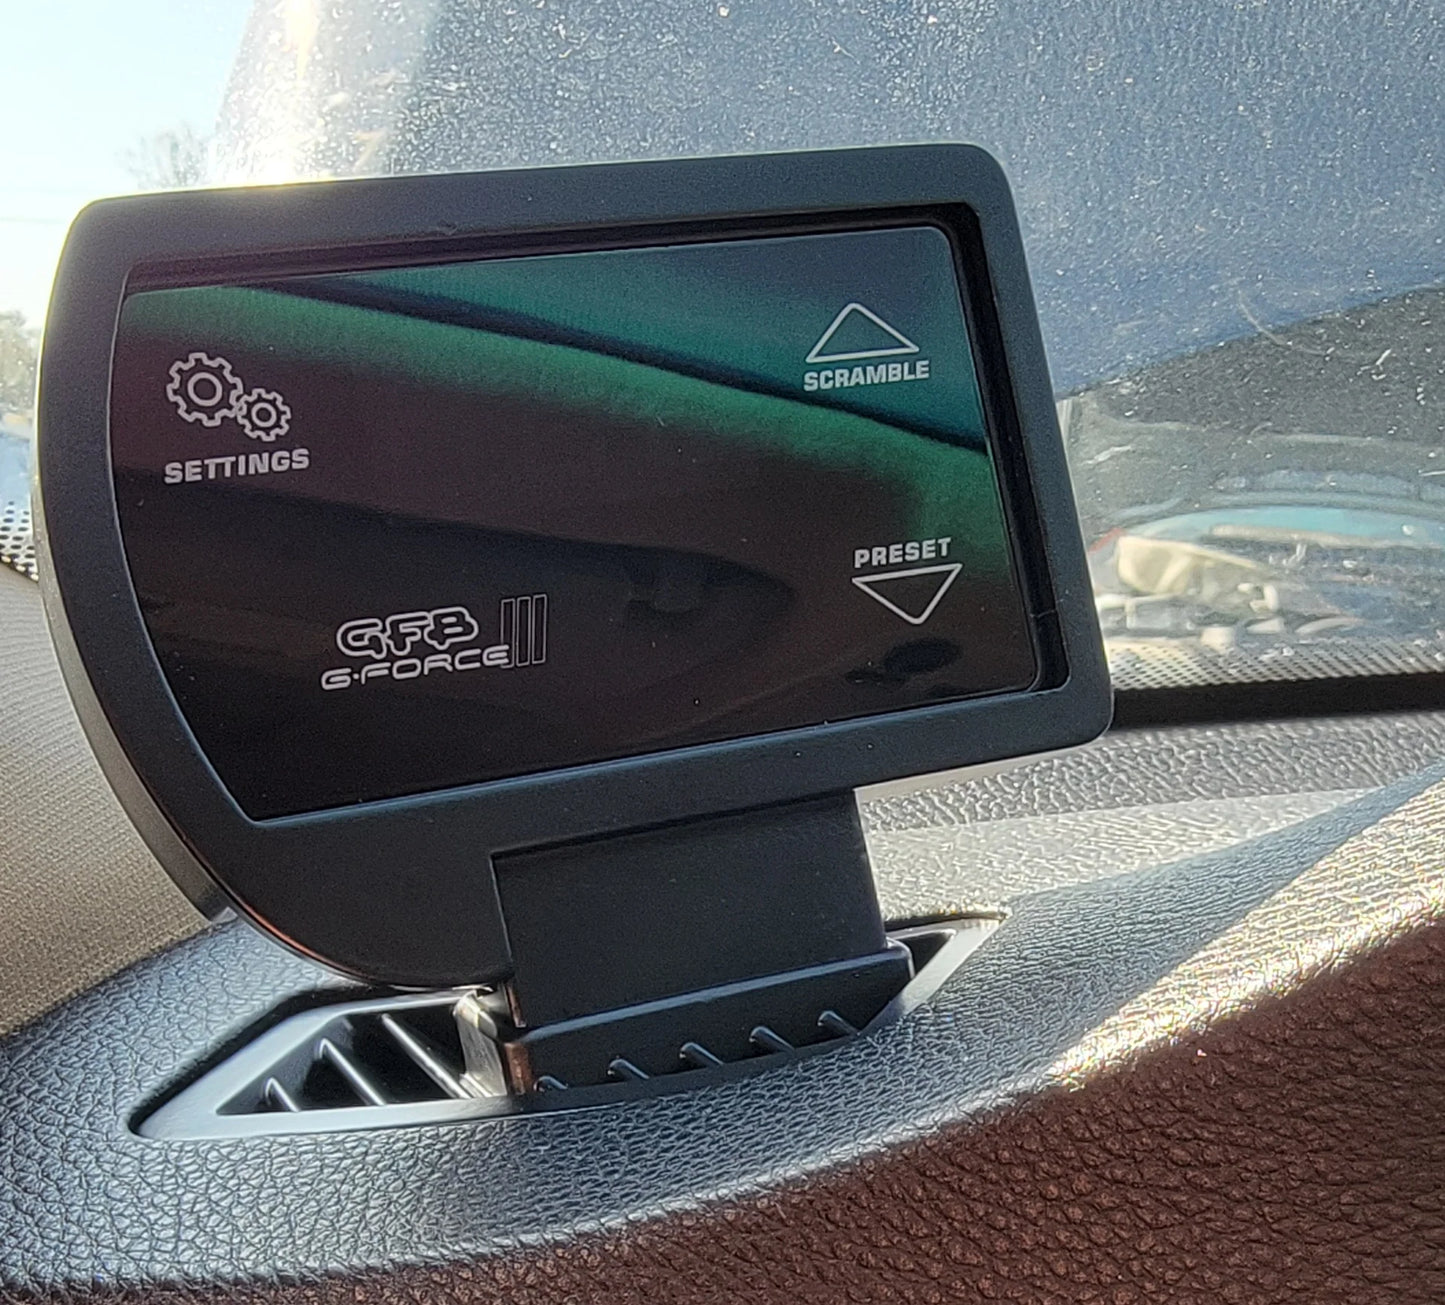
Mount your Go Fast Bits G-Force III boost controller directly to where your OEM defroster vent is without having to drill any holes in your dashboard or your A pillar! These mounts were created by using a 3D scan of the original dashboard defroster vent, then modeled to accept Go Fat Bits G-Force III controllers. Our pods and mounts are 3D printed using a high quality Nylon-like resin, which is then sanded and painted to provide a near-OEM look.
Fitment:
These will fit Go Fast Bits G-Force III's and GFB-2's as well. They fit all versions of E9X BMW's.
Current Lead Time: 1 Business Day*
*Please note that these typically have a 1 - 2 day lead time as they are made in small batches, then sanded and painted with a 1 - 2 day curing time to ensure a strong paint bond.
FAQ:
Q: How do I install this?
A: These are easily installed by removing your OEM dashboard vent. Using trim removal tools is recommended. Detailed instructions are below:
- Remove the OEM dashboard defroster vent and run the wiring for the GFB-3 controller up through the dashboard vent before installing the vent base.
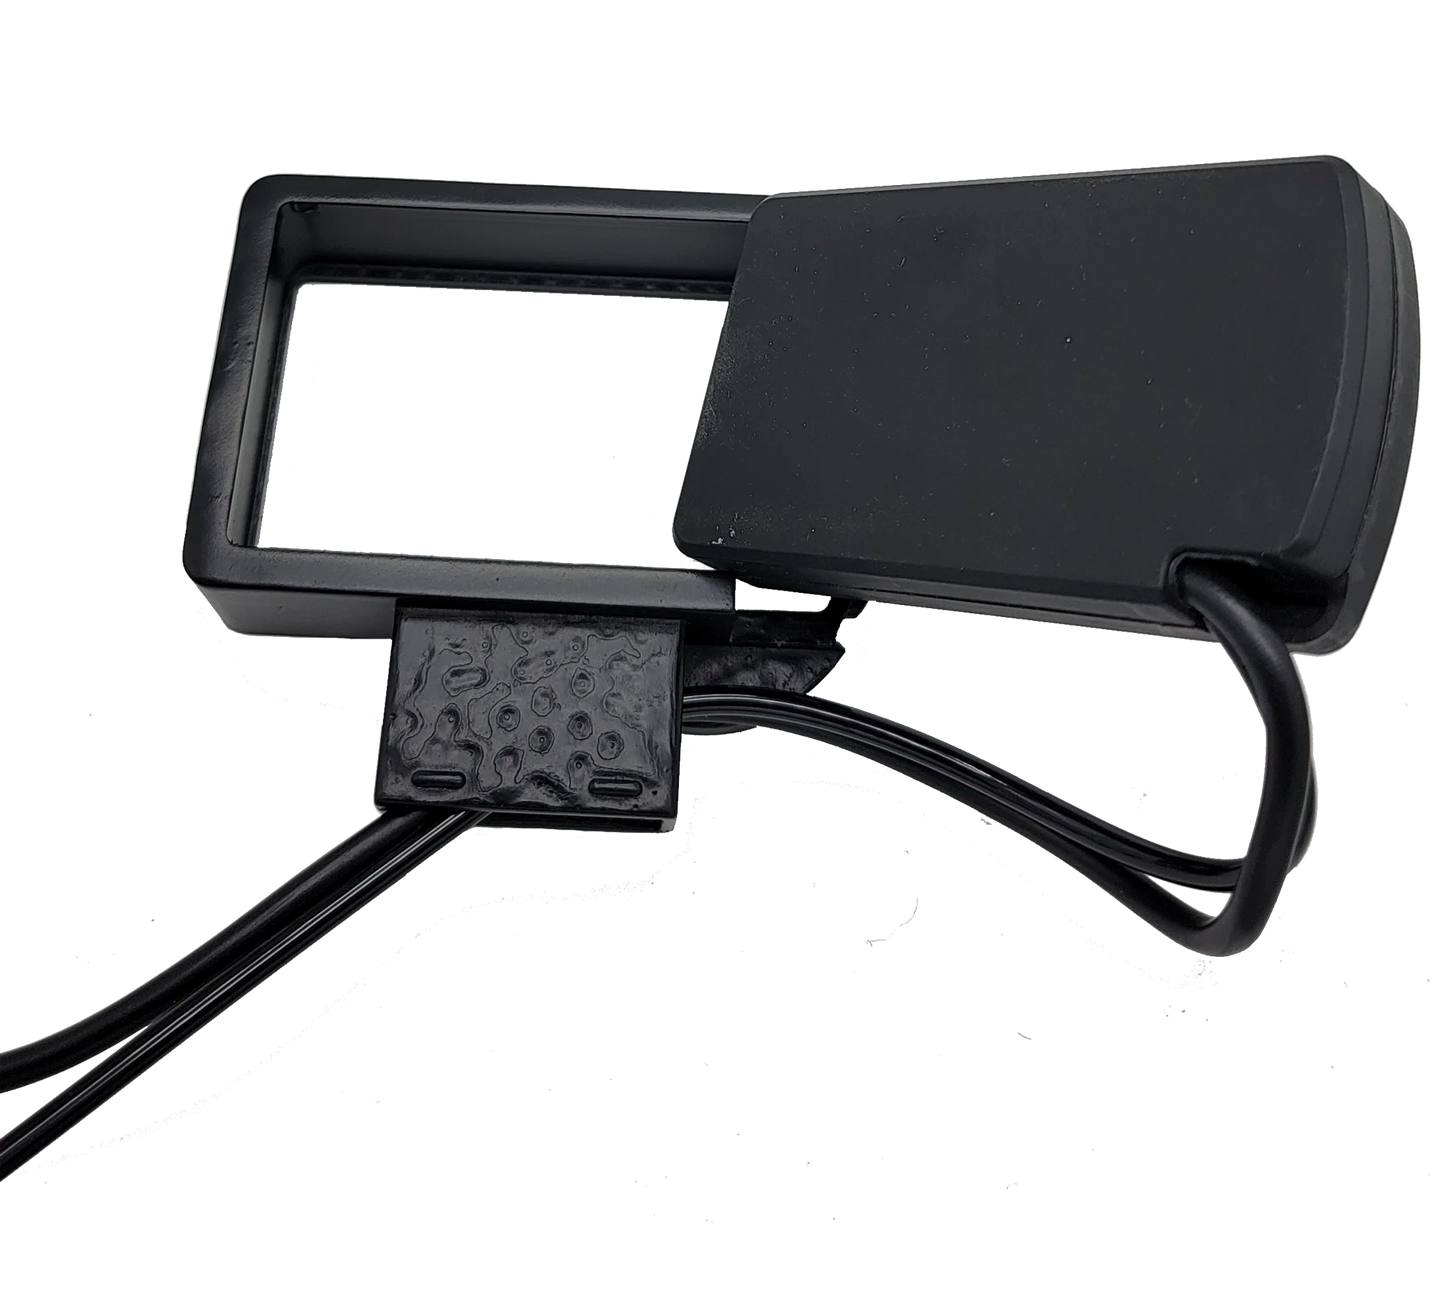
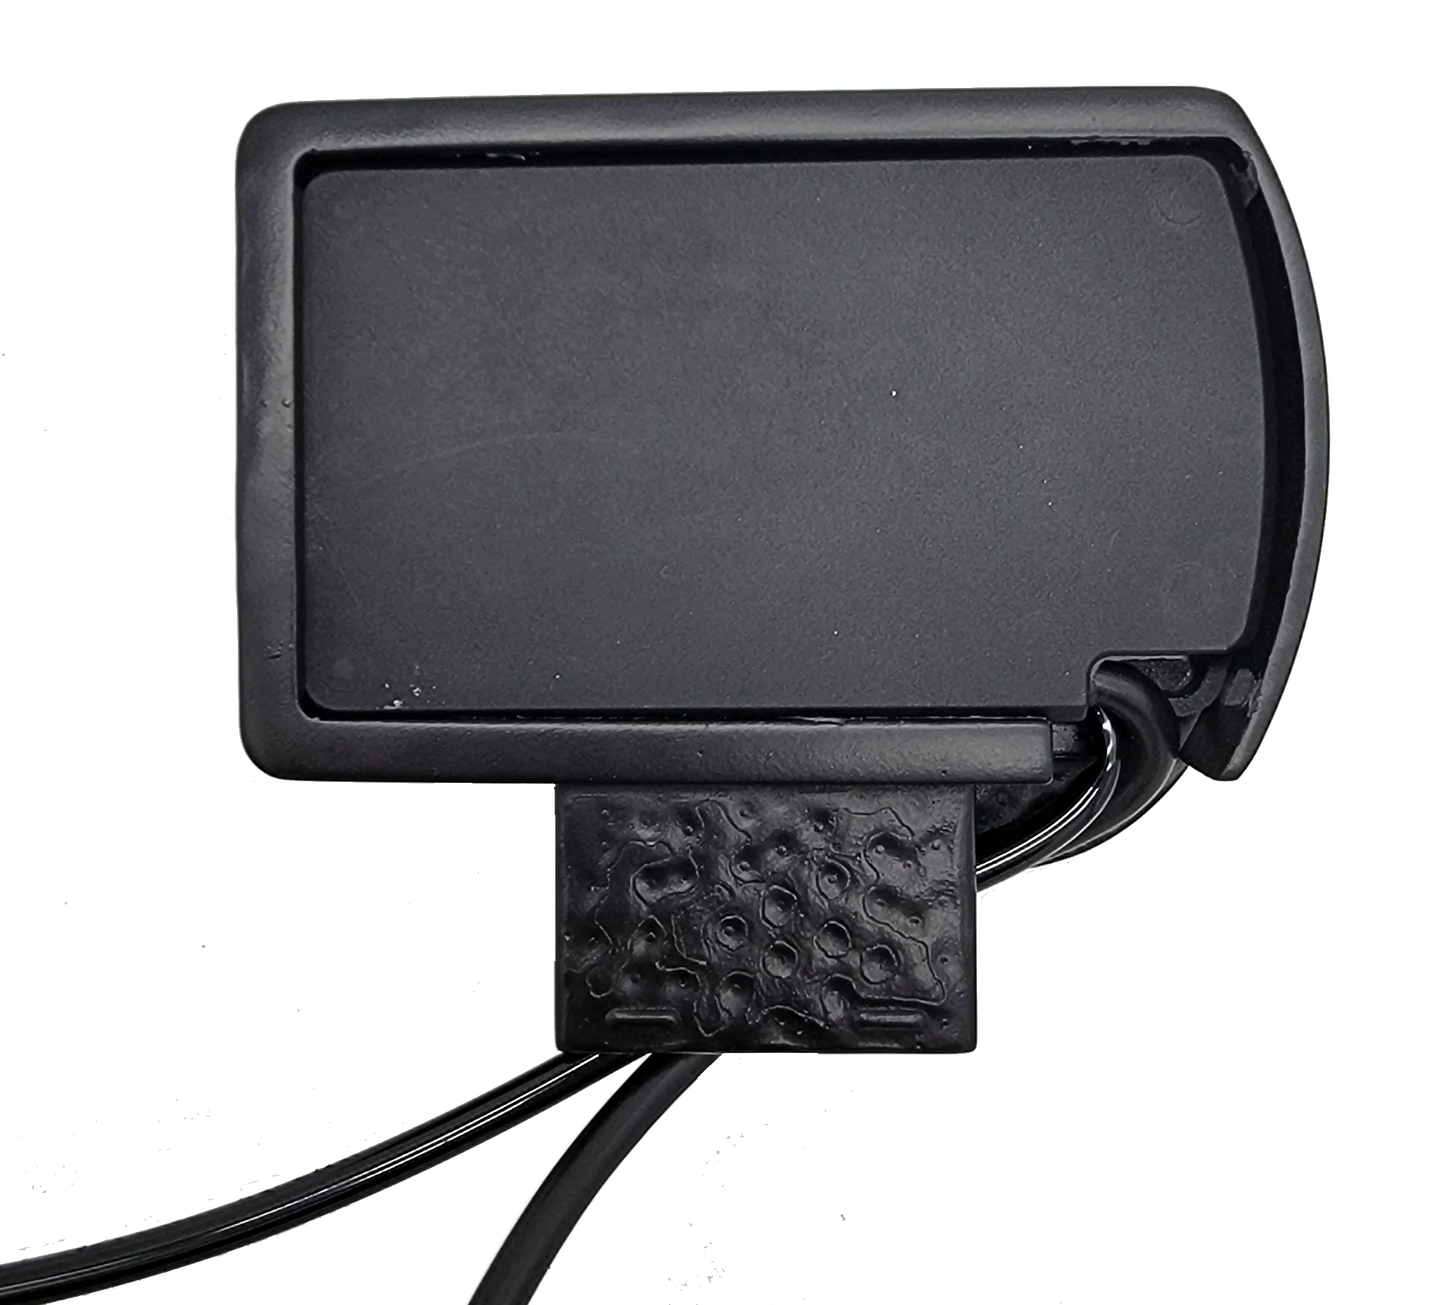
- Run the wiring harness and vacuum / boost tube from the GFB-3 through the opening on the bottom of the 3D printed housing.
- Take your time pushing the GFB-3 controller into the housing. This is a tight friction fit designed to keep the controller in place securely.
- Connect the GFB-3 controller housing to the new defroster vent base and make sure the wiring and vacuum / boost tube is run through the base as well.
- Connect the wiring and vacuum / boost tube to the harness and tube coming up through the defroster vent in the dashboard.
- Install the new vent base with the GFB-3 controller attached to it into the dashboard. If the fitment is tight, you can use a trim removal tool like a shoehorn to push the vent base into place securely.
Other Information:
Although 3D printing isn't a perfect process, we try our best to ensure that each controller housing and vent mount are made to the highest quality possible. That being said, you may notice that there are layer lines visible through the painted part. The opening for the GFB-3 housing at the bottom may also not be perfectly rectangular inside due to the support material that's required when printing these. There may also be left over dimples on parts of the underside of the vent mount and the controller housing itself. Also, when removing and re-installing the pods from the mount, you may notice that the paint from the gauge pod to the mount may wear down after repeated removals and installation.
GFB-3 is not included.
Share
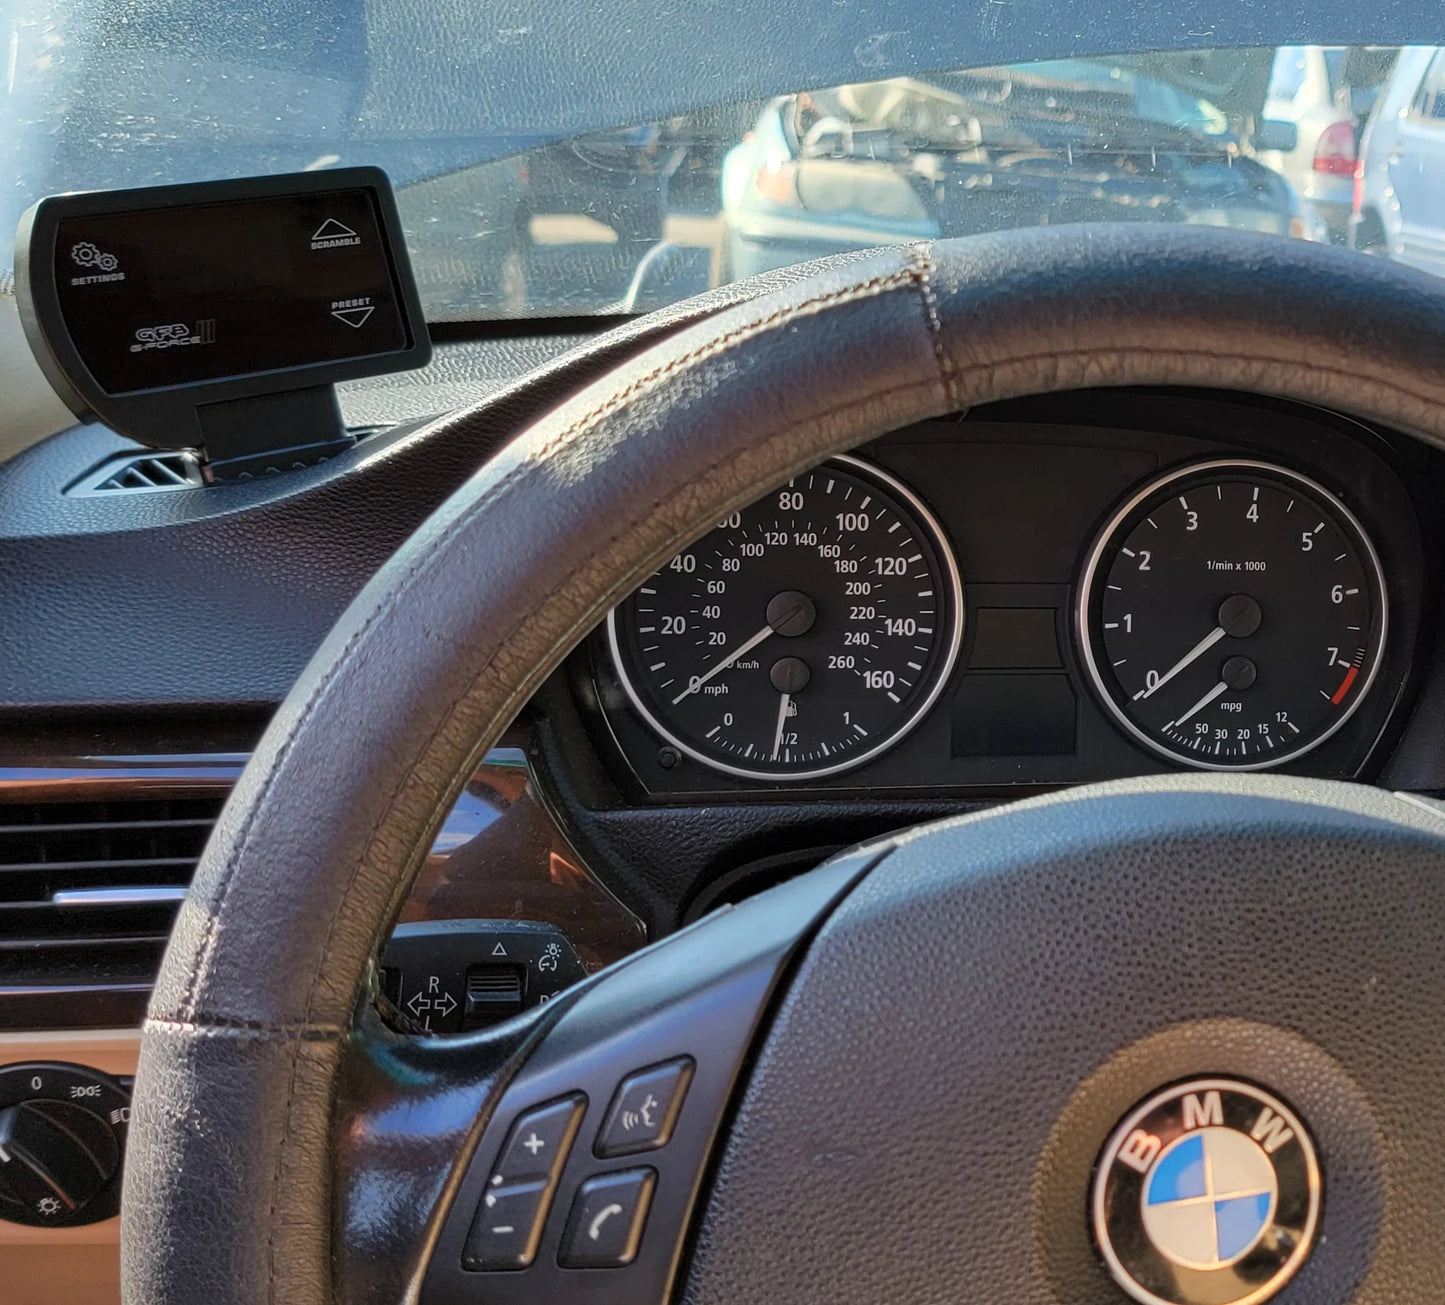
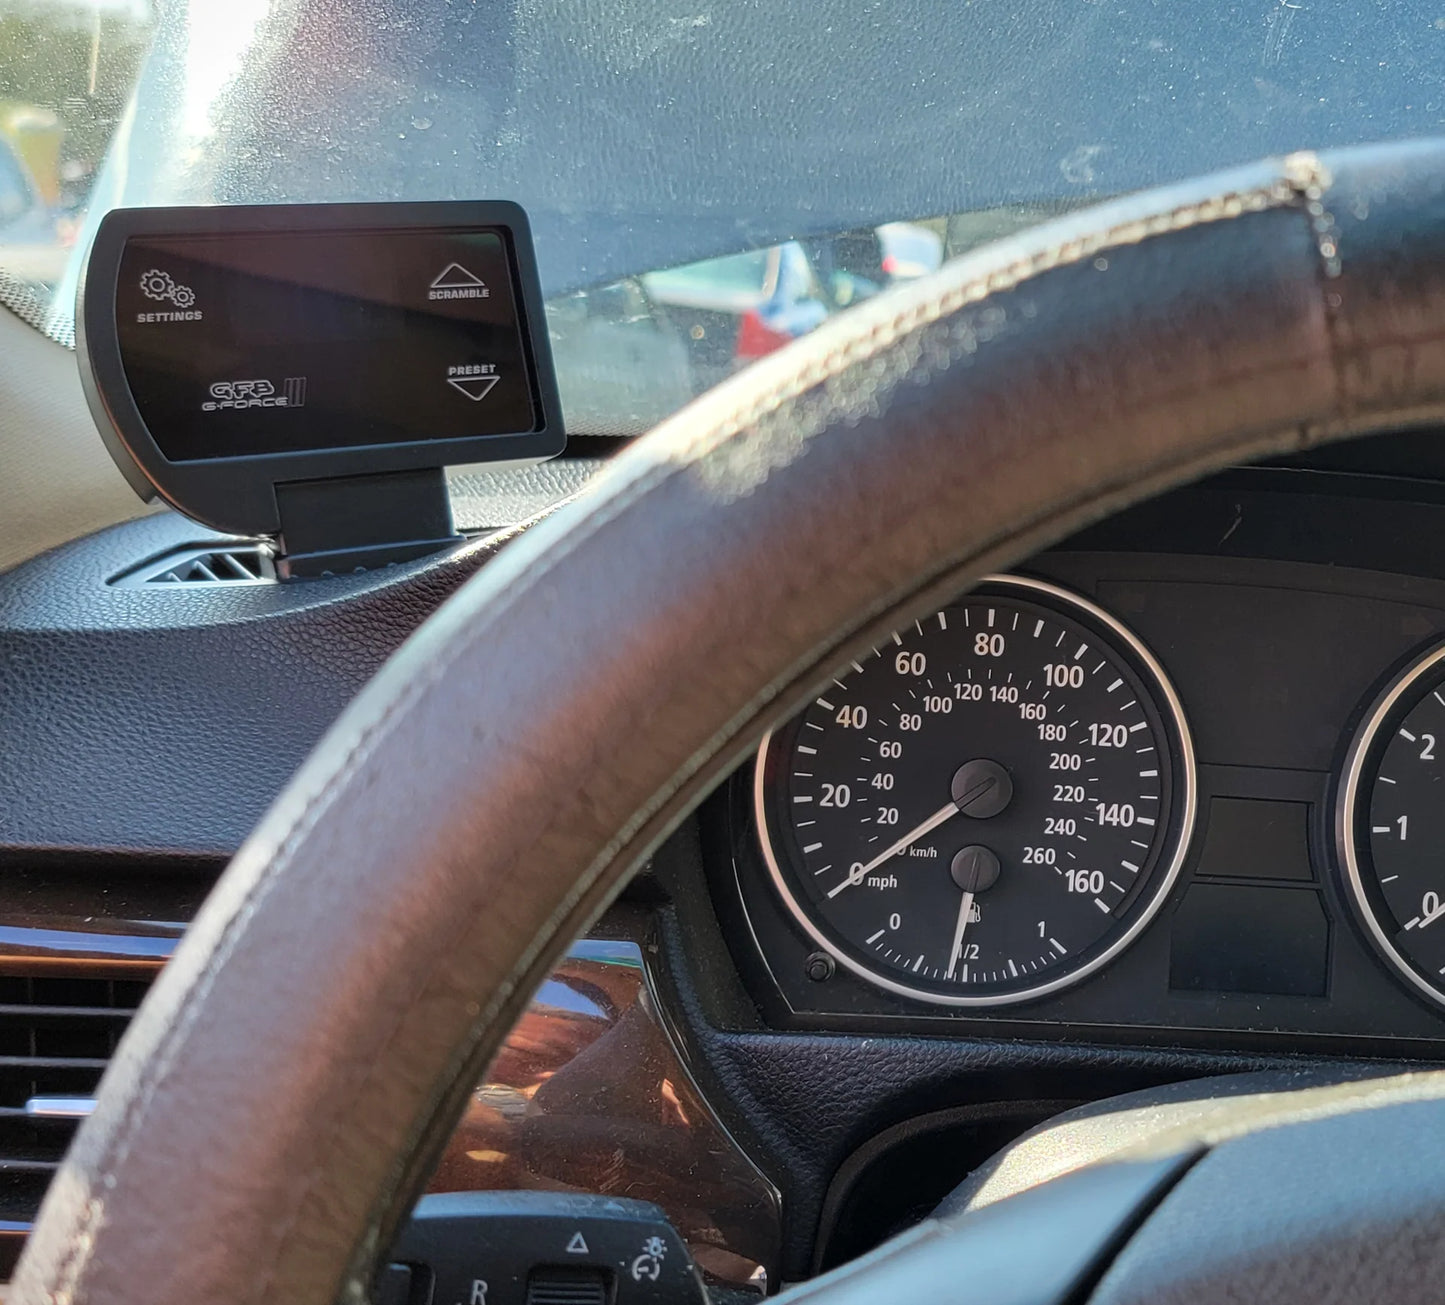
Looks making me it attracts a lot of attention. Highly recommended if you want to spice up your interior.
While I was installing the top part of the mount broke because the boost controller has a hard time sliding into place. After installing the mount I was on my way to work with the heat on and the mount started to warp and sag. The design and concept of the mount is great but the material used to make it could be improved to a more heat resistant plastic. The mount just isn’t built to handle the placement over the vent. It would be worth the $40 if it was made to handle the heat and didn’t break so easily

